













Việc đấu dây bộ điều khiển LED 0-10V có thể điều chỉnh độ sáng ban đầu có vẻ phức tạp, nhưng với hướng dẫn đúng cách, đây là một quy trình đơn giản. Hướng dẫn này dành cho những người đam mê tự làm, thợ điện chuyên nghiệp và chủ nhà nói chung. Nó sẽ hướng dẫn bạn từng bước để đảm bảo việc lắp đặt an toàn và hiệu quả.

Để đấu dây bộ điều khiển LED 0-10V có thể điều chỉnh độ sáng, kết nối bộ điều khiển với bộ điều khiển nguồn bằng dây dẫn điện áp đường dây (dây đen và trắng) và với bộ điều khiển 0-10V bằng dây điện áp thấp (dây tím và hồng). Đảm bảo dây điện áp thấp tuân thủ tiêu chuẩn Class 1 hoặc Class 2.
Hãy đi sâu vào chi tiết hơn để đảm bảo quy trình đấu dây thành công.
Đấu Dây 0-10V: Không Khó Như Bạn Nghĩ!
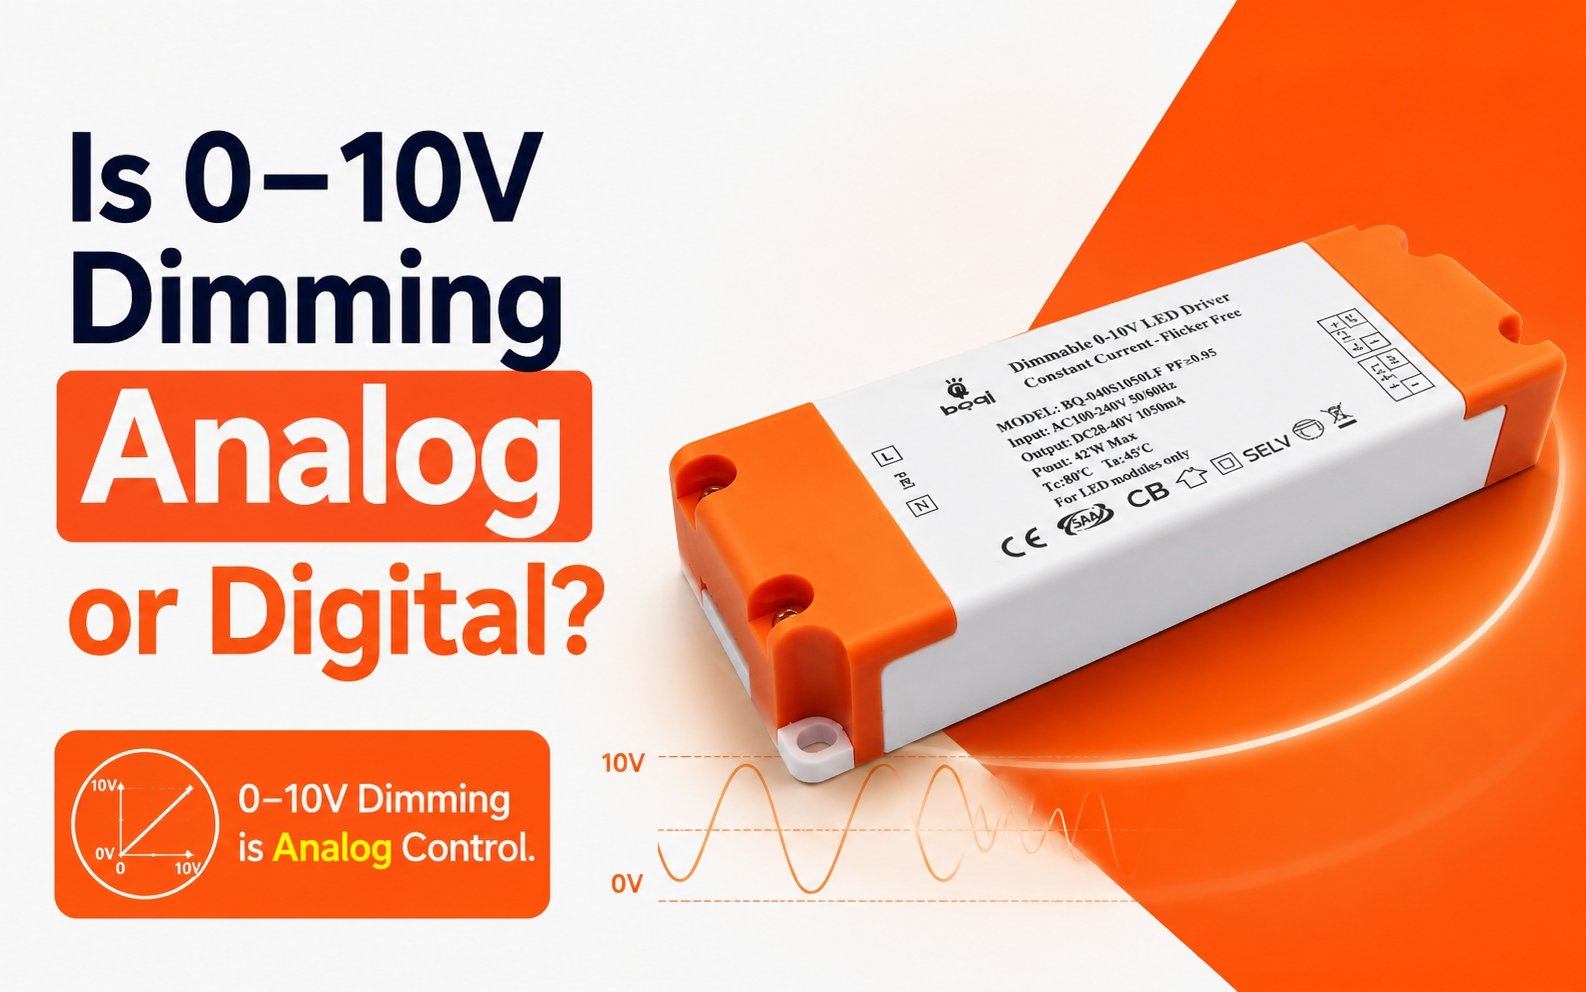
Đấu dây 0-10V là công nghệ analog dựa trên sự chênh lệch điện áp giữa hai dây. Sự chênh lệch điện áp này tạo ra các mức ánh sáng khác nhau. Đây là phương pháp đơn giản nhưng hiệu quả để điều chỉnh độ sáng đèn LED. Các thành phần cơ bản bao gồm bộ điều chỉnh độ sáng, nguồn điện, bộ điều khiển LED và bộ đèn LED. Hiểu cách các thành phần này tương tác là rất quan trọng để lắp đặt thành công. Bộ điều chỉnh độ sáng gửi tín hiệu điện áp thấp đến bộ điều khiển LED, bộ điều khiển này điều chỉnh độ sáng của các bộ đèn LED được kết nối. Nhiều người thích phương pháp này vì nó đơn giản và đáng tin cậy. Nó cho phép kiểm soát chính xác mức độ chiếu sáng. Ngoài ra, hệ thống 0-10V hoạt động với nhiều loại bộ đèn LED. Điều này làm cho nó trở thành lựa chọn linh hoạt cho gia đình và doanh nghiệp. Khi được lắp đặt đúng cách, hệ thống điều chỉnh độ sáng 0-10V có thể mang lại khả năng điều chỉnh độ sáng mượt mà, không nhấp nháy trên nhiều mức ánh sáng.
Đấu Dây Class I và Class II
Phân loại đấu dây Class I và Class II là điều cần thiết để hiểu nhằm đảm bảo an toàn và tuân thủ các quy định điện.
– Đấu Dây Class I: Điều này liên quan đến việc chạy dây điện áp đường dây, với điện áp lên đến 600 volt. Nó yêu cầu cách điện và bảo vệ nghiêm ngặt hơn để ngăn ngừa các mối nguy hiểm về điện. Hệ thống Class I thường được sử dụng trong các môi trường thương mại nơi mức công suất cao hơn là phổ biến. Lớp cách điện phải chắc chắn. Nó phải ngăn ngừa mọi đoản mạch. Những điều này có thể phát sinh từ dây điện cao áp. Ngoài ra, hệ thống ống dẫn phải được sử dụng để cung cấp bảo vệ vật lý cho hệ thống dây điện. Việc đấu dây này thường phức tạp hơn. Nó có thể cần lắp đặt chuyên nghiệp. Điều này nhằm đảm bảo tuân thủ các quy định điện địa phương và tiêu chuẩn an toàn.
– Đấu Dây Class II: Điều này liên quan đến việc chạy dây điện áp thấp riêng biệt với dây điện áp đường dây. Nó thường an toàn hơn và dễ quản lý hơn, đặc biệt là đối với các dự án tự làm. Hệ thống Class II thường được sử dụng trong các môi trường dân cư nơi mức công suất thấp hơn. Việc tách dây điện áp thấp và cao giúp giảm nguy cơ nhiễu điện. Nó cũng giảm các mối nguy hiểm tiềm ẩn. Phương pháp này cho phép lắp đặt đơn giản hơn. Nó thường sử dụng cáp điện áp thấp tiêu chuẩn cần ít cách điện. Sự tách biệt này làm cho việc đấu dây Class II dễ dàng hơn cho chủ nhà. Nó dành cho những người muốn tự lắp đặt hệ thống chiếu sáng của mình. Nó đơn giản hóa quy trình và cải thiện an toàn.
| Loại | Class I - Đấu Dây Điện Áp Đường Dây | Class II - Đấu Dây Điện Áp Thấp |
| Điện Áp | Thường là 120V hoặc 277V AC | Thường là 10–24V DC |
| Đặc Điểm -1 | Cung cấp cả nguồn điện cho bộ đèn chiếu sáng và cũng là phương tiện để nhóm chúng theo mạch/chân chuyển mạch trong “vùng điều khiển” | Cung cấp đường dẫn cho việc truyền thông tín hiệu analog hoặc kỹ thuật số, chẳng hạn như dữ liệu đầu vào từ cảm biến—ví dụ: mức ánh sáng, điều kiện hiện diện—và các lệnh đầu ra. |
| Đặc Điểm -2 | Không linh hoạt lắm, hạn chế các tùy chọn điều khiển và phân vùng cứng nhắc dựa trên mạch chiếu sáng | Linh hoạt về bản chất vì hầu hết các quy định không yêu cầu lắp đặt trong ống dẫn. |
Các Loại Cáp Thường Dùng Trong Đấu Dây Điện Áp Thấp
Khi đấu dây hệ thống 0-10V, việc sử dụng đúng loại cáp là rất quan trọng. Các loại cáp phổ biến nhất được sử dụng bao gồm:
– Dây THHN/THWN: Phù hợp cho các ứng dụng ống dẫn. Các dây này được bọc nhựa nhiệt dẻo chịu nhiệt cao và phủ nylon chống thấm nước. Chúng được thiết kế để sử dụng trong nhà ở những nơi khô ráo và ẩm ướt và được biết đến với độ bền và tính linh hoạt. Điều này làm cho chúng lý tưởng để chạy qua hệ thống ống dẫn nơi có các khúc cua gấp và không gian chật hẹp.
– Cáp Truyền Thông Điện Áp Thấp: Thường được sử dụng cho các ứng dụng Class II. Các loại cáp này dành cho tín hiệu điện áp thấp. Chúng thường được bọc chống nhiễu để chặn EMI. Chúng phổ biến trong các gia đình và doanh nghiệp nhỏ. Chúng được sử dụng để kết nối bộ điều chỉnh độ sáng, cảm biến và các thiết bị điều khiển khác với bộ điều khiển LED và bộ đèn. Lớp bọc chống nhiễu trong các loại cáp này đảm bảo tín hiệu điện áp thấp được truyền chính xác. Chúng được truyền mà không bị suy giảm.
– Cáp Xoắn Đôi Có Bọc Chống Nhiễu (STP): Giúp giảm nhiễu trong các môi trường nhạy cảm. Cáp STP bao gồm các cặp dây xoắn lại với nhau. Chúng được bọc chống nhiễu để bảo vệ chống lại EMI và RFI. Loại cáp này rất tốt ở những nơi có nhiều nhiễu điện tử. Chúng bao gồm các môi trường công nghiệp hoặc khu vực có nhiều thiết bị. Việc bọc chống nhiễu và xoắn dây giúp duy trì tính toàn vẹn của tín hiệu điện áp thấp trên khoảng cách dài hơn.
Phương Pháp Đấu Dây Class I Được Khuyến Nghị Trong NEC Yêu Cầu 725.48
Mạch Class 1 có thể cùng tồn tại với các mạch khác như được nêu trong Mục 725.48 (A) và (B):
(A) Mạch Class 1 được phép chia sẻ cùng một loại cáp, khay cáp, vỏ bọc hoặc máng dẫn, cho dù chúng sử dụng dòng điện xoay chiều hay một chiều, với điều kiện tất cả các dây dẫn được cách điện theo điện áp cao nhất hiện diện giữa bất kỳ dây dẫn nào trong cáp, khay cáp, vỏ bọc hoặc máng dẫn đó.
(B) Mạch Class 1 cũng có thể được cấu hình bằng dây nguồn trong các điều kiện cụ thể:
(1) Cả mạch Class 1 và mạch nguồn cấp điện có thể dùng chung một loại cáp, vỏ bọc hoặc máng cáp, nhưng chỉ khi chúng phục vụ một chức năng liên quan.

Bộ điều khiển và ballast 0-10V được phân loại là “Class 2” chủ yếu vì ballast hoạt động như một thiết bị nhận nguồn, không phải nguồn phát. Khi kết nối với mạch nguồn giới hạn Class 2, cần thiết phải ghi nhãn mạch là “Mạch Class 2,” báo hiệu rằng ballast được thiết kế để sử dụng với mạch Class 2.
Sau khi đã tìm hiểu chi tiết về đấu dây Class 1, chúng ta hãy cùng khám phá những lưu ý quan trọng đối với đấu dây Class 2!
Phương Pháp Đấu Dây Class 2
Các dây dẫn mạch Class 2 trong vỏ bọc, ngăn, hộp ổ cắm, hộp thiết bị hoặc các vị trí tương tự được phép lắp đặt cùng với các mạch chiếu sáng điện, nguồn điện, Class 1 và các mạch khác. Việc bố trí này chỉ được phép nhằm tạo điều kiện kết nối với thiết bị liên kết với mạch Class 2 trong hai điều kiện cụ thể sau:
(1) Dây dẫn mạch Class 1 phải được bố trí để duy trì khoảng cách tối thiểu 6 mm (0,25 inch) so với dây dẫn và cáp Class 2.
(2) Dây dẫn mạch phải hoạt động ở điện áp 150 volt trở xuống so với đất và tuân thủ một trong các điều kiện sau:
Mạch Class 2 nên sử dụng cáp loại CL3, CL3R hoặc CL3P, hoặc phương án thay thế phù hợp, đảm bảo rằng mọi dây dẫn vượt ra ngoài vỏ cáp được tách biệt tối thiểu 6 mm (0,25 inch) hoặc được bọc trong ống bọc hoặc vách ngăn không dẫn điện khỏi tất cả các dây dẫn khác. Ngoài ra, dây dẫn mạch Class 2 có thể được lắp đặt theo hướng dẫn cho mạch Class 1. Bên cạnh đó, ballast và bộ điều khiển 0-10V phải duy trì khoảng cách tối thiểu 0,25 inch giữa điện áp đường dây và các đầu nối bus cho các lắp đặt Class 2.

Những Điều Cần Ghi Nhớ!
Khi làm việc với đấu dây 0-10V, hãy ghi nhớ những điểm chính sau:
– Luôn tắt nguồn trước khi bắt đầu bất kỳ công việc đấu dây nào. Đây là biện pháp an toàn cơ bản giúp ngăn ngừa điện giật hoặc đoản mạch do tai nạn. Xác minh nguồn đã tắt bằng máy kiểm tra điện áp trước khi xử lý bất kỳ dây nào.
– Tuân thủ hướng dẫn của nhà sản xuất và quy định điện địa phương. Các hướng dẫn cung cấp những chỉ dẫn cụ thể. Chúng dành cho việc lắp đặt và sử dụng sản phẩm của nhà sản xuất một cách an toàn và hiệu quả. Quy định điện địa phương đảm bảo việc lắp đặt của bạn đáp ứng các tiêu chuẩn an toàn tối thiểu. Chúng cũng đảm bảo tuân thủ các quy định địa phương.
– Kiểm tra kỹ tất cả các kết nối để đảm bảo chúng chắc chắn và chính xác. Kết nối lỏng lẻo hoặc sai có thể dẫn đến hiệu suất kém, đèn nhấp nháy hoặc thậm chí làm hỏng bộ điều khiển LED hoặc thiết bị chiếu sáng. Sử dụng đầu nối và dụng cụ phù hợp để cố định từng kết nối đúng cách.
– Sử dụng cỡ dây chính xác cho việc lắp đặt của bạn. Sử dụng sai cỡ dây có thể dẫn đến sụt áp, giảm hiệu suất và các nguy cơ an toàn tiềm ẩn. Tham khảo thông số kỹ thuật của nhà sản xuất và quy định địa phương. Sử dụng chúng để xác định cỡ dây phù hợp cho hệ thống của bạn.
– Kiểm tra hệ thống kỹ lưỡng sau khi lắp đặt. Trước khi hoàn tất việc lắp đặt, hãy kiểm tra hệ thống. Đảm bảo tất cả các bộ phận hoạt động và chức năng điều chỉnh độ sáng hoạt động như mong đợi. Điều này giúp xác định sớm mọi vấn đề và cho phép bạn thực hiện các điều chỉnh cần thiết trước khi hoàn thành dự án.
Bằng cách ghi nhớ những điểm này, bạn có thể đảm bảo việc lắp đặt bộ điều khiển LED 0-10V và hệ thống chiếu sáng thành công và an toàn.
Việc Kết Nối Các Dây Có Quan Trọng Trong Đấu Dây 0-10V Không?
Có, việc kết nối dây là rất quan trọng trong đấu dây 0-10V. Kết nối sai có thể dẫn đến hiệu suất điều chỉnh độ sáng kém hoặc thậm chí làm hỏng bộ điều khiển LED hoặc thiết bị chiếu sáng. Đảm bảo tất cả các kết nối chắc chắn và tuân thủ đúng cực tính. Điều này có nghĩa là dây dương và dây âm phải được kết nối với các đầu nối tương ứng trên bộ điều chỉnh độ sáng, bộ điều khiển và thiết bị chiếu sáng.
Điều quan trọng là sử dụng dụng cụ và đầu nối chất lượng cao. Chúng đảm bảo cực tính chính xác. Điều này ngăn ngừa kết nối lỏng lẻo. Chúng có thể gây ra sự cố gián đoạn hoặc hỏng hoàn toàn hệ thống điều chỉnh độ sáng. Sử dụng đầu nối xoắn dây, khối đầu nối hoặc đầu nối ép theo khuyến nghị của nhà sản xuất.
Bạn cũng phải kiểm tra các kết nối thường xuyên. Điều này đặc biệt quan trọng ở những nơi dây có thể tiếp xúc với rung động. Những nơi này có sự thay đổi nhiệt độ và các yếu tố khác. Những yếu tố này có thể gây hại cho các kết nối. Bảo trì và kiểm tra thường xuyên có thể giúp phát hiện và khắc phục sự cố. Điều này trước khi chúng trở thành vấn đề lớn hơn.
Màu Dây 0-10V Cần Thay Đổi
Trước đây, điều chỉnh độ sáng 0-10V sử dụng cặp dây màu xám và tím. Mã màu này đang thay đổi theo tiêu chuẩn mới, sử dụng dây màu hồng thay cho dây màu xám. Hãy lưu ý sự thay đổi này để đảm bảo tương thích với các lắp đặt mới. Tiêu chuẩn mã màu mới nhằm giảm nhầm lẫn và tăng cường an toàn. Điều này được thực hiện bằng cách sử dụng sơ đồ màu nhất quán cho dây điều chỉnh độ sáng điện áp thấp.
Khi làm việc trên các lắp đặt mới hoặc nâng cấp hệ thống hiện có, hãy xác minh màu dây. Đảm bảo chúng phù hợp với tiêu chuẩn mới. Điều này có thể bao gồm việc thay thế dây cũ bằng dây có mã màu mới. Hoặc sử dụng nhãn để thể hiện chức năng chính xác của từng dây.

Tuân thủ tiêu chuẩn mã màu mới sẽ giúp ích. Điều này đảm bảo việc lắp đặt của bạn được cập nhật và tuân theo các thông lệ ngành hiện tại. Điều này cũng có thể giúp việc bảo trì và khắc phục sự cố trong tương lai dễ dàng hơn. Màu sắc giúp xác định và làm việc với các dây.
Kích Thước Dây 0-10V Được Khuyến Nghị Là Gì?
Cỡ dây khuyến nghị cho mạch điều chỉnh độ sáng 0-10V thường là 18 AWG. Cỡ dây này cung cấp sự cân bằng tốt giữa tính linh hoạt và độ bền cho hầu hết các lắp đặt. Sử dụng đúng cỡ dây là điều cần thiết. Điều này đảm bảo tín hiệu điều chỉnh độ sáng được truyền chính xác. Chúng được truyền mà không bị sụt áp nhiều.
Đối với các đường chạy dài hơn hoặc lắp đặt với nhiều thiết bị chiếu sáng, có thể cần sử dụng cỡ dây lớn hơn để duy trì tính toàn vẹn của tín hiệu. Dây lớn hơn có điện trở thấp hơn, giúp ngăn ngừa sụt áp trên khoảng cách dài hơn. Kiểm tra thông số kỹ thuật của nhà sản xuất và quy định địa phương. Sử dụng chúng để xác định cỡ dây phù hợp cho việc lắp đặt của bạn.
Việc sử dụng đúng cỡ dây không chỉ đảm bảo hiệu suất hoạt động đáng tin cậy mà còn nâng cao độ an toàn của hệ thống lắp đặt. Dây mỏng có thể quá nhiệt, gây nguy cơ cháy nổ. Dây dày khó thi công hơn và làm tăng chi phí lắp đặt một cách không cần thiết.
Tôi Có Thể Chạy Mạch 0-10V Điện Áp Thấp Bao Xa?
Khoảng cách tối đa để chạy mạch điện áp thấp 0-10V phụ thuộc vào tổng tải và cỡ dây. Thông thường, với dây 18 AWG, bạn có thể chạy mạch lên đến 200 feet mà không bị sụt áp đáng kể. Đối với khoảng cách xa hơn, hãy cân nhắc sử dụng dây có cỡ lớn hơn để duy trì hiệu suất.
Sụt áp xảy ra khi điện trở của dây dẫn làm giảm điện áp khi dòng điện di chuyển dọc theo dây. Điều này có thể ảnh hưởng đến hiệu suất của hệ thống điều chỉnh độ sáng, dẫn đến mức ánh sáng không ổn định hoặc giảm. Để giảm thiểu sụt áp, hãy sử dụng cỡ dây phù hợp với khoảng cách và tải của hệ thống lắp đặt.
Khi lập kế hoạch bố trí dây, hãy xem xét vị trí của bộ điều chỉnh độ sáng, bộ điều khiển và đèn. Điều này sẽ giúp bạn rút ngắn chiều dài dây và giảm thiểu khoảng cách. Điều này có thể giúp giảm nhu cầu sử dụng dây dày hơn và đơn giản hóa quá trình lắp đặt.
Ngoài ra, hãy đảm bảo tất cả các kết nối được chắc chắn và dây dẫn được bảo vệ và sắp xếp đúng cách để tránh hư hỏng và duy trì tính toàn vẹn của mạch theo thời gian.
Các Điểm Cần Ghi Nhớ
- Kiểm tra tính tương thích: Đảm bảo tất cả các thành phần tương thích với điều chỉnh độ sáng 0-10V.
- Tuân thủ các nguyên tắc NEC: Tuân thủ tất cả các NEC yêu cầu về hệ thống dây điện.
- Kiểm tra trước khi hoàn thiện: Kiểm tra hệ thống kỹ lưỡng trước khi hoàn thiện việc lắp đặt.
Bằng cách tuân theo các điểm này, bạn có thể đảm bảo việc lắp đặt thành công và an toàn cho bộ điều khiển LED 0-10V và hệ thống chiếu sáng của mình.
Kết Luận
Nếu bạn cần bất kỳ Trình điều khiển LED có thể thay đổi độ sáng 0-10V và Bộ Điều Chỉnh Độ Sáng 0-10V, vui lòng nhấp vào loại để biết thêm thông tin.