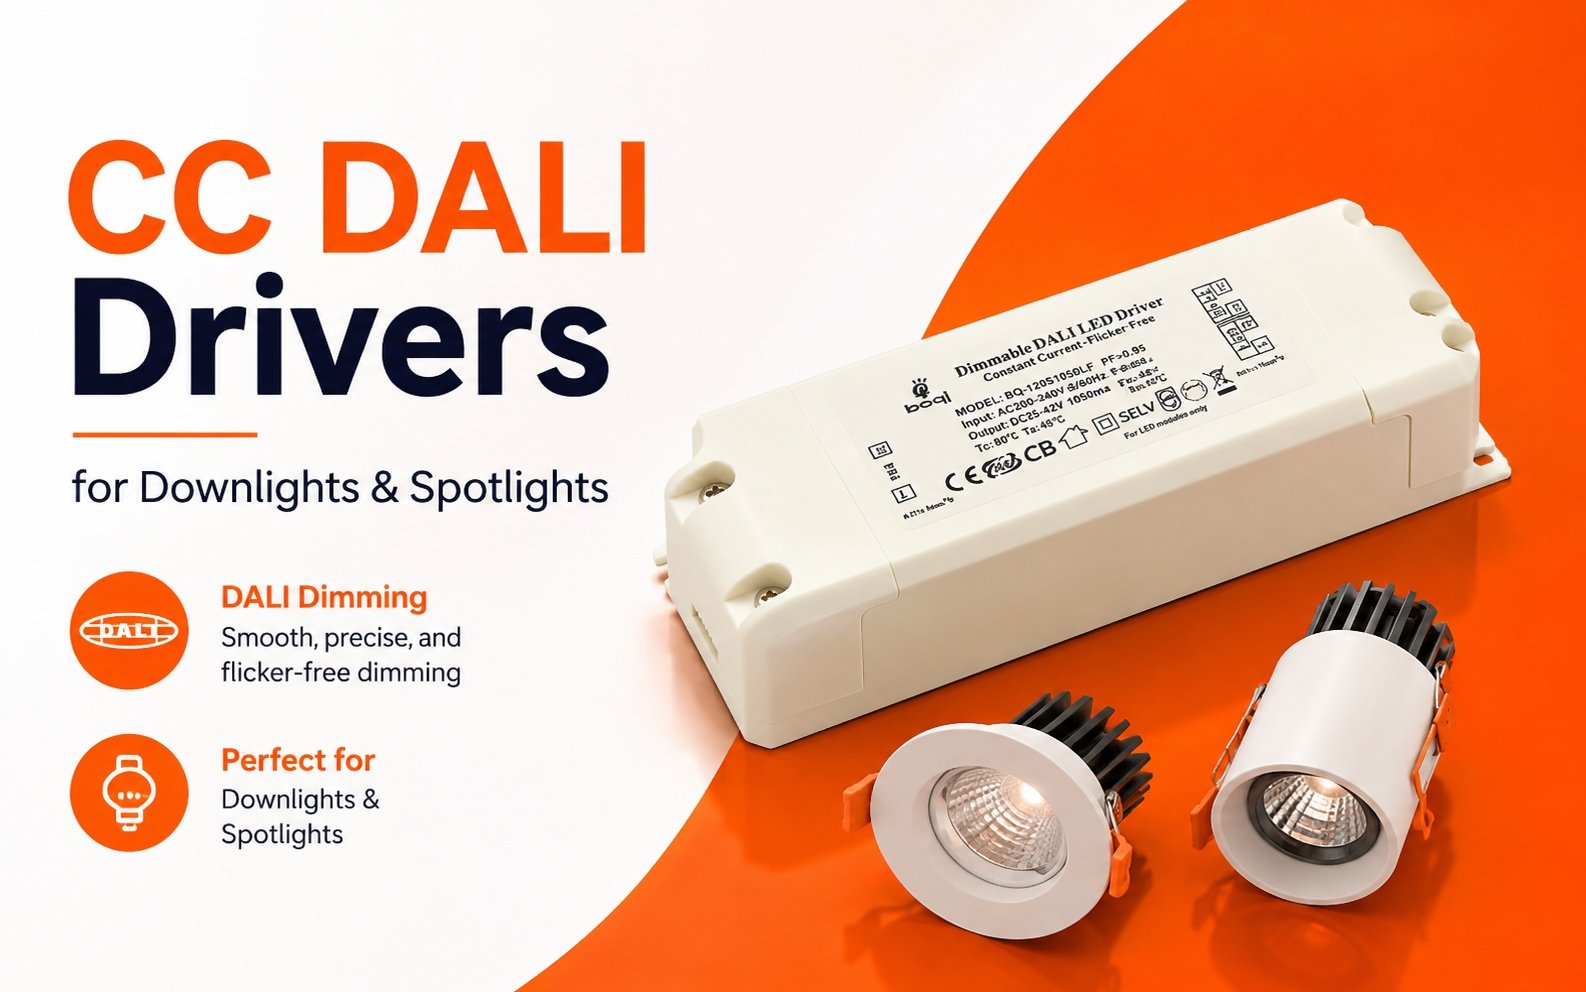














การเดินสายไฟสำหรับไดรเวอร์ LED แบบปรับแสง 0-10V อาจดูน่ากังวล แต่ด้วยคำแนะนำที่ถูกต้อง กระบวนการนี้ก็ไม่ซับซ้อน คู่มือนี้จัดทำขึ้นสำหรับผู้ที่ชื่นชอบการDIY ช่างไฟฟ้ามืออาชีพ และเจ้าของบ้านทั่วไป โดยจะแนะนำคุณทีละขั้นตอนเพื่อให้แน่ใจว่าการติดตั้งปลอดภัยและมีประสิทธิภาพ.

ในการเดินสายไฟสำหรับไดรเวอร์ LED แบบปรับแสง 0-10V ให้เชื่อมต่อไดรเวอร์เข้ากับตัวควบคุมพลังงานโดยใช้สายไฟแรงดันไฟฟ้าสายหลัก (สายสีดำและสีขาว) และเชื่อมต่อกับตัวควบคุม 0-10V โดยใช้สายไฟแรงดันต่ำ (สายสีม่วงและสีชมพู) ตรวจสอบให้แน่ใจว่าการเดินสายไฟแรงดันต่ำเป็นไปตามมาตรฐาน Class 1 หรือ Class 2.
มาดูรายละเอียดเพิ่มเติมเพื่อให้แน่ใจว่ากระบวนการเดินสายไฟประสบความสำเร็จ.
การเดินสายไฟ 0-10V: ไม่ยากอย่างที่คิด!
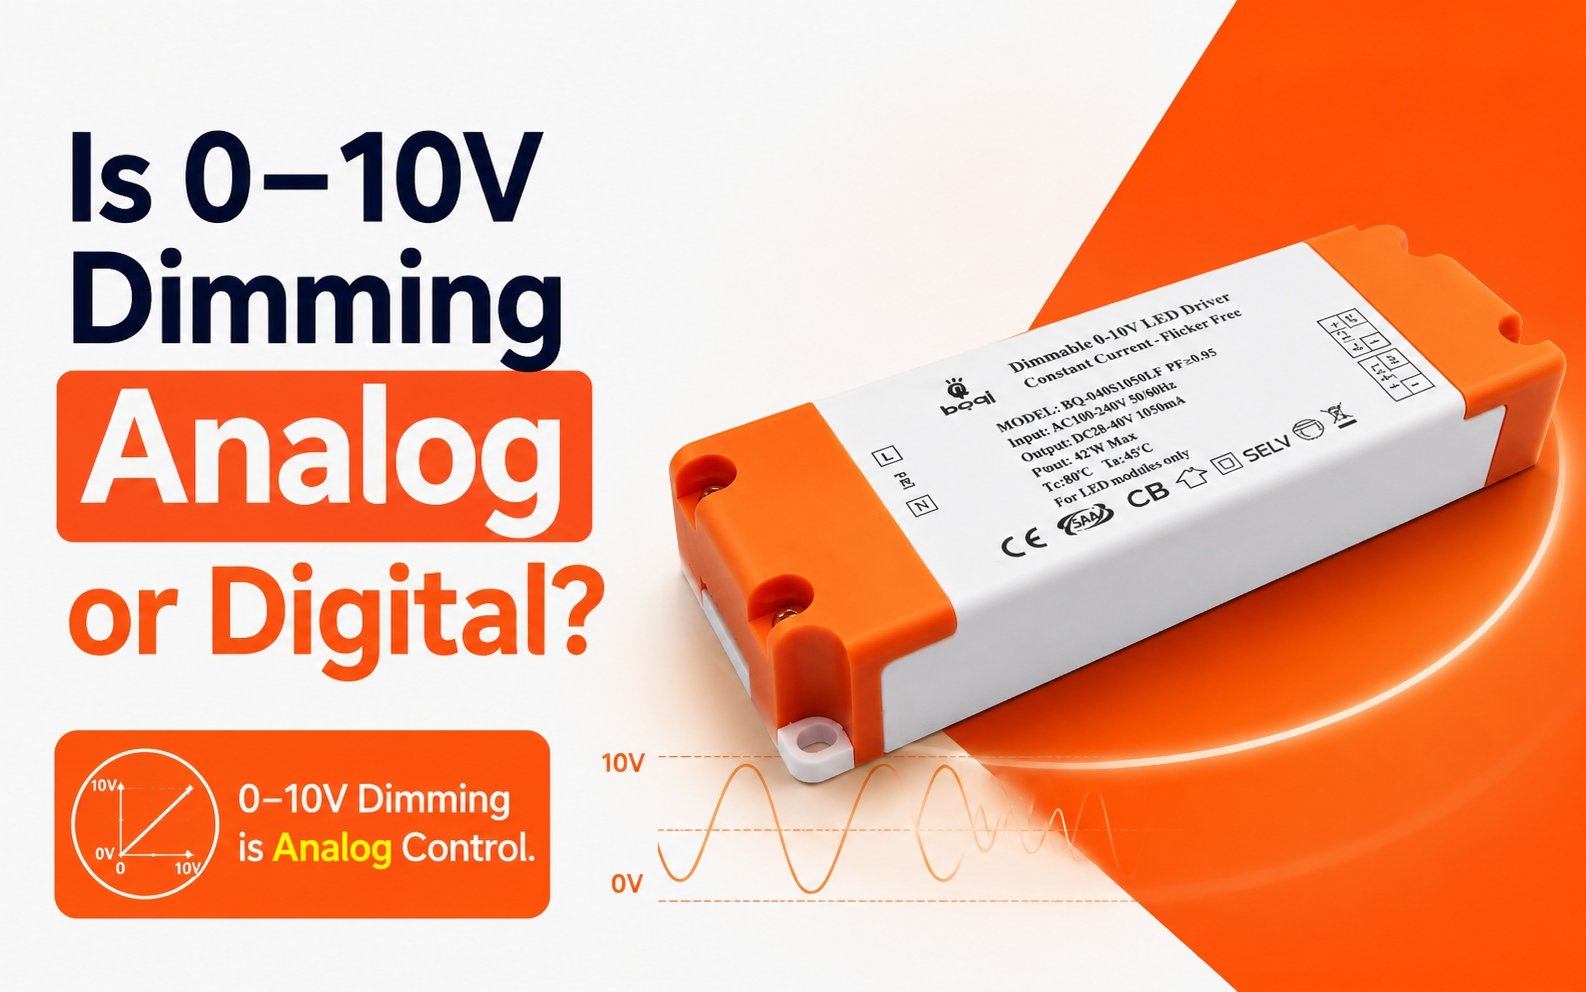
การเดินสายไฟ 0-10V เป็นเทคโนโลยีแบบแอนะล็อกที่ทำงานบนความแตกต่างของแรงดันไฟฟ้าระหว่างสายไฟสองเส้น ความแตกต่างของแรงดันไฟฟ้านี้ส่งผลให้ระดับแสงเปลี่ยนแปลงไป เป็นวิธีการปรับแสงไฟ LED ที่เรียบง่ายแต่มีประสิทธิภาพ ส่วนประกอบพื้นฐานประกอบด้วยตัวควบคุมการปรับแสง แหล่งจ่ายไฟ ไดรเวอร์ LED และโคมไฟ LED การทำความเข้าใจว่าส่วนประกอบเหล่านี้ทำงานร่วมกันอย่างไรเป็นสิ่งสำคัญสำหรับการติดตั้งที่ประสบความสำเร็จ ตัวควบคุมการปรับแสงจะส่งสัญญาณแรงดันต่ำไปยังไดรเวอร์ LED ซึ่งจะปรับความสว่างของโคมไฟ LED ที่เชื่อมต่ออยู่ หลายคนชื่นชอบวิธีนี้เพราะเรียบง่ายและเชื่อถือได้ ให้การควบคุมระดับแสงที่แม่นยำ นอกจากนี้ ระบบ 0-10V ยังทำงานร่วมกับโคมไฟ LED หลายประเภท ทำให้เป็นตัวเลือกที่ยืดหยุ่นสำหรับบ้านและธุรกิจ เมื่อติดตั้งอย่างถูกต้อง ระบบปรับแสง 0-10V สามารถให้การปรับแสงที่ราบรื่นไร้การกะพริบในช่วงระดับแสงที่กว้าง.
การเดินสายไฟ Class I เทียบกับ Class II
การจำแนกประเภทการเดินสายไฟ Class I และ Class II เป็นสิ่งสำคัญที่ต้องเข้าใจเพื่อความปลอดภัยและการปฏิบัติตามข้อกำหนดทางไฟฟ้า.
– การเดินสายไฟ Class I: เกี่ยวข้องกับการเดินสายไฟแรงดันไฟฟ้าสายหลัก โดยมีแรงดันไฟฟ้าสูงสุด 600 โวลต์ ต้องใช้ฉนวนและการป้องกันที่เข้มงวดมากขึ้นเพื่อป้องกันอันตรายจากไฟฟ้า ระบบ Class I มักใช้ในเชิงพาณิชย์ซึ่งมีระดับพลังงานสูงกว่า ฉนวนต้องแข็งแรง ต้องป้องกันการลัดวงจร ซึ่งอาจเกิดขึ้นได้เนื่องจากสายไฟมีแรงดันไฟฟ้าสูง นอกจากนี้ ต้องใช้ระบบท่อร้อยสายเพื่อให้การป้องกันทางกายภาพแก่การเดินสายไฟ การเดินสายไฟประเภทนี้มักซับซ้อนกว่า อาจต้องติดตั้งโดยมืออาชีพ เพื่อให้แน่ใจว่าเป็นไปตามข้อกำหนดทางไฟฟ้าในท้องถิ่นและมาตรฐานความปลอดภัย.
– การเดินสายไฟ Class II: เกี่ยวข้องกับการเดินสายไฟแรงดันต่ำแยกจากสายไฟแรงดันไฟฟ้าสายหลัก โดยทั่วไปปลอดภัยกว่าและจัดการง่ายกว่า โดยเฉพาะสำหรับโครงการ DIY ระบบ Class II มักใช้ในที่พักอาศัยซึ่งมีระดับพลังงานต่ำกว่า การแยกสายไฟแรงดันต่ำและแรงดันสูงช่วยลดความเสี่ยงของการรบกวนทางไฟฟ้า และลดอันตรายที่อาจเกิดขึ้น วิธีนี้ช่วยให้การติดตั้งง่ายขึ้น มักใช้สายเคเบิลแรงดันต่ำมาตรฐานที่ต้องการฉนวนน้อย การแยกนี้ทำให้การเดินสายไฟ Class II ง่ายขึ้นสำหรับเจ้าของบ้าน สำหรับผู้ที่ต้องการติดตั้งระบบไฟด้วยตนเอง ช่วยให้กระบวนการง่ายขึ้นและเพิ่มความปลอดภัย.
| ประเภท | Class I - การเดินสายไฟแรงดันไฟฟ้าสายหลัก | Class II - การเดินสายไฟแรงดันต่ำ |
| แรงดันไฟฟ้า | โดยทั่วไป 120V หรือ 277V AC | โดยทั่วไป 10–24V DC |
| คุณสมบัติ -1 | ให้พลังงานแก่โคมไฟและยังเป็นวิธีการจัดกลุ่มตามวงจร/สวิตช์เลกภายใน “โซนควบคุม” | ให้เส้นทางสำหรับการสื่อสารสัญญาณแอนะล็อกหรือดิจิทัล เช่น ข้อมูลอินพุตจากเซนเซอร์ เช่น ระดับแสง สภาพการตรวจจับบุคคล และคำสั่งเอาต์พุต. |
| คุณสมบัติ -2 | ไม่ยืดหยุ่นมากนัก จำกัดตัวเลือกการควบคุมและการแบ่งโซนที่เข้มงวดตามวงจรไฟ | ยืดหยุ่นโดยธรรมชาติเนื่องจากรหัสส่วนใหญ่ไม่ต้องการให้ติดตั้งในท่อร้อยสาย. |
ประเภทสายเคเบิลทั่วไปที่ใช้ในการเดินสายไฟแรงดันต่ำ
เมื่อเดินสายไฟระบบ 0-10V การใช้สายเคเบิลประเภทที่ถูกต้องเป็นสิ่งสำคัญ สายเคเบิลทั่วไปที่ใช้ ได้แก่:
– สาย THHN/THWN: เหมาะสำหรับการใช้งานในท่อร้อยสาย สายเหล่านี้เป็นเทอร์โมพลาสติกทนความร้อนสูงและเคลือบไนลอนกันน้ำ ออกแบบมาสำหรับใช้ภายในอาคารในพื้นที่แห้งและชื้น และขึ้นชื่อเรื่องความทนทานและความยืดหยุ่น ทำให้เหมาะสำหรับการเดินผ่านระบบท่อร้อยสายที่มีการโค้งงอแหลมและพื้นที่แคบ.
– สายเคเบิลสื่อสารแรงดันต่ำ: มักใช้สำหรับการใช้งาน Class II สายเหล่านี้สำหรับสัญญาณแรงดันต่ำ โดยปกติจะมีฉนวนป้องกันเพื่อบล็อกสัญญาณรบกวนแม่เหล็กไฟฟ้า (EMI) พบได้ทั่วไปในบ้านและธุรกิจขนาดเล็ก ใช้เชื่อมต่อตัวควบคุมการปรับแสง เซนเซอร์ และอุปกรณ์ควบคุมอื่นๆ เข้ากับไดรเวอร์ LED และโคมไฟ ฉนวนป้องกันในสายเหล่านี้ช่วยให้ส่งสัญญาณแรงดันต่ำได้อย่างแม่นยำ โดยไม่เสื่อมคุณภาพ.
– สายคู่ตีเกลียวมีฉนวนป้องกัน (STP): ช่วยลดการรบกวนในสภาพแวดล้อมที่ไวต่อสัญญาณ สาย STP ประกอบด้วยคู่สายที่ตีเกลียวเข้าด้วยกัน มีฉนวนป้องกันเพื่อป้องกัน EMI และ RFI สายประเภทนี้เหมาะสำหรับสถานที่ที่มีสัญญาณรบกวนอิเล็กทรอนิกส์จำนวนมาก เช่น สภาพแวดล้อมทางอุตสาหกรรมหรือพื้นที่ที่มีอุปกรณ์จำนวนมาก ฉนวนป้องกันและการตีเกลียวของสายช่วยรักษาความสมบูรณ์ของสัญญาณแรงดันต่ำในระยะทางที่ไกลขึ้น.
วิธีการเดินสายไฟ Class I ที่แนะนำตาม NEC ข้อกำหนด 725.48
วงจร Class 1 สามารถอยู่ร่วมกับวงจรอื่นได้ตามที่ระบุไว้ในส่วน 725.48 (A) และ (B):
(A) วงจร Class 1 ได้รับอนุญาตให้ใช้สายเคเบิล ถาดสายเคเบิล กล่องหุ้ม หรือรางเดินสายร่วมกัน ไม่ว่าจะใช้ไฟฟ้ากระแสสลับหรือกระแสตรง โดยมีเงื่อนไขว่าตัวนำทั้งหมดต้องมีฉนวนที่ทนต่อแรงดันไฟฟ้าสูงสุดที่มีอยู่ในตัวนำใดๆ ภายในสายเคเบิล ถาดสายเคเบิล กล่องหุ้ม หรือรางเดินสายนั้น.
(B) วงจร Class 1 สามารถกำหนดค่าได้โดยใช้สายไฟจ่ายกำลังภายใต้เงื่อนไขเฉพาะดังนี้:
(1) วงจร Class 1 และวงจรจ่ายกำลังอาจใช้สายเคเบิล กล่องหุ้ม หรือรางเดินสายร่วมกันได้ แต่เฉพาะเมื่อทำหน้าที่ที่เกี่ยวข้องกันเท่านั้น.

ไดรเวอร์และบัลลาสต์แบบ 0-10V จัดอยู่ในประเภท “Class 2” เป็นหลักเนื่องจากบัลลาสต์ทำหน้าที่เป็นตัวรับกำลัง ไม่ใช่แหล่งจ่าย เมื่อเชื่อมต่อกับวงจรกำลังจำกัดแบบ Class 2 จำเป็นต้องติดฉลากวงจรว่า “Class 2 Circuit” เพื่อส่งสัญญาณว่าบัลลาสต์ได้รับการออกแบบสำหรับใช้งานกับวงจร Class 2.
หลังจากสำรวจรายละเอียดของการเดินสาย Class 1 แล้ว มาดูข้อควรพิจารณาที่สำคัญสำหรับการเดินสาย Class 2 กัน!
วิธีการเดินสายไฟ Class 2
ตัวนำวงจร Class 2 ภายในกล่องหุ้ม ช่อง compartments กล่องเต้ารับ กล่องอุปกรณ์ หรือสภาพแวดล้อมที่คล้ายคลึงกัน ได้รับอนุญาตให้ติดตั้งร่วมกับวงจรไฟฟ้าแสงสว่าง กำลังไฟฟ้า Class 1 และวงจรอื่นๆ การจัดวางนี้สามารถทำได้เพื่ออำนวยความสะดวกในการเชื่อมต่อกับอุปกรณ์ที่เกี่ยวข้องกับวงจร Class 2 ภายใต้เงื่อนไขเฉพาะสองประการ:
(1) ตัวนำวงจร Class 1 ต้องจัดวางให้มีระยะห่างขั้นต่ำ 6 มม. (0.25 นิ้ว) จากตัวนำและสายเคเบิล Class 2.
(2) ตัวนำวงจรต้องทำงานที่แรงดันไฟฟ้า 150 โวลต์หรือน้อยกว่าถึงกราวด์ และเป็นไปตามข้อกำหนดข้อใดข้อหนึ่งดังต่อไปนี้:
วงจร Class 2 ควรใช้สายเคเบิลประเภท CL3, CL3R หรือ CL3P หรือทางเลือกที่เหมาะสม โดย確保ว่าตัวนำใดๆ ที่ยื่นออกไปเกินเปลือกสายเคเบิลต้องแยกออกจากตัวนำอื่นๆ ทั้งหมดด้วยระยะห่างอย่างน้อย 6 มม. (0.25 นิ้ว) หรือหุ้มด้วยปลอกหรือแผงกั้นที่ไม่นำไฟฟ้า หรืออีกทางหนึ่ง ตัวนำวงจร Class 2 สามารถติดตั้งได้ตามแนวทางสำหรับวงจร Class 1 นอกจากนี้ บัลลาสต์และไดรเวอร์แบบ 0-10V ต้องรักษาระยะห่างอย่างน้อย 0.25 นิ้วระหว่างแรงดันไฟฟ้าสายหลักและขั้วต่อบัสสำหรับการติดตั้งแบบ Class 2.

สิ่งที่ควรจำ!
เมื่อทำงานกับการเดินสายไฟ 0-10V โปรดคำนึงถึงประเด็นสำคัญเหล่านี้:
– ปิดไฟเสมอก่อนเริ่มงานเดินสายใดๆ นี่เป็นข้อควรระวังด้านความปลอดภัยพื้นฐานที่ป้องกันไฟฟ้าช็อตหรือไฟฟ้าลัดวงจรโดยไม่ตั้งใจ ตรวจสอบว่าไฟปิดแล้วโดยใช้เครื่องทดสอบแรงดันไฟฟ้าก่อนจับต้องสายไฟใดๆ.
– ปฏิบัติตามคำแนะนำของผู้ผลิตและข้อกำหนดไฟฟ้าท้องถิ่น คำแนะนำให้แนวทางเฉพาะสำหรับการติดตั้งและใช้งานผลิตภัณฑ์ของผู้ผลิตอย่างปลอดภัยและมีประสิทธิภาพ ข้อกำหนดไฟฟ้าท้องถิ่นช่วยให้การติดตั้งของคุณเป็นไปตามมาตรฐานความปลอดภัยขั้นต่ำ และยังช่วยให้สอดคล้องกับข้อบังคับท้องถิ่น.
– ตรวจสอบการเชื่อมต่อทั้งหมดอีกครั้งเพื่อให้แน่ใจว่าปลอดภัยและถูกต้อง การเชื่อมต่อที่หลวมหรือไม่ถูกต้องอาจทำให้ประสิทธิภาพการทำงานไม่ดี ไฟกระพริบ หรือแม้กระทั่งความเสียหายต่อไดรเวอร์ LED หรือโคมไฟ ใช้อุปกรณ์เชื่อมต่อและเครื่องมือที่เหมาะสมเพื่อยึดการเชื่อมต่อแต่ละจุดอย่างถูกต้อง.
– ใช้ขนาดสายไฟที่ถูกต้องสำหรับการติดตั้งของคุณ การใช้ขนาดสายไฟที่ไม่ถูกต้องอาจทำให้เกิดแรงดันตก ประสิทธิภาพลดลง และอันตรายด้านความปลอดภัยที่อาจเกิดขึ้น อ้างอิงข้อมูลจำเพาะของผู้ผลิตและข้อกำหนดท้องถิ่นเพื่อหาขนาดสายไฟที่เหมาะสมสำหรับระบบของคุณ.
– ทดสอบระบบอย่างละเอียดหลังการติดตั้ง ก่อนสรุปการติดตั้ง ให้ทดสอบระบบ ตรวจสอบให้แน่ใจว่าทุกส่วนทำงานและการหรี่แสงทำงานตามที่คาดหวัง ซึ่งช่วยระบุปัญหาใดๆ ตั้งแต่เนิ่นๆ และช่วยให้คุณปรับเปลี่ยนที่จำเป็นก่อนเสร็จสิ้นโครงการ.
โดยคำนึงถึงประเด็นเหล่านี้ คุณสามารถมั่นใจได้ว่าการติดตั้งไดรเวอร์ LED แบบ 0-10V และระบบไฟส่องสว่างของคุณประสบความสำเร็จและปลอดภัย.
การเชื่อมต่อของสายไฟมีความสำคัญในการเดินสายไฟ 0-10V หรือไม่?
ใช่ การเชื่อมต่อสายไฟมีความสำคัญอย่างยิ่งในการเดินสายแบบ 0-10V การเชื่อมต่อที่ไม่ถูกต้องอาจส่งผลให้ประสิทธิภาพการหรี่แสงไม่ดีหรือแม้กระทั่งความเสียหายต่อไดรเวอร์ LED หรือโคมไฟ ตรวจสอบให้แน่ใจว่าการเชื่อมต่อทั้งหมดปลอดภัยและเป็นไปตามขั้วที่ถูกต้อง ซึ่งหมายความว่าสายบวกและสายลบต้องเชื่อมต่อกับขั้วต่อที่สอดคล้องกันบนตัวหรี่แสง ไดรเวอร์ และโคมไฟ.
สิ่งสำคัญคือต้องใช้เครื่องมือและอุปกรณ์เชื่อมต่อคุณภาพสูงเพื่อให้แน่ใจว่าขั้วถูกต้อง ซึ่งป้องกันการเชื่อมต่อที่หลวมที่อาจทำให้เกิดปัญหาที่ไม่ต่อเนื่องหรือความล้มเหลวทั้งหมดของระบบหรี่แสง ใช้น็อตยึดสายไฟ เทอร์มินัลบล็อก หรือคอนเนคเตอร์แบบคริมป์ตามที่ผู้ผลิตแนะนำ.
คุณต้องตรวจสอบการเชื่อมต่อบ่อยครั้งด้วย ซึ่งสำคัญโดยเฉพาะในสถานที่ที่สายไฟอาจสัมผัสกับการสั่นสะเทือน สถานที่เหล่านี้มีการเปลี่ยนแปลงอุณหภูมิและปัจจัยอื่นๆ ที่อาจเป็นอันตรายต่อการเชื่อมต่อ การบำรุงรักษาและการตรวจสอบเป็นประจำช่วยค้นหาและแก้ไขปัญหาได้ก่อนที่ปัญหาจะใหญ่ขึ้น.
สีสายไฟ 0-10V ที่ต้องเปลี่ยน
ก่อนหน้านี้ การหรี่แสงแบบ 0-10V ใช้สายคู่สีเทาและสีม่วง การกำหนดสีนี้กำลังเปลี่ยนเป็นมาตรฐานใหม่ โดยใช้สายสีชมพูแทนสายสีเทา โปรดทราบถึงการเปลี่ยนแปลงนี้เพื่อให้แน่ใจว่าสามารถใช้งานร่วมกับการติดตั้งใหม่ได้ มาตรฐานการกำหนดสีใหม่มีจุดมุ่งหมายเพื่อลดความสับสนและเพิ่มความปลอดภัย โดยใช้รูปแบบสีที่สอดคล้องกันสำหรับสายไฟแรงดันต่ำสำหรับการหรี่แสง.
เมื่อทำงานกับการติดตั้งใหม่หรือการปรับปรุงระบบที่มีอยู่ ให้ตรวจสอบสีสายไฟ ตรวจสอบให้แน่ใจว่าตรงกับมาตรฐานใหม่ ซึ่งอาจเกี่ยวข้องกับการเปลี่ยนสายไฟเก่าด้วยสายไฟที่กำหนดสีใหม่ หรือใช้ฉลากเพื่อแสดงหน้าที่ที่ถูกต้องของแต่ละสาย.

การปฏิบัติตามมาตรฐานการกำหนดสีใหม่ช่วยให้การติดตั้งของคุณเป็นปัจจุบันและเป็นไปตามแนวทางปฏิบัติในอุตสาหกรรมปัจจุบัน ซึ่งยังทำให้การบำรุงรักษาและการแก้ไขปัญหาในอนาคตง่ายขึ้น สีช่วยในการระบุและทำงานกับสายไฟ.
ขนาดสายไฟ 0-10V ที่แนะนำคือเท่าไร?
ขนาดสายไฟที่แนะนำสำหรับวงจรหรี่แสงแบบ 0-10V โดยทั่วไปคือ 18 AWG ขนาดนี้ให้ความสมดุลที่ดีระหว่างความยืดหยุ่นและความทนทานสำหรับการติดตั้งส่วนใหญ่ การใช้ขนาดสายไฟที่ถูกต้องเป็นสิ่งจำเป็นเพื่อให้แน่ใจว่าสัญญาณการหรี่แสงถูกส่งอย่างแม่นยำโดยไม่มีการลดแรงดันไฟฟ้ามากนัก.
สำหรับระยะทางที่ยาวขึ้นหรือการติดตั้งที่มีโคมไฟหลายดวง อาจจำเป็นต้องใช้สายไฟขนาดใหญ่ขึ้นเพื่อรักษาความสมบูรณ์ของสัญญาณ สายไฟที่ใหญ่กว่ามีความต้านทานต่ำกว่า ซึ่งช่วยป้องกันแรงดันตกในระยะทางที่ยาวขึ้น ตรวจสอบข้อมูลจำเพาะของผู้ผลิตและข้อกำหนดท้องถิ่นเพื่อหาขนาดสายไฟที่เหมาะสมสำหรับการติดตั้งของคุณ.
การใช้ขนาดสายไฟที่ถูกต้องไม่เพียงแต่ช่วยให้การทำงานมีประสิทธิภาพ可靠 แต่ยังเพิ่มความปลอดภัยในการติดตั้งอีกด้วย สายไฟที่บางเกินไปอาจเกิดความร้อนสูงเกินไป ซึ่งเป็นสาเหตุของอันตรายจากอัคคีภัย สายไฟที่หนาเกินไปจะใช้งานยากและเพิ่มต้นทุนการติดตั้งโดยไม่จำเป็น.
ฉันสามารถเดินวงจร 0-10V แรงดันต่ำได้ไกลแค่ไหน?
ระยะทางสูงสุดสำหรับการเดินวงจร 0-10V แรงดันต่ำขึ้นอยู่กับโหลดทั้งหมดและขนาดสายไฟ โดยทั่วไป ด้วยสายไฟ 18 AWG คุณสามารถเดินวงจรได้สูงสุด 200 ฟุตโดยไม่มีการลดแรงดันไฟฟ้าอย่างมีนัยสำคัญ สำหรับระยะทางที่ไกลขึ้น ควรพิจารณาใช้สายไฟที่หนาขึ้นเพื่อรักษาประสิทธิภาพการทำงาน.
การลดแรงดันไฟฟ้าเกิดขึ้นเมื่อความต้านทานของสายไฟทำให้แรงดันไฟฟ้าลดลงขณะที่กระแสไฟฟ้าไหลผ่านสายไฟ ซึ่งอาจส่งผลต่อประสิทธิภาพของระบบควบคุมการหรี่แสง ทำให้ระดับแสงไม่สม่ำเสมอหรือลดลง เพื่อลดการลดแรงดันไฟฟ้า ควรใช้ขนาดสายไฟที่เหมาะสมกับระยะทางและโหลดของการติดตั้งของคุณ.
เมื่อวางแผนการเดินสายไฟ ควรพิจารณาตำแหน่งของตัวหรี่แสง ไดรเวอร์ และโคมไฟ ซึ่งจะช่วยให้การเดินสายสั้นลงและลดระยะทางได้ ซึ่งสามารถลดความจำเป็นในการใช้สายไฟที่หนาขึ้นและทำให้กระบวนการติดตั้งง่ายขึ้น.
นอกจากนี้ ตรวจสอบให้แน่ใจว่าการเชื่อมต่อทั้งหมดแน่นหนา และสายไฟได้รับการป้องกันและจัดระเบียบอย่างเหมาะสม เพื่อป้องกันความเสียหายและรักษาความสมบูรณ์ของวงจรในระยะยาว.
จุดที่ควรจำ
- ตรวจสอบความเข้ากันได้: ตรวจสอบให้แน่ใจว่าอุปกรณ์ทั้งหมดเข้ากันได้กับการหรี่แสงแบบ 0-10V.
- ปฏิบัติตามแนวทาง NEC: ปฏิบัติตามข้อกำหนดทั้งหมด NEC สำหรับการเดินสายไฟ.
- ทดสอบก่อนสรุปผล: ทดสอบระบบอย่างละเอียดก่อนสรุปการติดตั้ง.
โดยปฏิบัติตามจุดเหล่านี้ คุณสามารถมั่นใจได้ว่าการติดตั้งไดรเวอร์ LED แบบ 0-10V และระบบไฟของคุณประสบความสำเร็จและปลอดภัย.
บทสรุป
หากคุณต้องการ ไดรเวอร์ LED หรี่แสงได้ 0-10V และ ตัวหรี่แสง 0-10V, กรุณาคลิกที่หมวดหมู่เพื่อดูข้อมูลเพิ่มเติม.