














แถบ LED TRIAC ที่ไม่ยอมดับสนิทเกือบทำให้เราสูญเสียความสัมพันธ์กับผู้จัดจำหน่ายรายใหญ่ในเยอรมนีเมื่อปีที่แล้ว — และข้อร้องเรียนนั้นสอนบทเรียนสำคัญให้ทีมวิศวกรรมของเรา.
TRIAC LED strips don’t turn off completely because a small leakage current flows through the dimmer even in its off state. That residual voltage partially energizes the dimmable LED driver, and because LEDs need very little power to emit light, the strip produces a faint glow or periodic flash.
สาเหตุรากมักไม่ใช่ตัวแถบ LED เอง แต่เป็นปฏิสัมพันธ์ระหว่างดิ้มเมอร์ ไดรเวอร์ LED 1, และโหลดที่เชื่อมต่อ ด้านล่างนี้ผมจะอธิบายอย่างละเอียดว่าทำไมสิ่งนี้จึงเกิดขึ้น และคุณสามารถทำอะไรได้บ้าง.
อะไรทำให้แถบ LED TRIAC ของฉันยังคงสว่างริบหรี่แม้หลังจากที่ฉันปิดมันแล้ว?
ระหว่างการตรวจสอบโรงงานเมื่อไตรมาสที่แล้ว เราได้เชื่อมต่อแถบ LED เดียวกันกับดิ้มเมอร์ TRIAC สามตัวที่แตกต่างกันบนแท่นทดสอบของเรา — และได้ผลลัพธ์สถานะปิดที่แตกต่างกันโดยสิ้นเชิงสามแบบ.
สาเหตุหลักคือกระแสรั่วไหลของดิ้มเมอร์ สารกึ่งตัวนำ TRIAC ไม่สามารถตัดวงจรได้สมบูรณ์แบบ ดังนั้นกระแส 1–5 mA สามารถไหลผ่านได้แม้ในขณะที่ดิ้มเมอร์อยู่ในสถานะปิด กระแสเพียงเล็กน้อยนั้นมองไม่เห็นสำหรับหลอดไส้ แต่เพียงพอที่จะทำให้แถบ LED เรืองแสงได้.

ทำไม LED ถึงตอบสนองต่อกระแสขนาดไมโคร
หลอดไส้ต้องใช้กระแสไฟฟ้าจำนวนมากเพื่อให้ไส้หลอดร้อน LED ไม่ต้อง กระแสที่มองไม่เห็นเลยในหลอดฮาโลเจน 60 W สามารถทำให้เกิดเอฟเฟกต์ผีที่สังเกตเห็นได้ในแถบ LED ที่มีพิกัดเพียงไม่กี่วัตต์ นี่ไม่ใช่ข้อบกพร่อง แต่เป็นผลโดยตรงจากประสิทธิภาพของ LED รอยต่อสารกึ่งตัวนำ 2 ภายใน LED แต่ละดวงสามารถเปล่งโฟตอนที่ระดับไมโครแอมแปร์ ความไวนั้นคือสิ่งที่ทำให้ LED ประหยัดพลังงาน — และยังเป็นสิ่งที่ทำให้ LED เปราะบางต่อทุกมิลลิแอมป์ที่รั่วไหลในวงจร.
สาเหตุรากทั้งห้า
ผมได้จัดเรียงสาเหตุตามความถี่ที่เราพบในการคืนสินค้าจากภาคสนามจริง:
| สาเหตุ | เกิดอะไรขึ้น | พบบ่อยแค่ไหน |
|---|---|---|
| ดิ้มเมอร์ กระแสรั่วไหล 3 | 1–5 mA ผ่าน TRIAC แม้ในสถานะปิด | พบบ่อยมาก |
| ไม่เป็นไปตามข้อกำหนดโหลดขั้นต่ำ | ดิ้มเมอร์ไม่สามารถทำงานได้อย่างถูกต้องต่ำกว่าพิกัดโหลด LED | พบบ่อย |
| การเชื่อมต่อแบบคาปาซิทีฟในสายไฟ | สายไฟที่มีกระแสไฟฟ้าอยู่ใกล้เคียงเหนี่ยวนำแรงดันผีเข้าสู่ขาที่ถูกสวิตช์ | ปานกลาง |
| พลังงานที่สะสมในตัวเก็บประจุของไดรเวอร์ | ตัวเก็บประจุอิเล็กโทรไลติกคายประจุอย่างช้าๆ ผ่าน LED | ปานกลาง |
| ค่าแรงดันขั้นต่ำของเฟิร์มแวร์ดิ้มเมอร์ | ดิ้มเมอร์ดิจิทัลตั้งค่าเอาต์พุตขั้นต่ำสูงกว่าศูนย์โวลต์จริง | พบน้อยกว่า |
นอกจากนี้ยังมีปัญหา กระแสยึดเหนี่ยว 4 ที่ควรทำความเข้าใจ TRIAC จะคงสถานะล็อก — นำกระแส — จนกระแสที่ไหลผ่านลดลงต่ำกว่าเกณฑ์ที่เรียกว่ากระแสยึดเหนี่ยว ณ จุดตัดศูนย์ของ AC แต่ละรอบ เมื่อโหลด LED มีขนาดเล็กมาก กระแสอาจอยู่ใกล้เกณฑ์นั้น TRIAC อาจไม่รีเซ็ตกลับสู่สถานะไม่นำกระแสอย่างสมบูรณ์ในทุกรอบ ผลลัพธ์จึงคาดเดาไม่ได้: บางครั้งแถบ LED ดับ บางครั้งก็ไม่ดับ.
พฤติกรรม Leading Edge กับ Trailing Edge
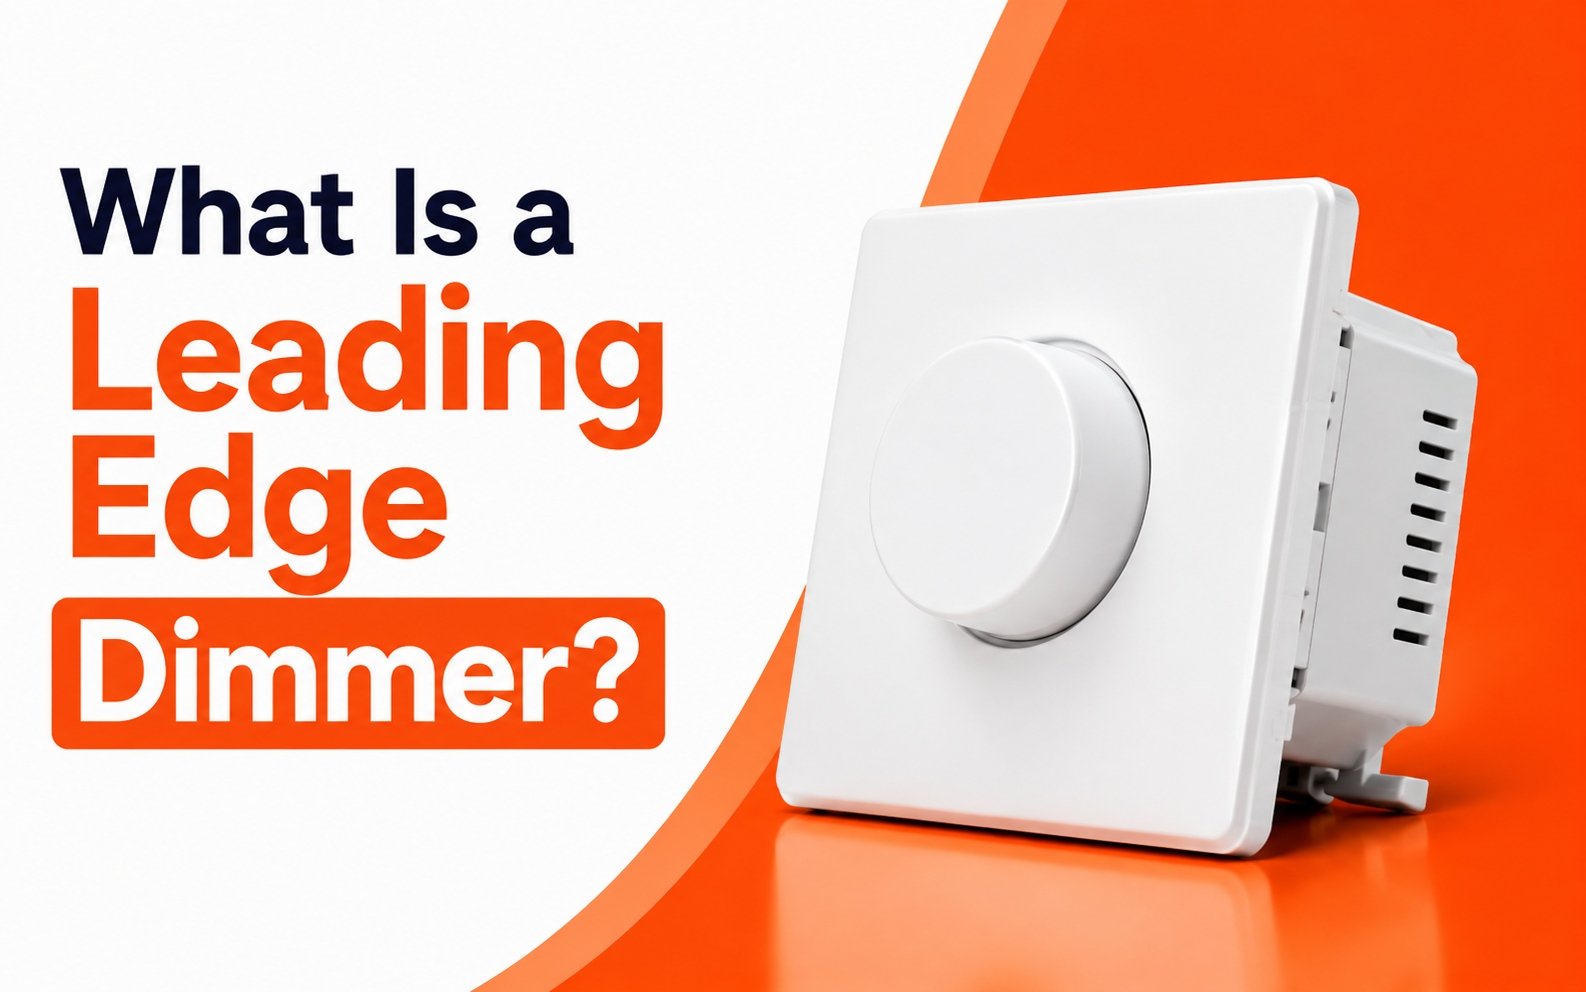
ดิ้มเมอร์แบบ leading edge ตัดด้านหน้าของแต่ละครึ่งรอบ AC ดิ้มเมอร์แบบ trailing edge ตัดด้านหลัง ดิ้มเมอร์ทั้งสองประเภท การหรี่ไฟแบบตัดเฟส (phase-cut dimming) 5 สามารถรั่วกระแสได้ แต่มีพฤติกรรมแตกต่างกันที่ปลายล่างของช่วงการหรี่แสง.
In our testing, trailing edge dimmers generally produce smoother low-end dimming. But “smoother” does not always mean “true zero.” Both types can allow residual voltage to reach the driver if the dimmer’s internal snubber network creates a bypass path. That snubber — an RC circuit designed to protect the TRIAC from voltage spikes — is a permanent AC path between line and load. It exists in nearly every phase-cut dimming device.
วงจรการชาร์จที่ทำให้เกิดการกะพริบ
บางครั้งแถบ LED ไม่เรืองแสงต่อเนื่อง แต่กะพริบทุกไม่กี่วินาที สิ่งนี้เกิดขึ้นเพราะกระแสรั่วไหลค่อยๆ ชาร์จตัวเก็บประจุอินพุตภายในไดรเวอร์ LED เมื่อพลังงานสะสมเพียงพอ ไดรเวอร์จะสตาร์ทชั่วขณะ ส่งพัลส์พลังงานไปยัง LED และตัวเก็บประจุก็คายประจุ จากนั้นวงจรก็วนซ้ำ:
กระแสรั่วไหล → ตัวเก็บประจุชาร์จ → ไดรเวอร์สตาร์ทชั่วขณะ → LED กะพริบ → ตัวเก็บประจุคายประจุ → วงจรวนซ้ำ
การกะพริบเป็นระยะนี้ทำให้ผู้ใช้ปลายทางตื่นตระหนกมากกว่าแสงเรืองรองจางๆ แต่สาเหตุรากก็เหมือนกัน: กระแสตกค้างจากดิ้มเมอร์ไปถึงไดรเวอร์ที่ใช้พลังงานน้อยมากในการตื่นตัว.
ฉันจะแก้ไขปัญหาแสงเรืองค้างเมื่อใช้ TRIAC dimmers กับ LED strips ได้อย่างไร?
The trade-off we weigh on every project is straightforward: should you treat the symptom at the load side, or solve the problem at the dimmer-driver level?
คุณสามารถแก้ไขปัญหาแสงเรืองค้างได้โดยการเพิ่มตัวต้านทานโหลดจำลองหรือตัวเก็บประจุบายพาส LED คร่อมเอาต์พุต เปลี่ยนดิ้มเมอร์เป็นรุ่นที่รองรับโหลด LED ต่ำ หรือ — วิธีที่เชื่อถือได้มากที่สุด — ใช้ไดรเวอร์ LED แบบหรี่แสงได้และดิ้มเมอร์ที่จับคู่กันและผ่านการทดสอบร่วมกันเป็นระบบที่สมบูรณ์.

วิธีแก้ชั่วคราวกับวิธีแก้ที่ถูกต้อง
Not every fix carries the same risk or cost. Here is a comparison ranked from simplest to most reliable:
| วิธีแก้ไข | วิธีการทำงาน | ข้อดี | ข้อเสีย |
|---|---|---|---|
| Dummy load resistor | Adds a resistive load to raise total wattage above the dimmer’s minimum load requirement | Cheap, fast to install | Wastes energy, can overheat if poorly sized |
| LED bypass capacitor | Absorbs leakage current and prevents it from reaching the driver | Small, inexpensive | Must be correctly rated; wrong value can cause flicker or safety risk |
| Replace the dimmer | Use a dimmer with lower minimum load and proper LED rating | Solves root cause at the switch | Higher cost, requires rewiring |
| Matched dimmer-driver system | Use a driver and dimmer tested together for full-range compatibility | Best reliability across all dimming conditions | Requires sourcing from a single tested ecosystem |
| Relay-based hard disconnect | A relay physically opens the circuit when the dimmer reaches zero | True galvanic isolation, guaranteed zero current | Adds complexity, cost, and an additional component |
ทำไมการใช้อุปกรณ์สุ่มจึงเป็นอันตราย
One of the biggest mistakes I see in the field is an installer adding a random resistor or capacitor to eliminate the ghosting effect. If the component is undersized, it overheats. If it is oversized, it interferes with dimming performance. And if it is not rated for mains voltage, it becomes a fire risk.
Our engineering team has tested dozens of aftermarket “fix” components. The results are inconsistent. Some work with one dimmer and fail with another. Some work at room temperature but fail when the driver enclosure heats up during summer operation. Thermal drift of the TRIAC’s gate sensitivity makes the leakage current worse as temperatures rise, so a fix that works in a cool lab may fail in a ceiling void at 45 °C.
I strongly advise against adding unspecified components without consulting the driver manufacturer. The cheapest fix is not always the safest.
แนวทางระดับระบบ
The most reliable path is to treat the dimmer, driver, and LED load as one integrated system. When we develop our Boqi constant-voltage TRIAC LED drivers, we test them against a list of compatible leading edge dimmer and trailing edge dimmer models. That compatibility testing covers startup behavior, dimming range, flicker, and — critically — turn-off behavior.
A properly matched system eliminates the need for bypass components entirely. It also improves dimming stability, low-end performance, and startup reliability. This is why we always recommend that our distributors and lighting manufacturers specify the dimmer and driver together, not as separate line items.
The same LED strip may turn off perfectly with Dimmer A, glow faintly with Dimmer B, and flicker with Dimmer C. TRIAC dimmers are not electrically identical, even when all of them are marketed as “LED compatible.” That is the core problem, and system-level matching is the core solution.
ฉันควรระบุ LED driver ใดเพื่อหลีกเลี่ยงการปิดไม่สมบูรณ์ในโปรเจกต์ TRIAC dimming ของฉัน?
A procurement manager in Singapore once told me she had tested four different “TRIAC-compatible” drivers from four suppliers — and only one turned off cleanly with her project’s dimmer.
ระบุไดรเวอร์ LED แบบหรี่แสงได้ที่มาพร้อมตารางความเข้ากันได้ของดิ้มเมอร์ที่ผ่านการทดสอบ รองรับการหรี่แสงแบบ phase-cut ทั้งแบบ leading edge และ trailing edge มีการใช้พลังงานขณะสแตนด์บายต่ำ และตรงตามข้อกำหนดโหลดขั้นต่ำของดิ้มเมอร์ที่คุณเลือก ไดรเวอร์ที่ไม่มีการเผยแพร่ข้อมูลความเข้ากันได้ถือเป็นการเสี่ยง.

สิ่งที่ควรดูใน datasheet ของไดรเวอร์
Not every datasheet tells you what you need to know. Here are the specifications that matter most for preventing incomplete shut-off:
| ข้อมูลจำเพาะ | เหตุใดจึงสำคัญ | สิ่งที่ควรพิจารณา |
|---|---|---|
| Dimming type | Confirms phase-cut dimming compatibility | “TRIAC / leading edge / trailing edge” clearly stated |
| ระดับการหรี่ไฟขั้นต่ำ | Shows how low the driver can dim | 1% or lower is ideal; 5% or above may not reach true off with some dimmers |
| Standby power | Energy consumed when dimmer is at minimum | Below 0.5 W reduces residual voltage and ghosting risk |
| Tested dimmer list | Proves real-world compatibility | รุ่นไดมเมอร์ที่มีชื่อรุ่นและผลการทดสอบประสิทธิภาพที่ยืนยันแล้ว |
| ช่วงแรงดันเอาต์พุต | ต้องตรงกับแถบ LED ของคุณ | แรงดันคงที่: 12 V หรือ 24 V DC |
| อัตรากำลังไฟเทียบกับโหลดขั้นต่ำของไดมเมอร์ | ไดรเวอร์ต้องดึงกระแสไฟเพียงพอให้ไดมเมอร์ทำงาน | ตรวจสอบว่ากำลังไฟขาเข้าของไดรเวอร์เกินโหลด LED ขั้นต่ำที่ไดมเมอร์ระบุไว้ |
Constant Voltage กับ Constant Current
สำหรับการใช้งานแถบ LED คุณเกือบ всегда ต้องใช้ไดรเวอร์แบบแรงดันคงที่ ตัวแถบเองมีตัวต้านทานในตัวที่ควบคุมกระแสไฟไปยัง LED แต่ละกลุ่ม A constant-current driver ถูกออกแบบสำหรับโคมไฟประเภทต่างๆ — ไฟแผง ดาวน์ไลท์ และผลิตภัณฑ์ที่คล้ายกันซึ่ง LED ต่อแบบอนุกรม.
เมื่อเราออกแบบไดรเวอร์ LED TRIAC แบบแรงดันคงที่ของ Boqi ขั้นตอนอินพุตได้รับการปรับให้เหมาะสมสำหรับ สัญญาณหรี่ไฟแบบตัดเฟส. นั่นหมายความว่า การแก้ไขตัวประกอบกำลัง 6 วงจรและ EMI filter ได้รับการปรับแต่งเพื่อให้ Y-capacitors ในฟิลเตอร์ไม่สร้างเส้นทางรั่วไหลที่มากเกินไป การรั่วไหลของ Y-capacitor ใน EMI filter เป็นหนึ่งในสาเหตุที่มองเห็นได้ยากของการเรืองแสงphantom ตัวฟิลเตอร์เองสามารถรั่วกระแสไฟเล็กน้อยไปยังกราวด์ตัวเครื่อง และหากแถบ LED ติดตั้งบนรางอะลูมิเนียมที่ต่อกราวด์ จะเกิดวงจรผีที่ข้ามเส้นทางจ่ายไฟที่ตั้งใจไว้ทั้งหมด.
Why “LED Compatible” Is Not Enough
ไดมเมอร์หลายรุ่นถูกวางตลาดว่า “รองรับ LED” แต่ป้ายกำกับนั้นไม่มีมาตรฐานสากลรองรับ มันเพียงหมายความว่าไดมเมอร์ได้รับการออกแบบโดยคำนึงถึงโหลด LED ไม่ได้รับประกันการทำงานที่ราบรื่นกับไดรเวอร์เฉพาะของคุณ.
เช่นเดียวกันกับฝั่งไดรเวอร์ ไดรเวอร์ที่ติดป้าย “TRIAC dimmable” ยืนยันว่าสามารถรับอินพุต AC แบบตัดเฟสได้ ไม่ได้ยืนยันการหรี่ไฟที่นุ่มนวล การสตาร์ทที่เชื่อถือได้ หรือการปิดสนิทกับไดมเมอร์ TRIAC ทุกรุ่นในตลาด.
นี่คือเหตุผลที่เราเผยแพร่รายการความเข้ากันได้ของไดมเมอร์ที่ผ่านการทดสอบกับไดรเวอร์ Boqi ของเรา ทีมงานของเราในเซินเจิ้นทดสอบไดรเวอร์แต่ละรุ่นกับไดมเมอร์หลายรุ่นจากตลาดที่เราส่งออก — รวมถึงรุ่นที่พบได้ทั่วไปในสหราชอาณาจักร เยอรมนี ออสเตรเลีย และเอเชียตะวันออกเฉียงใต้ กระบวนการนั้นใช้เวลา แต่ช่วยให้ผู้จัดจำหน่ายของเราหลีกเลี่ยงความล้มเหลวหน้างานที่มีค่าใช้จ่ายสูงและการเคลมประกัน.
คำถามจริงที่เจ้าหน้าที่จัดซื้อควรถามไม่ใช่ “ไดรเวอร์นี้เป็น TRIAC dimmable หรือไม่?” แต่เป็น “ไดรเวอร์นี้ได้รับการทดสอบกับไดมเมอร์เฉพาะที่โครงการของฉันใช้หรือไม่?” หากซัพพลายเออร์ไม่สามารถตอบคำถามนั้นด้วยข้อมูลได้ ความเสี่ยงยังคงอยู่กับคุณ.
ฉันจะทดสอบความเข้ากันได้ของ TRIAC ก่อนยืนยันคำสั่งซื้อจำนวนมากกับซัพพลายเออร์ได้อย่างไร?
บทเรียนที่เราเรียนรู้ตั้งแต่เริ่มธุรกิจส่งออก: อย่าอนุมัติคำสั่งซื้อจำนวนมากจากการทดสอบบนโต๊ะเพียงครั้งเดียวที่อุณหภูมิห้องด้วยสายไฟสั้น.
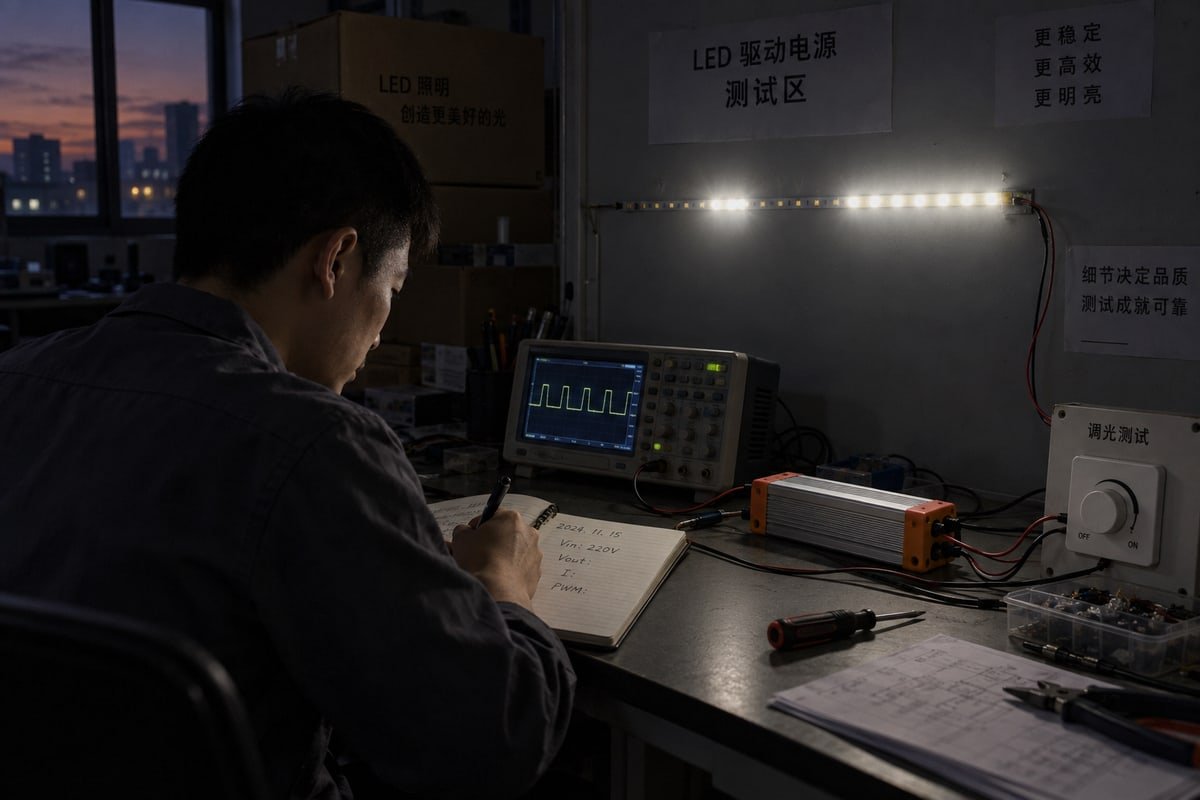
ทดสอบความเข้ากันได้ของ TRIAC โดยการใช้งาน LED driver และ dimmer ร่วมกันผ่านโปรโตคอลที่มีโครงสร้าง ซึ่งตรวจสอบการเริ่มต้นทำงาน การหรี่แสงเต็มช่วง ความเสถียรที่ระดับต่ำ การกะพริบ และการปิดสนิท — จากนั้นทำซ้ำที่อุณหภูมิสูงและด้วยความยาวสายสูงสุดเพื่อจำลองสภาวะการใช้งานจริงในภาคสนาม.
ขั้นตอนการทดสอบเจ็ดขั้นตอนในทางปฏิบัติ
นี่คือโปรโตคอลที่เราใช้ภายในก่อนอนุมัติการจับคู่ไดมเมอร์-ไดรเวอร์สำหรับการผลิตเพื่อจัดส่ง:
- ทดสอบสตาร์ทเย็น. เปิดไดมเมอร์จากศูนย์ แถบ LED ควรติดสว่างอย่างนุ่มนวลโดยไม่กระพริบติดที่ระดับความสว่างแบบสุ่ม.
- กวาดช่วงเต็ม. หรี่ไฟช้าๆ จาก 100% ไปต่ำสุด สังเกตการกะพริบ การกระตุก หรือการกระโดดของความสว่างอย่างฉับพลัน.
- คงระดับต่ำสุด. ตั้งไดมเมอร์ที่ระดับต่ำสุดที่มองเห็นได้และทิ้งไว้ 10 นาที เอาต์พุตควรคงที่โดยไม่มีการกะพริบที่มองเห็นได้.
- ทดสอบปิด. สลับไดมเมอร์ไปที่ปิด แถบต้องดับสนิทภายใน 2 วินาที โดยไม่มีการเรืองแสงตกค้างและไม่มีการกะพริบเป็นระยะ.
- ทดสอบความร้อน. ปิดไดรเวอร์ในพื้นที่ที่จำลองช่องเพดานหรือช่องเฟอร์นิเจอร์ เปิดใช้งาน 2 ชั่วโมงที่ระดับหรี่ไฟต่ำ แล้วทดสอบปิดซ้ำ การเลื่อนทางความร้อนของความไวเกต TRIAC เพิ่มกระแสรั่วไหลเมื่ออุปกรณ์ร้อน.
- ทดสอบความยาวสาย. เพิ่มความยาวสายสูงสุดที่คุณคาดว่าจะใช้ในการติดตั้งจริง สายที่ยาวขึ้นเพิ่มการเชื่อมต่อแบบคาปาซิทีฟ ซึ่งสามารถนำแรงดันผีเข้าสู่วงจร LED.
- ทดสอบหลายตัว. ต่อจำนวนไดรเวอร์ที่คุณวางแผนจะติดตั้งบนวงจรไดมเมอร์เดียว ไดรเวอร์หลายตัวเปลี่ยนโหลดรวมและสามารถดันระบบออกนอกหน้าต่างการทำงานของไดมเมอร์.
ความล้มเหลวมีลักษณะอย่างไร
รูปแบบความล้มเหลวแต่ละแบบชี้ไปที่สาเหตุที่แตกต่างกัน ใช้ตารางนี้เพื่อวินิจฉัยสิ่งที่คุณเห็นระหว่างการทดสอบ:
| อาการระหว่างการทดสอบ | สาเหตุที่เป็นไปได้ | การดำเนินการที่แนะนำ |
|---|---|---|
| แถบติดสว่างที่ 30% แทนที่จะเป็น 0% | แรงดันพื้นของเฟิร์มแวร์ไดมเมอร์ตั้งไว้สูงเกินไป | ลองใช้ไดมเมอร์อื่นหรือขอปรับเฟิร์มแวร์ |
| แถบกะพริบที่ระดับต่ำ | สัญญาณตัดเฟสไม่เสถียรที่มุมนำไฟฟ้าต่ำ | เปลี่ยนจากไดมเมอร์แบบ leading edge เป็น trailing edge |
| เรืองแสงจางๆ เมื่อปิด | กระแสรั่วไหลหรือบายพาสวงจร snubber | ยืนยันความเข้ากันได้ของไดมเมอร์-ไดรเวอร์หรือใช้ระบบที่จับคู่กัน |
| กะพริบเป็นระยะทุก 3–5 วินาที | วงจรชาร์จ-ดิสชาร์จของคาปาซิเตอร์จากแรงดันตกค้าง | เพิ่มคาปาซิเตอร์บายพาส LED ที่ผ่านการทดสอบหรือเปลี่ยนเป็นไดมเมอร์ที่เข้ากันได้ |
| ทำงานที่อุณหภูมิห้องแต่เรืองแสงเมื่อร้อน | การเลื่อนทางความร้อนเพิ่มกระแสรั่วไหลของ TRIAC | ใช้ไดมเมอร์ที่มีสเปกกระแสรั่วไหลต่ำกว่า |
ควรทดสอบกี่ตัวอย่าง
ฉันแนะนำให้ทดสอบอย่างน้อย 3 ตัวอย่างของแต่ละส่วนประกอบ ความคลาดเคลื่อนในการผลิตหมายความว่าตัวอย่างหนึ่งอาจผ่านในขณะที่อีกตัวอย่างล้มเหลวที่ขอบเขต หาก 1 ใน 3 ตัวอย่างล้มเหลวในการทดสอบการปิด นั่นเป็นสัญญาณเตือนสำหรับความน่าเชื่อถือภาคสนาม เราใช้กฎนี้กับการผลิตของเราเอง — ทุก批次ของ Boqi TRIAC LED drivers ผ่านการตรวจสอบความเข้ากันได้กับ dimmer แบบสุ่มก่อนที่เราจะอนุมัติการจัดส่ง.
เมื่อใดควรขอตัวอย่างก่อนสั่งซื้อ
หากซัพพลายเออร์ของคุณไม่สามารถให้รายการความเข้ากันได้กับ dimmer ที่ผ่านการทดสอบได้ ให้ขอตัวอย่างและดำเนินการตามโปรโตคอลข้างต้นด้วยตนเอง ค่าใช้จ่ายของตัวอย่างไดรเวอร์ 5 ตัวและการทดสอบหนึ่งสัปดาห์นั้นน้อยกว่าค่าใช้จ่ายของการเรียกคืนสินค้าภาคสนามสำหรับหลายพันหน่วยมาก นี่คือคำแนะนำที่ฉันให้กับผู้จัดจำหน่ายรายใหม่ทุกคนที่ติดต่อเราผ่านเว็บไซต์หรือในงานแสดงสินค้า.
ระบบ TRIAC dimming ควรได้รับการประเมินเป็นระบบที่สมบูรณ์เสมอ คำถามสำคัญไม่ใช่ “นี่คือ TRIAC dimmer หรือไม่?” คำถามคือ “dimmer นี้ได้รับการทดสอบและพิสูจน์แล้วว่าเข้ากันได้กับ LED driver เฉพาะรุ่นนี้หรือไม่?” การใช้ชุดค่าผสมที่ผ่านการทดสอบ — เช่น Boqi constant-voltage TRIAC LED drivers ที่จับคู่กับ Boqi leading edge และ trailing edge dimmers ที่เข้ากันได้ — ให้ประสิทธิภาพที่คาดเดาได้มากขึ้นสำหรับผู้ติดตั้งและผู้ผลิตระบบแสงสว่างในด้านการเริ่มต้น ช่วงการหรี่แสง การควบคุมการกะพริบ และพฤติกรรมการปิด.
นั่นคือความแตกต่างที่แท้จริงระหว่างระบบที่หรี่แสงได้สำเร็จในระหว่างการทดสอบบนโต๊ะอย่างรวดเร็ว กับระบบที่ทำงานได้อย่างน่าเชื่อถือในการติดตั้งจริงเป็นเวลาหลายปี.
บทสรุป
TRIAC LED strips ที่ไม่ยอมปิดเป็นปัญหาระบบ ไม่ใช่ข้อบกพร่องของ strip จับคู่ dimmer, dimmable LED driver และโหลดของคุณเป็นระบบที่ผ่านการทดสอบเพื่อกำจัดการเรืองแสงตกค้างอย่างถาวร.
สนใจจัดหาผลิตภัณฑ์ที่กล่าวถึงในบทความนี้? ดูรายละเอียดและขอใบเสนอราคาที่นี่:
เชิงอรรถ
ให้ภาพรวมทางเทคนิคของ LED drivers และบทบาทพื้นฐานในวงจรแสงสว่าง. ↩︎
คำอธิบายที่เชื่อถือได้เกี่ยวกับการทำงานของ LED semiconductor junctions และประสิทธิภาพพลังงานที่มีอยู่โดยธรรมชาติ. ↩︎
คำจำกัดความทางวิทยาศาสตร์และบริบททางวิศวกรรมสำหรับ leakage current ในวงจรอิเล็กทรอนิกส์และสารกึ่งตัวนำ. ↩︎
อธิบายการทำงานของ TRIAC semiconductor และแนวคิด holding current ที่อ้างอิงในบทความ. ↩︎
มาตรฐานอุตสาหกรรมสำหรับความเข้ากันได้ในการหรี่แสงระหว่าง solid-state lighting และระบบ phase-cut dimming. ↩︎
อธิบายแนวคิดทางไฟฟ้าของ power factor correction ที่ใช้ในระบบแสงสว่างประสิทธิภาพสูง. ↩︎