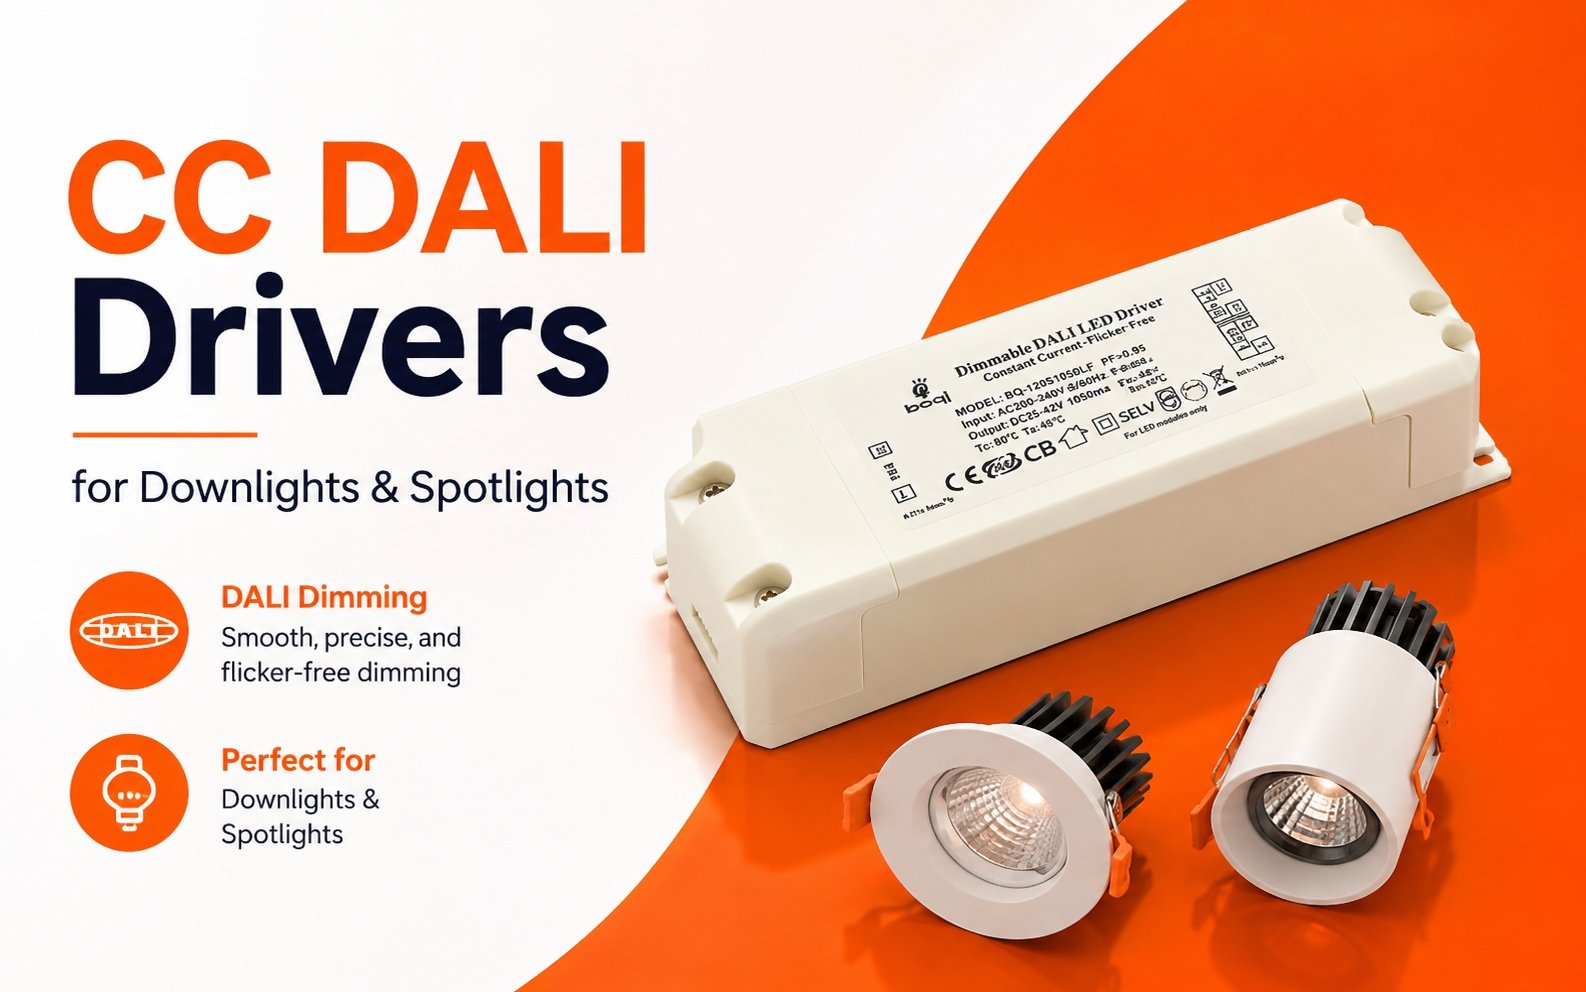















Strip LED TRIAC yang menolak mati sepenuhnya hampir membuat kami kehilangan hubungan dengan distributor besar di Jerman tahun lalu — dan keluhan itu mengajarkan tim teknik kami pelajaran penting.
Strip LED TRIAC tidak sepenuhnya mati karena arus bocor kecil mengalir melalui dimmer bahkan dalam keadaan mati. Tegangan sisa tersebut sebagian memberi energi pada driver LED yang dapat diredupkan, dan karena LED membutuhkan sangat sedikit daya untuk memancarkan cahaya, strip menghasilkan cahaya redup atau kilatan berkala.
Penyebab utamanya hampir tidak pernah pada strip LED itu sendiri. Ini adalah interaksi antara dimmer, Driver LED 1, dan beban yang terhubung. Di bawah ini, saya menjelaskan dengan tepat mengapa ini terjadi dan apa yang dapat Anda lakukan.
Apa yang menyebabkan strip LED TRIAC saya tetap menyala redup bahkan setelah saya mematikannya?
Selama audit pabrik kuartal lalu, kami menghubungkan strip LED yang sama ke tiga dimmer TRIAC berbeda di meja uji kami — dan mendapatkan tiga hasil kondisi mati yang sepenuhnya berbeda.
Penyebab utamanya adalah arus bocor dimmer. Semikonduktor TRIAC tidak pernah mencapai rangkaian terbuka yang sempurna, sehingga arus 1–5 mA dapat mengalir bahkan saat dimmer dalam keadaan mati. Arus kecil itu tidak terlihat oleh bola lampu pijar tetapi cukup untuk membuat strip LED menyala.

Mengapa LED Bereaksi terhadap Arus Mikro
Bola lampu pijar membutuhkan arus yang cukup besar untuk memanaskan filamen. LED tidak. Arus yang sama sekali tidak terlihat pada lampu halogen 60 W dapat menghasilkan efek ghosting yang nyata pada strip LED yang hanya berdaya beberapa watt. Ini bukan cacat. Ini adalah konsekuensi langsung dari efisiensi LED. sambungan semikonduktor 2 di dalam setiap LED dapat memancarkan foton pada tingkat mikro-ampere. Sensitivitas itulah yang membuat LED hemat energi — dan juga yang membuatnya rentan terhadap setiap miliampere liar di sirkuit.
Lima Penyebab Utama
Saya telah mengurutkan penyebab berdasarkan seberapa sering kami menemukannya dalam pengembalian lapangan nyata:
| Penyebab | Apa yang Terjadi | Seberapa Umum |
|---|---|---|
| Peredup arus bocor 3 | 1–5 mA melewati TRIAC bahkan saat mati | Sangat umum |
| Persyaratan beban minimum tidak terpenuhi | Dimmer tidak dapat beroperasi dengan benar di bawah beban LED terukurnya | Umum |
| Kopling kapasitif pada pengkabelan | Kabel live yang berdekatan menginduksi tegangan phantom ke dalam kaki yang di-switch | Sedang |
| Energi tersimpan dalam kapasitor driver | Kapasitor elektrolitik mengosongkan diri secara perlahan melalui LED | Sedang |
| Batas bawah tegangan firmware dimmer | Dimmer digital menetapkan output minimum di atas nol volt sebenarnya | Kurang umum |
Ada juga arus penahan 4 yang perlu dipahami. TRIAC tetap terkunci — menghantarkan — hingga arus yang melaluinya turun di bawah ambang batas yang disebut holding current pada setiap persilangan nol AC. Dengan beban LED yang sangat kecil, arus dapat berada di dekat ambang batas tersebut. TRIAC mungkin tidak sepenuhnya reset ke keadaan tidak menghantarkan pada setiap siklus. Hasilnya tidak dapat diprediksi: kadang strip mati, kadang tidak.
Perilaku Leading Edge vs. Trailing Edge
Dimmer leading edge memotong bagian depan setiap setengah siklus AC. Dimmer trailing edge memotong bagian belakang. Kedua jenis peredupan dengan pemotongan fase 5 dapat membocorkan arus, tetapi keduanya berperilaku berbeda pada ujung bawah rentang peredupan.
Dalam pengujian kami, dimmer trailing edge umumnya menghasilkan peredupan ujung bawah yang lebih halus. Namun “lebih halus” tidak selalu berarti “nol sejati.” Kedua jenis dapat memungkinkan tegangan sisa mencapai driver jika jaringan snubber internal dimmer menciptakan jalur bypass. Snubber tersebut — rangkaian RC yang dirancang untuk melindungi TRIAC dari lonjakan tegangan — adalah jalur AC permanen antara line dan beban. Ini ada di hampir setiap perangkat peredupan phase-cut.
Siklus Pengisian yang Menyebabkan Kilatan
Kadang strip tidak menyala terus-menerus. Sebaliknya, ia berkedip setiap beberapa detik. Itu terjadi karena arus bocor perlahan mengisi kapasitor input di dalam driver LED. Ketika cukup energi terkumpul, driver mulai sebentar, mengirimkan pulsa daya ke LED, dan kapasitor mengosongkan diri. Kemudian siklus berulang:
Arus bocor → kapasitor mengisi → driver mulai sebentar → LED berkedip → kapasitor mengosongkan diri → siklus berulang
Kilatan berkala ini lebih mengkhawatirkan bagi pengguna akhir daripada cahaya redup, tetapi penyebab utamanya sama: arus sisa dari dimmer mencapai driver yang membutuhkan sangat sedikit energi untuk bangun.
Bagaimana cara mengatasi masalah nyala sisa (residual glow) saat menggunakan dimmer TRIAC dengan strip LED?
Trade-off yang kami timbang pada setiap proyek sangatlah jelas: haruskah Anda mengobati gejalanya di sisi beban, atau menyelesaikan masalahnya di tingkat dimmer-driver?
Anda dapat memperbaiki sisa cahaya (residual glow) dengan menambahkan resistor beban dummy atau kapasitor bypass LED pada output, mengganti dimmer dengan yang dirancang untuk beban LED rendah, atau — yang paling andal — menggunakan kombinasi dimmable LED driver dan dimmer yang cocok yang telah diuji bersama sebagai satu sistem lengkap.

Perbaikan Cepat vs. Solusi yang Tepat
Tidak setiap perbaikan membawa risiko atau biaya yang sama. Berikut adalah perbandingan yang diurutkan dari yang paling sederhana hingga paling andal:
| Memperbaiki | Cara Kerjanya | Kelebihan | Kekurangan |
|---|---|---|---|
| Resistor beban dummy | Menambahkan beban resistif untuk menaikkan wattase total di atas persyaratan beban minimum dimmer | Murah, cepat dipasang | Membuang energi, dapat menjadi terlalu panas jika ukurannya salah |
| Kapasitor bypass LED | Menyerap arus bocor dan mencegahnya mencapai driver | Kecil, tidak mahal | Harus memiliki rating yang benar; nilai yang salah dapat menyebabkan kedipan atau risiko keselamatan |
| Ganti dimmer | Gunakan dimmer dengan beban minimum yang lebih rendah dan rating LED yang tepat | Menyelesaikan akar masalah di sakelar | Biaya lebih tinggi, memerlukan pengkabelan ulang |
| Sistem dimmer-driver yang cocok | Gunakan driver dan dimmer yang diuji bersama untuk kompatibilitas rentang penuh | Keandalan terbaik di semua kondisi peredupan | Memerlukan pengadaan dari satu ekosistem yang teruji |
| Pemutusan keras berbasis relay | Relay secara fisik membuka rangkaian saat dimmer mencapai nol | Isolasi galvanik sejati, arus nol terjamin | Menambah kompleksitas, biaya, dan komponen tambahan |
Mengapa Komponen Acak Berbahaya
Salah satu kesalahan terbesar yang saya lihat di lapangan adalah installer menambahkan resistor atau kapasitor sembarangan untuk menghilangkan efek ghosting. Jika komponen tersebut berukuran terlalu kecil, ia menjadi terlalu panas. Jika terlalu besar, ia mengganggu kinerja peredupan. Dan jika tidak memiliki rating untuk tegangan mains, ia menjadi risiko kebakaran.
Tim engineering kami telah menguji puluhan komponen “perbaikan” aftermarket. Hasilnya tidak konsisten. Beberapa berfungsi dengan satu dimmer dan gagal dengan yang lain. Beberapa berfungsi pada suhu ruangan tetapi gagal saat enclosure driver memanas selama operasi musim panas. Thermal drift dari sensitivitas gate TRIAC membuat arus bocor semakin buruk seiring naiknya suhu, sehingga perbaikan yang berfungsi di laboratorium yang sejuk dapat gagal di rongga plafon pada suhu 45 °C.
Saya sangat menyarankan agar tidak menambahkan komponen yang tidak ditentukan tanpa berkonsultasi dengan produsen driver. Perbaikan termurah tidak selalu yang paling aman.
Pendekatan Tingkat Sistem
Jalur yang paling andal adalah memperlakukan dimmer, driver, dan beban LED sebagai satu sistem terintegrasi. Ketika kami mengembangkan driver LED TRIAC tegangan konstan Boqi kami, kami mengujinya terhadap daftar model dimmer leading edge dan dimmer trailing edge yang kompatibel. Pengujian kompatibilitas tersebut mencakup perilaku startup, rentang peredupan, kedipan, dan — yang kritis — perilaku mati.
Sistem yang cocok dengan benar menghilangkan kebutuhan akan komponen bypass sepenuhnya. Ini juga meningkatkan stabilitas peredupan, kinerja ujung bawah, dan keandalan startup. Inilah sebabnya kami selalu merekomendasikan agar distributor dan produsen lampu kami menentukan dimmer dan driver bersama-sama, bukan sebagai item baris terpisah.
Strip LED yang sama mungkin mati dengan sempurna dengan Dimmer A, menyala redup dengan Dimmer B, dan berkedip dengan Dimmer C. Dimmer TRIAC tidak identik secara elektrik, bahkan ketika semuanya dipasarkan sebagai “kompatibel dengan LED.” Itulah masalah intinya, dan pencocokan tingkat sistem adalah solusi intinya.
Driver LED mana yang harus saya tentukan untuk menghindari pemadaman yang tidak sempurna dalam proyek peredupan TRIAC saya?
Seorang manajer pengadaan di Singapura pernah memberi tahu saya bahwa ia telah menguji empat driver “kompatibel TRIAC” yang berbeda dari empat pemasok — dan hanya satu yang mati dengan bersih dengan dimmer proyeknya.
Tentukan driver LED yang dapat diredupkan yang mencantumkan tabel kompatibilitas dimmer yang telah diuji, mendukung peredupan phase-cut leading edge dan trailing edge, memiliki konsumsi daya standby yang rendah, dan memenuhi persyaratan beban minimum dari dimmer pilihan Anda. Driver tanpa data kompatibilitas yang dipublikasikan adalah sebuah pertaruhan.

Apa yang Harus Dicari pada Datasheet Driver
Tidak setiap datasheet memberi tahu Anda apa yang perlu Anda ketahui. Berikut adalah spesifikasi yang paling penting untuk mencegah pemutusan yang tidak sempurna:
| Spesifikasi | Mengapa Hal Ini Penting | Apa yang Perlu Diperhatikan |
|---|---|---|
| Jenis peredupan | Mengonfirmasi kompatibilitas peredupan phase-cut | “TRIAC / leading edge / trailing edge” dinyatakan dengan jelas |
| Level peredupan minimum | Menunjukkan seberapa rendah driver dapat meredupkan | 1% atau lebih rendah ideal; 5% atau lebih tinggi mungkin tidak mencapai mati sejati dengan beberapa dimmer |
| Daya standby | Energi yang dikonsumsi saat dimmer pada minimum | Di bawah 0,5 W mengurangi tegangan sisa dan risiko ghosting |
| Daftar dimmer yang diuji | Membuktikan kompatibilitas dunia nyata | Model dimmer bernama dengan hasil kinerja yang terkonfirmasi |
| Rentang tegangan output | Harus cocok dengan LED strip Anda | Tegangan konstan: 12 V atau 24 V DC |
| Rating daya vs. beban minimum dimmer | Driver harus menarik arus yang cukup agar dimmer dapat beroperasi | Periksa bahwa daya input driver melebihi beban minimum LED yang dinyatakan oleh dimmer |
Tegangan Konstan vs. Arus Konstan
Untuk aplikasi LED strip, Anda hampir selalu memerlukan driver tegangan konstan. Strip itu sendiri mengandung resistor onboard yang mengatur arus ke setiap kluster LED. A driver arus konstan dirancang untuk jenis fixture yang berbeda — panel light, downlight, dan produk serupa di mana LED dirangkai secara seri.
Ketika kami merancang driver LED TRIAC tegangan konstan Boqi kami, tahap input dioptimalkan untuk sinyal peredupan phase-cut. Itu berarti koreksi faktor daya 6 rangkaian dan filter EMI disetel sehingga kapasitor-Y dalam filter tidak menciptakan jalur kebocoran yang berlebihan. Kebocoran kapasitor-Y filter EMI adalah salah satu penyebab ghost glow yang kurang jelas. Filter itu sendiri dapat membocorkan arus kecil ke ground chassis, dan jika LED strip dipasang pada saluran aluminium yang di-ground, sirkuit phantom terbentuk yang melewati jalur daya yang dimaksudkan sepenuhnya.
Mengapa “Kompatibel dengan LED” Tidak Cukup
Banyak dimmer dipasarkan sebagai “kompatibel LED,” tetapi label itu tidak memiliki standar universal di baliknya. Itu hanya berarti dimmer telah dirancang dengan mempertimbangkan beban LED. Itu tidak menjamin operasi yang bersih dengan driver spesifik Anda.
Hal yang sama berlaku di sisi driver. Driver berlabel “TRIAC dimmable” mengonfirmasi bahwa ia dapat menerima input AC phase-cut. Itu tidak mengonfirmasi peredupan yang mulus, startup yang andal, atau pemadaman penuh dengan setiap dimmer TRIAC di pasar.
Inilah tepatnya mengapa kami menerbitkan daftar kompatibilitas dimmer yang telah diuji dengan driver Boqi kami. Tim kami di Shenzhen menjalankan setiap model driver melalui serangkaian dimmer dari pasar yang kami ekspor — termasuk model yang umum di Inggris, Jerman, Australia, dan Asia Tenggara. Proses itu memakan waktu, tetapi menyelamatkan distributor kami dari kegagalan lapangan yang mahal dan klaim garansi.
Pertanyaan sebenarnya yang harus diajukan oleh petugas pengadaan bukanlah “Apakah driver ini TRIAC dimmable?” melainkan “Apakah driver ini telah diuji dengan dimmer spesifik yang digunakan proyek saya?” Jika pemasok tidak dapat menjawab pertanyaan itu dengan data, risikonya tetap pada Anda.
Bagaimana cara saya menguji kompatibilitas TRIAC sebelum saya mengonfirmasi pesanan massal dengan pemasok saya?
Pelajaran yang kami pelajari di awal bisnis ekspor kami: jangan pernah menyetujui pesanan massal berdasarkan satu tes bangku pada suhu ruangan dengan kabel pendek.
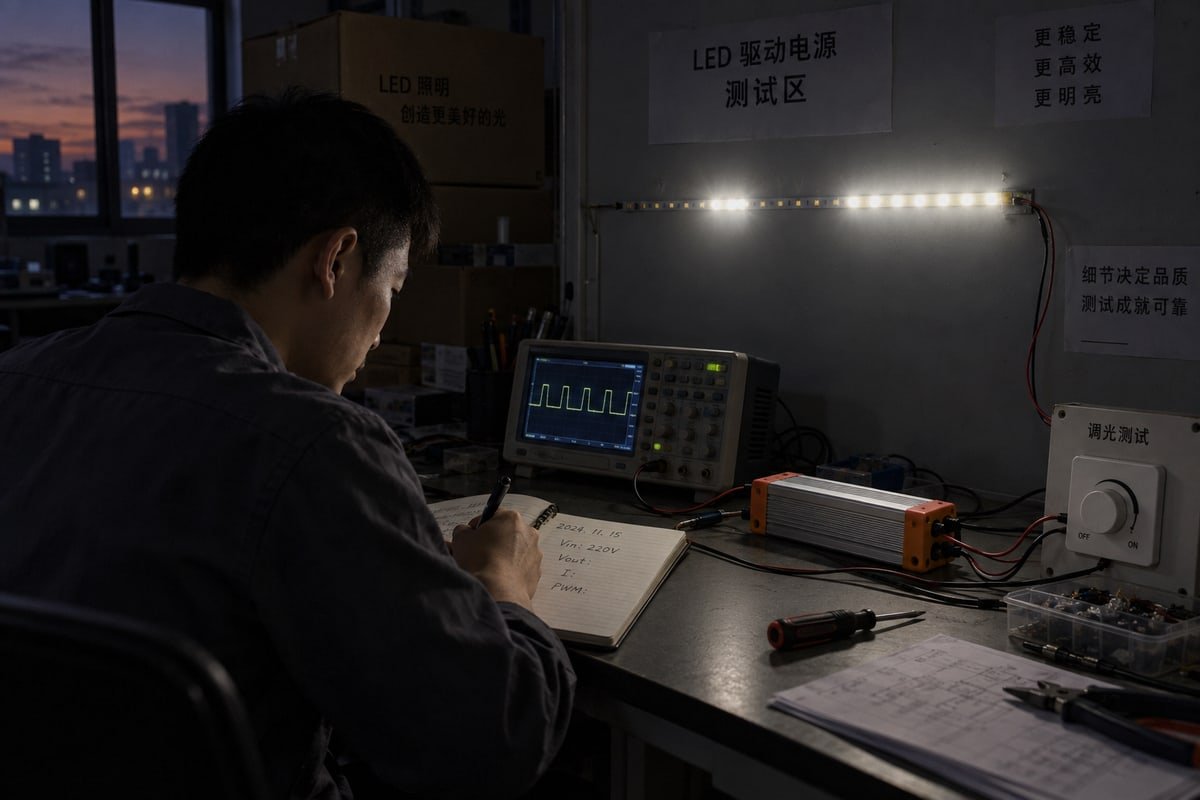
Uji kompatibilitas TRIAC dengan menjalankan driver LED dan dimmer bersama-sama melalui protokol terstruktur yang memeriksa startup, peredupan rentang penuh, stabilitas ujung bawah, kedipan, dan pemadaman total — lalu ulangi pada suhu tinggi dan dengan panjang kabel maksimum untuk mensimulasikan kondisi lapangan yang sebenarnya.
Protokol Pengujian Tujuh Langkah yang Praktis
Berikut adalah protokol yang kami gunakan secara internal sebelum kami menyetujui pasangan dimmer-driver untuk pengiriman produksi:
- Tes cold start. Nyalakan dimmer dari nol. LED strip harus menyala dengan mulus tanpa menyala tiba-tiba pada tingkat kecerahan acak.
- Sapuan rentang penuh. Redupkan perlahan dari 100% ke minimum. Perhatikan kedipan, stepping, atau lompatan kecerahan yang tiba-tiba.
- Tahan di ujung bawah. Setel dimmer ke tingkat terendah yang terlihat dan biarkan selama 10 menit. Output harus tetap stabil tanpa kedipan yang terlihat.
- Tes pemadaman. Sakelar dimmer ke off. Strip harus menjadi gelap sepenuhnya dalam 2 detik tanpa cahaya sisa dan tanpa kedipan periodik.
- Tes termal. Tutup driver dalam ruang yang mensimulasikan rongga plafon atau rongga furnitur. Jalankan selama 2 jam pada tingkat peredupan rendah, lalu ulangi tes pemadaman. Pergeseran termal sensitivitas gate TRIAC meningkatkan arus kebocoran ketika perangkat panas.
- Tes panjang kabel. Tambahkan panjang kabel maksimum yang Anda perkirakan dalam instalasi nyata. Kabel yang lebih panjang meningkatkan kopling kapasitif, yang dapat memasukkan tegangan phantom ke sirkuit LED.
- Tes multi-unit. Hubungkan jumlah driver yang Anda rencanakan untuk dipasang pada satu sirkuit dimmer. Beberapa driver mengubah total beban dan dapat mendorong sistem keluar dari jendela operasi dimmer.
Seperti Apa Kegagalan Itu
Setiap pola kegagalan menunjukkan akar penyebab yang berbeda. Gunakan tabel ini untuk mendiagnosis apa yang Anda lihat selama pengujian:
| Gejala Selama Pengujian | Kemungkinan Penyebab | Tindakan yang Direkomendasikan |
|---|---|---|
| Strip menyala pada 30% bukan 0% | Batas bawah tegangan firmware dimmer diatur terlalu tinggi | Coba dimmer berbeda atau minta penyesuaian firmware |
| Strip berkedip pada level rendah | Sinyal phase-cut tidak stabil pada sudut konduksi rendah | Beralih dari dimmer leading edge ke dimmer trailing edge |
| Cahaya redup saat off | Arus kebocoran atau bypass jaringan snubber | Konfirmasi kompatibilitas dimmer-driver atau gunakan sistem yang cocok |
| Kedipan periodik setiap 3–5 detik | Siklus pengisian-pengosongan kapasitor dari tegangan sisa | Tambahkan kapasitor bypass LED yang telah diuji atau beralih ke dimmer yang kompatibel |
| Berfungsi pada suhu ruangan tetapi menyala redup saat panas | Pergeseran termal meningkatkan arus kebocoran TRIAC | Use a dimmer with lower leakage specification |
Berapa Banyak Sampel yang Harus Diuji
I recommend testing at least 3 samples of each component. Manufacturing tolerances mean that one sample may pass while another fails at the margin. If 1 out of 3 samples fails the turn-off test, that is a red flag for field reliability. We apply this rule to our own production — every batch of Boqi TRIAC LED drivers goes through dimmer compatibility spot checks before we approve shipment.
Kapan Meminta Sampel Sebelum Memesan
If your supplier cannot provide a tested dimmer compatibility list, ask for samples and run the protocol above yourself. The cost of 5 sample drivers and a week of testing is far less than the cost of a field recall on thousands of units. This is the advice I give to every new distributor who contacts us through our website or at trade exhibitions.
A TRIAC dimming system should always be evaluated as a complete system. The important question is not “Is this a TRIAC dimmer?” The question is “Has this dimmer been tested and proven compatible with this specific LED driver?” Using a tested combination — such as Boqi constant-voltage TRIAC LED drivers paired with compatible Boqi leading edge and trailing edge dimmers — gives installers and lighting manufacturers more predictable performance across startup, dimming range, flicker control, and turn-off behavior.
That is the real difference between a system that dims successfully during a quick bench test and one that operates reliably in a real installation for years.
Kesimpulan
TRIAC LED strips that won’t turn off are a system problem, not a strip defect. Match your dimmer, dimmable LED driver, and load as one tested system to eliminate residual glow for good.
Tertarik untuk mendapatkan produk yang disebutkan dalam artikel ini? Lihat detail dan minta penawaran di sini:
Catatan kaki
1. Provides a technical overview of LED drivers and their fundamental role in lighting circuits. ↩︎
2. Authoritative explanation of how LED semiconductor junctions operate and their inherent energy efficiency. ↩︎
3. Scientific definition and engineering context for leakage current in electronic circuits and semiconductors. ↩︎
4. Explains TRIAC semiconductor operation and holding current concept referenced in the article. ↩︎
5. Industry standards for dimming compatibility between solid-state lighting and phase-cut dimming systems. ↩︎
6. Explains the electrical concept of power factor correction used in high-efficiency lighting systems. ↩︎