














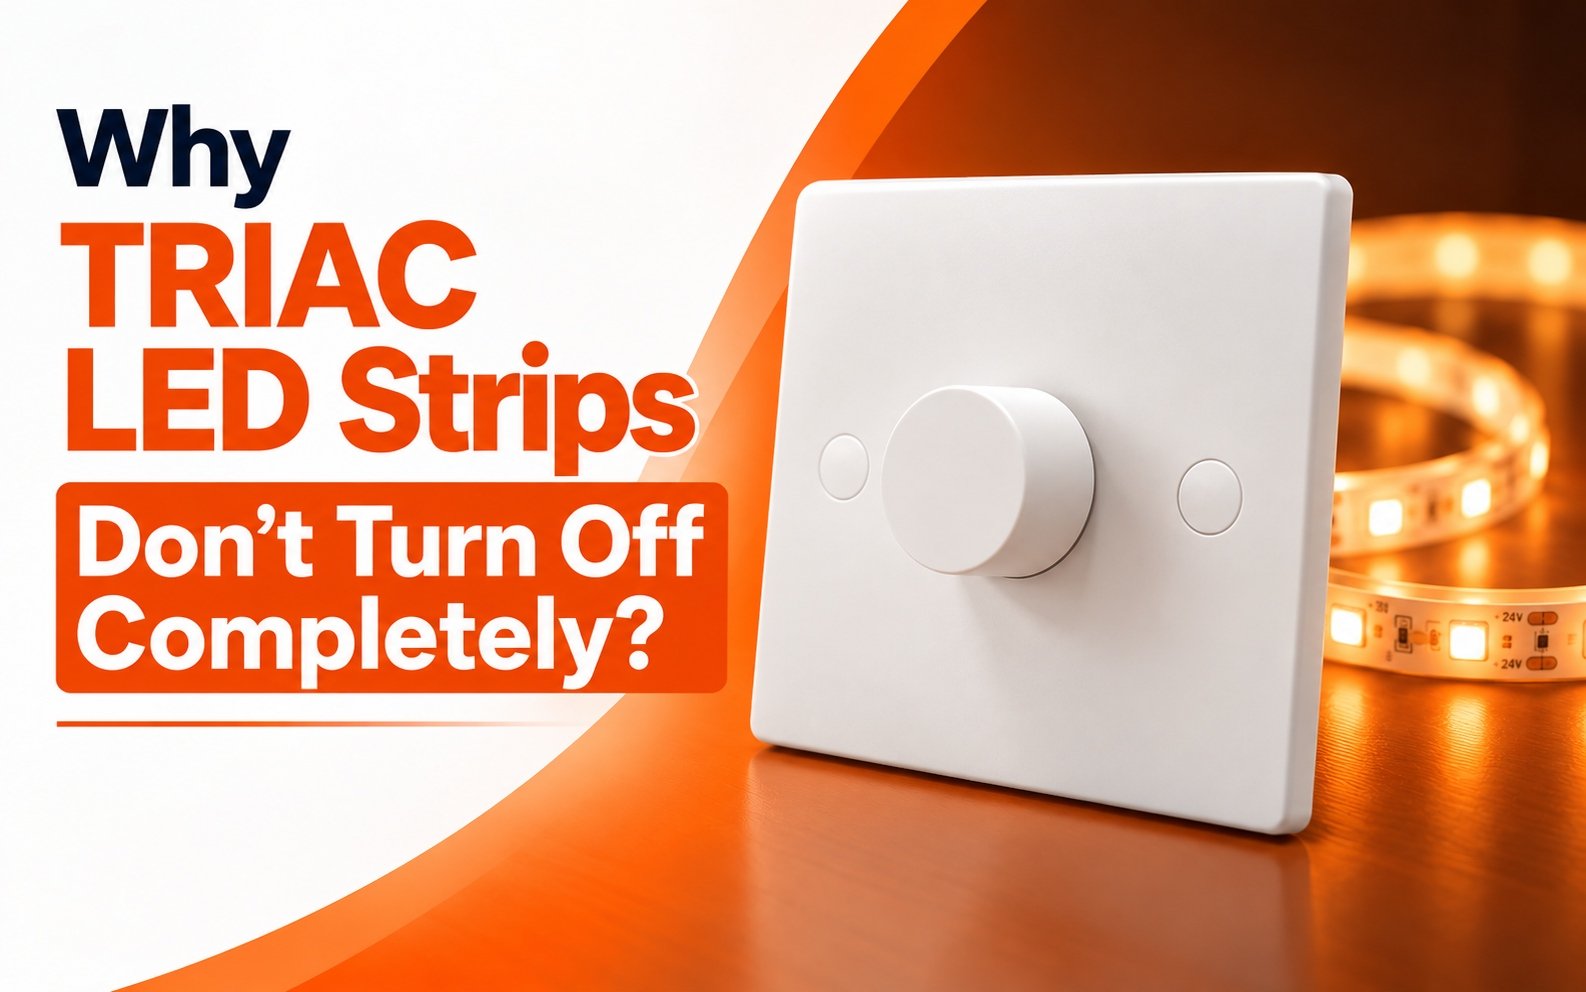
TRIAC LED strips that refuse to shut off completely nearly cost us a major distributor relationship in Germany last year — and that complaint taught our engineering team a critical lesson.
TRIAC LED strips don’t turn off completely because a small leakage current flows through the dimmer even in its off state. That residual voltage partially energizes the dimmable LED driver, and because LEDs need very little power to emit light, the strip produces a faint glow or periodic flash.
The root cause is almost never the LED strip itself. It is the interaction between the dimmer, the LED driver 1, and the connected load. Below, I break down exactly why this happens and what you can do about it.
What causes my TRIAC LED strips to stay dimly lit even after I turn them off?
During a factory audit last quarter, we connected the same LED strip to three different TRIAC dimmers on our test bench — and got three completely different off-state results.
The main cause is dimmer leakage current. TRIAC semiconductors never achieve a perfect open circuit, so 1–5 mA of current can pass through even when the dimmer reads off. That tiny current is invisible to incandescent bulbs but enough to make LED strips glow.

Why LEDs React to Micro-Currents
Incandescent bulbs need substantial current to heat a filament. LEDs do not. A current that would be completely invisible in a 60 W halogen lamp can produce a noticeable ghosting effect in an LED strip rated at only a few watts. This is not a defect. It is a direct consequence of LED efficiency. The semiconductor junction 2 inside each LED can emit photons at micro-ampere levels. That sensitivity is what makes LEDs energy-efficient — and also what makes them vulnerable to every stray milliamp in the circuit.
The Five Root Causes
I have sorted the causes by how often we encounter them in real field returns:
| Cause | What Happens | How Common |
|---|---|---|
| Dimmer leakage current 3 | 1–5 mA passes through the TRIAC even when off | Very common |
| Minimum load requirement not met | Dimmer cannot operate correctly below its rated LED load | Common |
| Capacitive coupling in wiring | Adjacent live wires induce phantom voltage into the switched leg | Moderate |
| Stored energy in driver capacitors | Electrolytic capacitors discharge slowly through the LEDs | Moderate |
| Dimmer firmware voltage floor | Digital dimmers set a minimum output above true zero volts | Less common |
There is also a holding current 4 issue worth understanding. A TRIAC stays latched — conducting — until the current through it drops below a threshold called the holding current at each AC zero crossing. With very small LED loads, the current may hover near that threshold. The TRIAC may not fully reset to its non-conductive state on every cycle. The result is unpredictable: sometimes the strip turns off, sometimes it does not.
Leading Edge vs. Trailing Edge Behavior
A leading edge dimmer chops the front of each AC half-cycle. A trailing edge dimmer chops the back. Both types of phase-cut dimming 5 can leak current, but they behave differently at the low end of the dimming range.
In our testing, trailing edge dimmers generally produce smoother low-end dimming. But “smoother” does not always mean “true zero.” Both types can allow residual voltage to reach the driver if the dimmer’s internal snubber network creates a bypass path. That snubber — an RC circuit designed to protect the TRIAC from voltage spikes — is a permanent AC path between line and load. It exists in nearly every phase-cut dimming device.
The Charging Cycle That Causes Flashing
Sometimes the strip does not glow continuously. Instead, it flashes every few seconds. That happens because the leakage current slowly charges the input capacitors inside the LED driver. When enough energy accumulates, the driver starts briefly, delivers a pulse of power to the LEDs, and the capacitors discharge. Then the cycle repeats:
Leakage current → capacitor charges → driver starts briefly → LEDs flash → capacitor discharges → cycle repeats
This periodic flashing is more alarming to end users than a faint glow, but the root cause is the same: residual current from the dimmer reaching a driver that needs very little energy to wake up.
How can I fix the residual glow issue when using TRIAC dimmers with LED strips?
The trade-off we weigh on every project is straightforward: should you treat the symptom at the load side, or solve the problem at the dimmer-driver level?
You can fix residual glow by adding a dummy load resistor or LED bypass capacitor across the output, replacing the dimmer with one rated for low LED loads, or — most reliably — using a matched dimmable LED driver and dimmer combination tested together as a complete system.

Quick Fixes vs. Proper Solutions
Not every fix carries the same risk or cost. Here is a comparison ranked from simplest to most reliable:
| Fix | How It Works | Pros | Cons |
|---|---|---|---|
| Dummy load resistor | Adds a resistive load to raise total wattage above the dimmer’s minimum load requirement | Cheap, fast to install | Wastes energy, can overheat if poorly sized |
| LED bypass capacitor | Absorbs leakage current and prevents it from reaching the driver | Small, inexpensive | Must be correctly rated; wrong value can cause flicker or safety risk |
| Replace the dimmer | Use a dimmer with lower minimum load and proper LED rating | Solves root cause at the switch | Higher cost, requires rewiring |
| Matched dimmer-driver system | Use a driver and dimmer tested together for full-range compatibility | Best reliability across all dimming conditions | Requires sourcing from a single tested ecosystem |
| Relay-based hard disconnect | A relay physically opens the circuit when the dimmer reaches zero | True galvanic isolation, guaranteed zero current | Adds complexity, cost, and an additional component |
Why Random Components Are Dangerous
One of the biggest mistakes I see in the field is an installer adding a random resistor or capacitor to eliminate the ghosting effect. If the component is undersized, it overheats. If it is oversized, it interferes with dimming performance. And if it is not rated for mains voltage, it becomes a fire risk.
Our engineering team has tested dozens of aftermarket “fix” components. The results are inconsistent. Some work with one dimmer and fail with another. Some work at room temperature but fail when the driver enclosure heats up during summer operation. Thermal drift of the TRIAC’s gate sensitivity makes the leakage current worse as temperatures rise, so a fix that works in a cool lab may fail in a ceiling void at 45 °C.
I strongly advise against adding unspecified components without consulting the driver manufacturer. The cheapest fix is not always the safest.
The System-Level Approach
The most reliable path is to treat the dimmer, driver, and LED load as one integrated system. When we develop our Boqi constant-voltage TRIAC LED drivers, we test them against a list of compatible leading edge dimmer and trailing edge dimmer models. That compatibility testing covers startup behavior, dimming range, flicker, and — critically — turn-off behavior.
A properly matched system eliminates the need for bypass components entirely. It also improves dimming stability, low-end performance, and startup reliability. This is why we always recommend that our distributors and lighting manufacturers specify the dimmer and driver together, not as separate line items.
The same LED strip may turn off perfectly with Dimmer A, glow faintly with Dimmer B, and flicker with Dimmer C. TRIAC dimmers are not electrically identical, even when all of them are marketed as “LED compatible.” That is the core problem, and system-level matching is the core solution.
Which LED drivers should I specify to avoid incomplete shut-off in my TRIAC dimming projects?
A procurement manager in Singapore once told me she had tested four different “TRIAC-compatible” drivers from four suppliers — and only one turned off cleanly with her project’s dimmer.
Specify a dimmable LED driver that lists a tested dimmer compatibility table, supports both leading edge and trailing edge phase-cut dimming, has low standby power draw, and meets the minimum load requirement of your chosen dimmer. Drivers without published compatibility data are a gamble.

What to Look for on a Driver Datasheet
Not every datasheet tells you what you need to know. Here are the specifications that matter most for preventing incomplete shut-off:
| Specification | Why It Matters | What to Look For |
|---|---|---|
| Dimming type | Confirms phase-cut dimming compatibility | “TRIAC / leading edge / trailing edge” clearly stated |
| Minimum dimming level | Shows how low the driver can dim | 1% or lower is ideal; 5% or above may not reach true off with some dimmers |
| Standby power | Energy consumed when dimmer is at minimum | Below 0.5 W reduces residual voltage and ghosting risk |
| Tested dimmer list | Proves real-world compatibility | Named dimmer models with confirmed performance results |
| Output voltage range | Must match your LED strip | Constant voltage: 12 V or 24 V DC |
| Power rating vs. dimmer minimum load | Driver must draw enough current for the dimmer to operate | Check that driver input power exceeds the dimmer’s stated LED minimum load |
Constant Voltage vs. Constant Current
For LED strip applications, you almost always need a constant-voltage driver. The strip itself contains onboard resistors that regulate current to each LED cluster. A constant-current driver is designed for different fixture types — panel lights, downlights, and similar products where LEDs are wired in series.
When we design our Boqi constant-voltage TRIAC LED drivers, the input stage is optimized for phase-cut dimming signals. That means the power factor correction 6 circuit and EMI filter are tuned so that the Y-capacitors in the filter do not create excessive leakage paths. EMI filter Y-capacitor leakage is one of the less obvious causes of ghost glow. The filter itself can leak tiny currents to the chassis ground, and if the LED strip is mounted on a grounded aluminum channel, a phantom circuit forms that bypasses the intended power path entirely.
Why “LED Compatible” Is Not Enough
Many dimmers are marketed as “LED compatible,” but that label has no universal standard behind it. It simply means the dimmer has been designed with LED loads in mind. It does not guarantee clean operation with your specific driver.
The same is true on the driver side. A driver labeled “TRIAC dimmable” confirms it can accept a phase-cut AC input. It does not confirm smooth dimming, reliable startup, or complete turn-off with every TRIAC dimmer on the market.
This is exactly why we publish tested dimmer compatibility lists with our Boqi drivers. Our team in Shenzhen runs each driver model through a bank of dimmers from the markets we export to — including models common in the UK, Germany, Australia, and Southeast Asia. That process takes time, but it saves our distributors from costly field failures and warranty claims.
The real question a procurement officer should ask is not “Is this driver TRIAC dimmable?” but “Has this driver been tested with the specific dimmer my project uses?” If the supplier cannot answer that question with data, the risk stays with you.
How do I test TRIAC compatibility before I confirm a bulk order with my supplier?
A lesson we learned early in our export business: never approve a bulk order based on one bench test at room temperature with short wires.
Test TRIAC compatibility by running the LED driver and dimmer together through a structured protocol that checks startup, full-range dimming, low-end stability, flicker, and complete shut-off — then repeat at elevated temperature and with maximum wire length to simulate real field conditions.

A Practical Seven-Step Testing Protocol
Here is the protocol we use internally before we approve a dimmer-driver pairing for production shipment:
- Cold start test. Power on the dimmer from zero. The LED strip should light smoothly without popping on at a random brightness level.
- Full range sweep. Slowly dim from 100% to minimum. Watch for flicker, stepping, or abrupt brightness jumps.
- Low-end hold. Set the dimmer to its lowest visible level and leave it for 10 minutes. The output should remain stable with no visible flicker.
- Turn-off test. Switch the dimmer to off. The strip must go fully dark within 2 seconds with no residual glow and no periodic flashing.
- Thermal test. Enclose the driver in a space that simulates a ceiling void or furniture cavity. Run it for 2 hours at low dimming level, then repeat the turn-off test. Thermal drift of TRIAC gate sensitivity increases leakage current when the device is hot.
- Wire length test. Add the maximum cable run you expect in the real installation. Longer wires increase capacitive coupling, which can introduce phantom voltage to the LED circuit.
- Multi-unit test. Connect the number of drivers you plan to install on a single dimmer circuit. Multiple drivers change the total load and can push the system outside the dimmer’s operating window.
What Failures Look Like
Each failure pattern points to a different root cause. Use this table to diagnose what you see during testing:
| Symptom During Test | Likely Cause | Recommended Action |
|---|---|---|
| Strip pops on at 30% instead of 0% | Dimmer firmware voltage floor set too high | Try a different dimmer or request firmware adjustment |
| Strip flickers at low levels | Phase-cut signal is unstable at low conduction angle | Switch from leading edge dimmer to trailing edge dimmer |
| Faint glow when off | Leakage current or snubber network bypass | Confirm dimmer-driver compatibility or use a matched system |
| Periodic flash every 3–5 seconds | Capacitor charge-discharge cycle from residual voltage | Add a tested LED bypass capacitor or switch to a compatible dimmer |
| Works at room temp but glows when hot | Thermal drift increases TRIAC leakage current | Use a dimmer with lower leakage specification |
How Many Samples to Test
I recommend testing at least 3 samples of each component. Manufacturing tolerances mean that one sample may pass while another fails at the margin. If 1 out of 3 samples fails the turn-off test, that is a red flag for field reliability. We apply this rule to our own production — every batch of Boqi TRIAC LED drivers goes through dimmer compatibility spot checks before we approve shipment.
When to Request Samples Before Ordering
If your supplier cannot provide a tested dimmer compatibility list, ask for samples and run the protocol above yourself. The cost of 5 sample drivers and a week of testing is far less than the cost of a field recall on thousands of units. This is the advice I give to every new distributor who contacts us through our website or at trade exhibitions.
A TRIAC dimming system should always be evaluated as a complete system. The important question is not “Is this a TRIAC dimmer?” The question is “Has this dimmer been tested and proven compatible with this specific LED driver?” Using a tested combination — such as Boqi constant-voltage TRIAC LED drivers paired with compatible Boqi leading edge and trailing edge dimmers — gives installers and lighting manufacturers more predictable performance across startup, dimming range, flicker control, and turn-off behavior.
That is the real difference between a system that dims successfully during a quick bench test and one that operates reliably in a real installation for years.
Conclusion
TRIAC LED strips that won’t turn off are a system problem, not a strip defect. Match your dimmer, dimmable LED driver, and load as one tested system to eliminate residual glow for good.
Interested in sourcing the products mentioned in this article? See details and request a quote here:
Footnotes
1. Provides a technical overview of LED drivers and their fundamental role in lighting circuits. ↩︎
2. Authoritative explanation of how LED semiconductor junctions operate and their inherent energy efficiency. ↩︎
3. Scientific definition and engineering context for leakage current in electronic circuits and semiconductors. ↩︎
4. Explains TRIAC semiconductor operation and holding current concept referenced in the article. ↩︎
5. Industry standards for dimming compatibility between solid-state lighting and phase-cut dimming systems. ↩︎
6. Explains the electrical concept of power factor correction used in high-efficiency lighting systems. ↩︎