Highly Compatible LED Dimmers
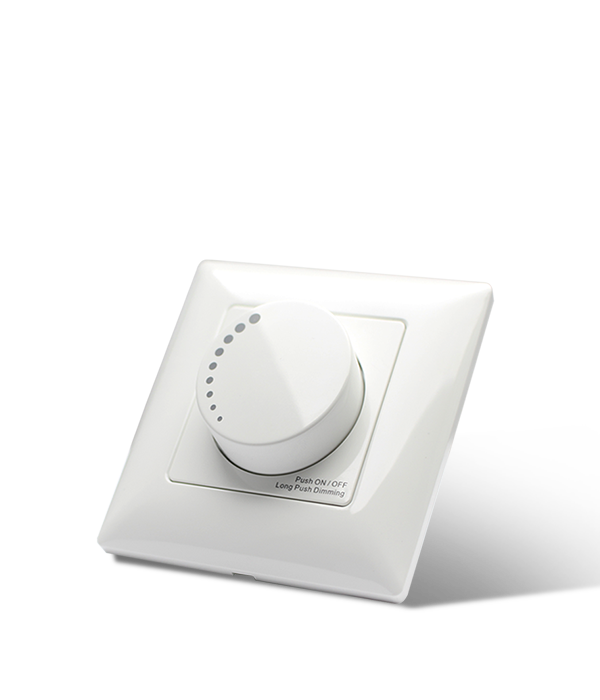
To deliver a one-stop-shop experience, an additional product from our led drivers shop is dimmers. With the expertise of the engineering team and the latest technology, we can handle 99% dimming compatible issues. Our dimmers can work with any matched type led driver in the market. Contact us to get a special experience.
Certificate
Matches EMC and LVD standards. With CE and RoHS Certified.
Knob Function
Smoothly and no blinking. Support push and memory function.
Widely Compatibility
Compatible with 99% LED Drivers in Market.
Warranty
Promised 5 Years Warranty. Free replacement
Sliding It To Experience Our Dimmer


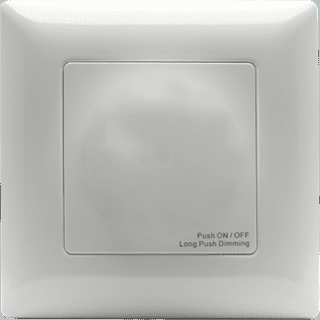
Click to Switch ON/ OFF, or Click the knob
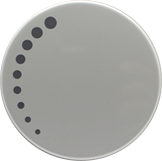
Slide the White Dot above, can change the brightness
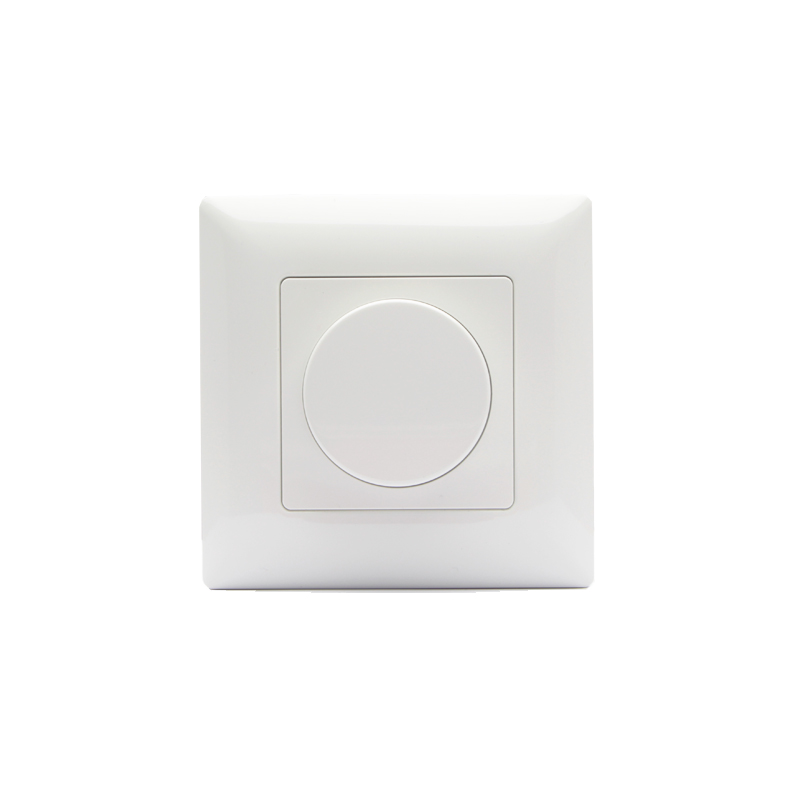
This is a dimming display for boqi TRIAC dimmer.
LED Dimmers
To deliver a one-stop-shop experience, an additional products from our led drivers shop is dimmers.
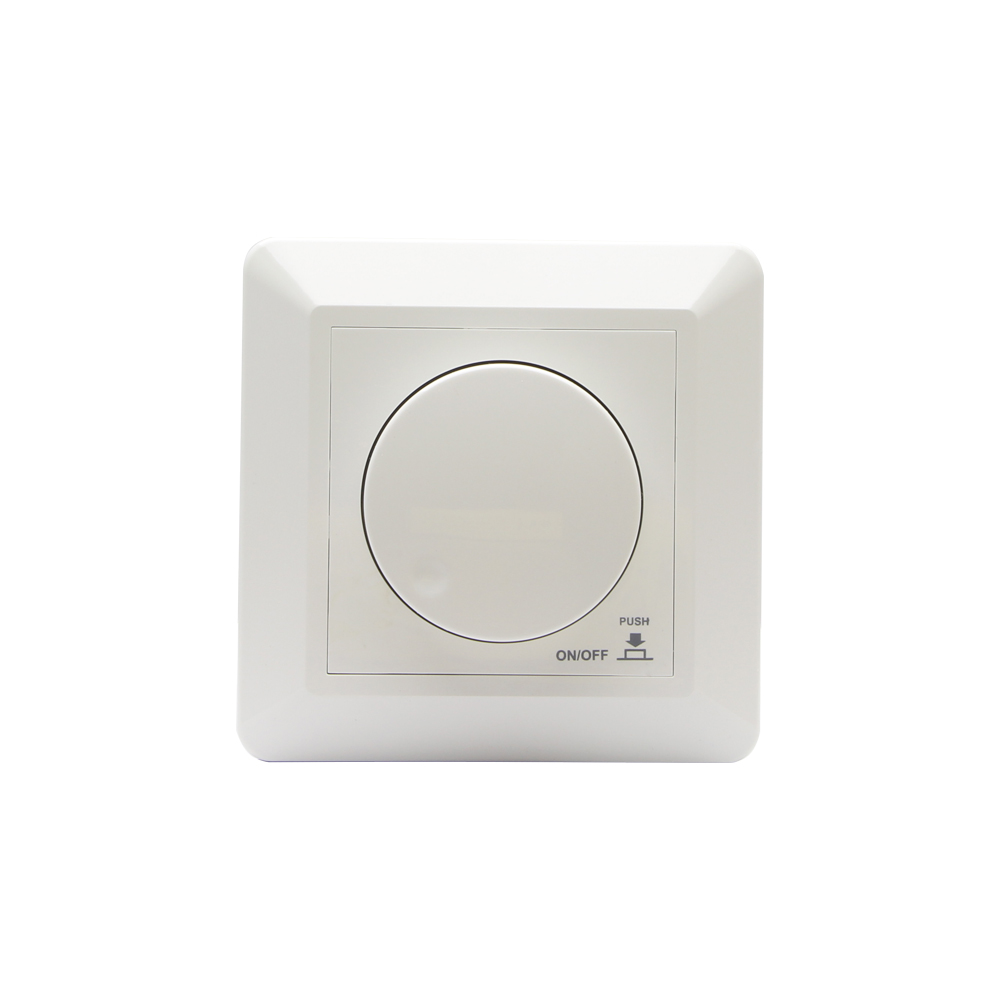


TRIAC Dimmers
boqi’s TRIAC dimmer range is designed for sophisticated LED lighting systems requiring phase-cut control with high compatibility and superior dimming performance. These devices support both leading-edge and trailing-edge (phase-cut) dimming modes, delivering stable and flicker-free brightness adjustment. Engineered for global markets, they accommodate multiple standards and mounting formats — ensuring installers and OEMs can deploy one brand-trusted solution across residential, hospitality, and commercial lighting applications.
- Phase-cut (TRIAC) dimming supporting both leading- and trailing-edge control for LED driver compatibility.
- Rotary knob panel or mini-box form factor depending on model — offers intuitive control and installation flexibility.
- RF remote (2.4 GHz) option included in the TTLDIM-86 model for wireless control and flexibility.
- Global mounting standards supported — UK, EU, FR/DE, 86 mm & 80 mm formats, plus mini box format for concealed installations.
- Suitable for LED lighting systems when paired with compatible TRIAC-dimmable LED drivers — ensuring flicker-free dimming and high performance.
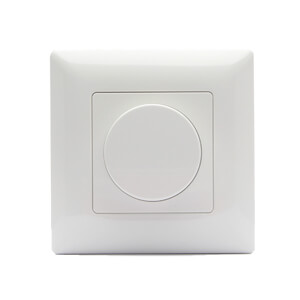
0-10V LED Dimmer
Our 0-10V dimmers can match almost 0-10V dimmable LED drivers in the market. And it can control the lighting brightness deeply and smoothly. Also, it is easy to connect and install.
- Compatiable with 99.9% 0-10V LED Drivers in the market
- Input voltage: 85-265V, fits almost all power conditions around the world
- 0-100% Dimming Range, smoothly and no blinking
- Matches EMC and LVD standard, CE and RoHS certified
- With 5 Years Warranty
Download Full Catalog to View More Products
Download our current catalog for an overview of all of our current product offerings, including features and benefits, specifications, functions, and warranties, among other things. Opt for the paperless version to save money and protect the environment.
Applications
LED dimmers have become an integral part of the lighting industry, offering a range of benefits and applications that go beyond simple on/off functionality. Also, LED dimmers have a wide range of applications in the lighting industry, offering benefits that include energy efficiency, aesthetic control, and integration with smart systems. Their versatility and functionality make them a key technology in modern lighting solutions. Here are some key areas where LED dimmers are making a significant impact:
- Human-Centric Lighting
- Smart Home Integration
- Commercial and Industrial Lighting
- Emergency Lighting
- Decorative Lighting
- Stage and Theatrical Lighting
- Architectural Lighting
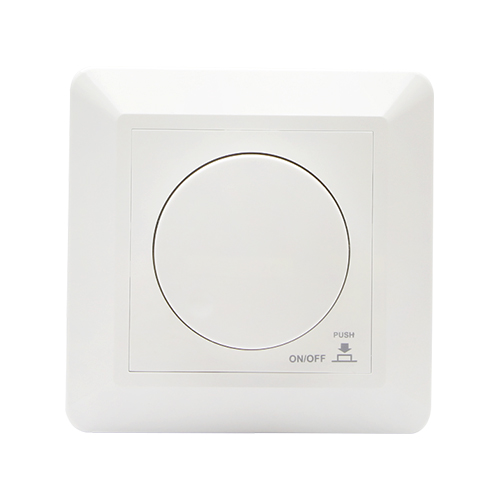
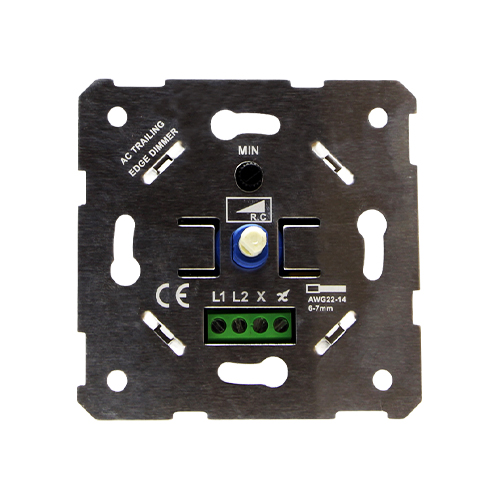
Reliable China LED Dimmers Manufacturer and Supplier
boqi is China’s top manufacturer and supplier of LED dimmers. LED dimmers in trailing edge and TRIAC, 0-10V, leading edge and trailing edge phase cut are available. Our goal is to provide intelligent controller products, solutions, and services that are up to market standards.
To ensure that our consumers experience the best product, we adopted the most stringent product development, manufacturing, and quality control standards.

A Brief Self-Nomination, Why Choose boqi?
With 14 years of experience, boqi is well versed in this field. Yes, you are dealing with masters. You can trust them with your needs and expectations.
Need proof? Why don’t you contact us, to get our catalog to know more about us.
- We are certified; boqi led drivers are CE and CB approved by TUV, also certified with SAA and RoHS.
- We will ensure that we only provide you with high-quality Dimmable LED Drivers.
- Our LED Drivers are very durable because we make them from 100% original brand components and test them 100%.
- We, as a brand, are genuine in all our dealings.
- Our LED Drivers are quite environmentally- friendly.
Want to know how we can do business? Let’s talk!
*Get Our Catalog (with full detailed specification)
F.A.Q
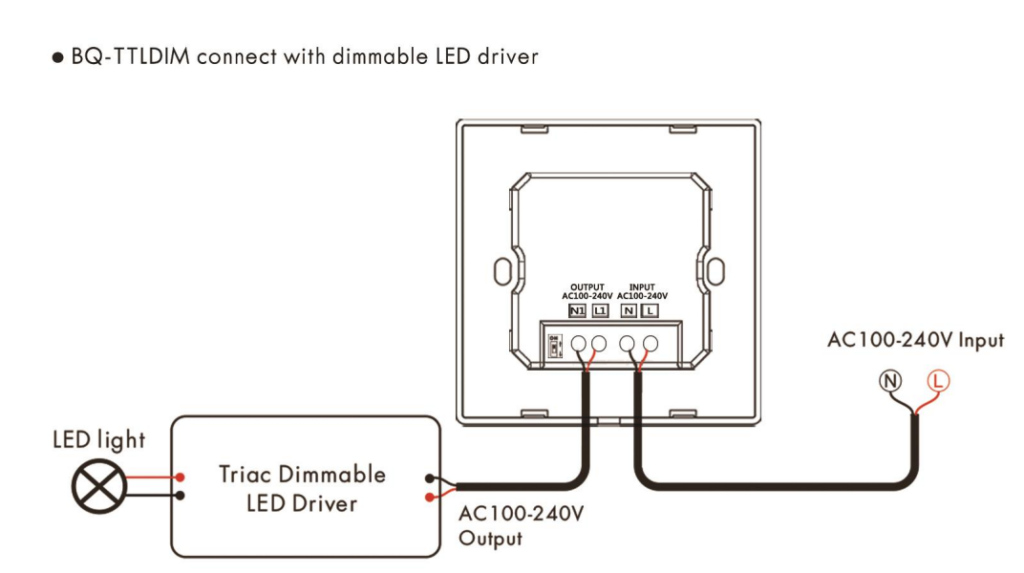
Leading and trailing edge TRIAC dimmers, BQ-TTLDIM can work almost all TRIAC lamps.
Trailing edge TRIAC dimmers, BQ-TTDIM can work TRIAC dimmable LED lighting, some incandescent lighting, and HV halogen lamps.
0-10V dimmers, BQ-PTDIM can work all 0-10V dimmable LED lightings.
Yes, we will combine the feedback from the clients and the trend in the market, improving our dimmers.
Yes, we can provide the 2.4G remote to you if you need.
Our LED drivers are with CE and RoHS, matched EMC and LVC standard.
They are always in stock and ready to ship, they can be shipped within 2 days.
Each LED dimmer will be packed with a film bag and put in a single white paper box together with a manual and 2 screws, and then placed in a reinforced 5-layer corrugated box.
The standard packing is 100 units per carton.
For small bulk goods, we will deliver them directly to you via DHL, FedEx, UPS, TNT. It usually takes 3-7 days.
Still have questions?
We are happy to answer any questions you may have about our products and company.
How to Wire LED Dimmers (Diagram Included)
LED dimmers have revolutionized the way we control lighting in various settings, from homes and offices to commercial and industrial spaces. They offer the flexibility to adjust the brightness level of LED lights, thereby enhancing the ambiance, improving energy efficiency, and even contributing to well-being. In this article, we’ll walk you through the steps to wire an LED dimmer, complete with a diagram for better understanding.
Types of LED Dimmers
Before diving into the wiring process, it’s important to understand the types of LED dimmers available:
- Phase-Cut Dimmers: Suitable for residential applications, these are the most common types of dimmers.
- Leading Edge and Trailing Edge TRIAC Dimmers: Suitable for LED dimmable lighting or traditional lighting, these are the highly compatible types of dimmers.
- 0-10V Dimmers: Commonly used in commercial and industrial settings, these offer precise control.
- DALI dimmers: They are usually the panel, and are controlled by DALI master, suitable for intelligent systems and Human-Centric lighting.
- Smart Dimmers: These are Wi-Fi or Bluetooth-enabled dimmers that can be controlled via smartphones or voice commands.

Common Dimmer Wiring Work
Components Prepared
- LED Light Fixture or Bulb
- LED-Compatible Dimmer Switch
- Electrical Wire (typically 14 or 12-gauge)
- Wire Nuts or Connectors
- Screwdriver
- Wire Stripper
- Voltage Tester
- Optional: Junction Box

Safety Precautions
- Always turn off the power at the circuit breaker before beginning any electrical work.
- Use a voltage tester to ensure that the power is off.
- Follow local electrical codes and regulations.
- If you’re unsure about any step, consult a qualified electrician.
Diagram
  +----------------+      +-------------------+
  |                |      |                   |
  |  LED Dimmer    |------|   LED Driver      |
  |                |      |                   |
  +----------------+      +-------------------+
                             |
                             |
                             |
                     +----------------+
                     |                |
                     |   LED Light    |
                     |                |
                     +----------------+
Brief Common Step-by-Step Guide
Step 1: Turn Off the Power
Turn off the power at the circuit breaker and use a voltage tester to confirm that the power is off.
Step 2: Prepare the Wires
Use a wire stripper to strip about half an inch of insulation off the ends of the electrical wires that will be connected.
Step 3: Identify the Wires
Typically, you’ll have the following wires:
- Brown / Black: Hot wire
- Blue / White: Neutral wire
- Green / Yellow or Bare Copper: Ground wire

Step 4: Connect the Dimmer
- Ground Wire: Connect the ground wire from the dimmer to the ground wire in the electrical box using a wire nut.
- Neutral Wire: If the dimmer has a neutral wire (usually white), connect it to the neutral wire in the electrical box.
- Hot Wire: Connect the black wire from the dimmer to the black (hot) wire in the electrical box.
Step 5: Connect the LED Light
- Connect the other end of the black (hot) wire to the LED light’s black wire.
- Connect the other end of the white (neutral) wire to the LED light’s white wire.
- Connect the other end of the ground wire to the LED light’s ground wire.
Step 6: Secure All Connections
Use wire nuts or appropriate connectors to secure all connections. Make sure no bare wire is exposed.
Step 7: Test
Turn the power back on at the circuit breaker and test the dimmer to ensure it’s working as expected.
Detailed Guides for 5 kinds of Dimmers
Phase-Cut Dimmers
Wiring a phase-cut dimmer can be a complex task that involves working with high-voltage electrical circuits. Incorrect wiring can result in electrical shock, fire, or damage to the dimmer and other electrical components. If you’re not experienced with electrical work, it’s strongly recommended that you consult with or hire a qualified electrician to perform the installation.
That said, if you are comfortable with electrical work and have taken all necessary safety precautions, here is a general guide on how to wire a phase-cut dimmer:
Tools and Materials Needed
- Screwdrivers
- Wire strippers
- Electrical tape
- Wire nuts
- Multimeter
- Phase-cut dimmer switch
- Appropriate electrical box and cover plate

Safety Precautions
- Turn off the power to the circuit you’ll be working on at the circuit breaker.
- Use a multimeter to confirm that the power is off.
- Wear appropriate safety gear, including gloves and eye protection.
Steps
- Identify Wires: Open the electrical box and identify the wires. You should see a black (hot) wire, a white (neutral) wire, and possibly a green or bare copper (ground) wire.
- Prepare the Dimmer: Unpack the phase-cut dimmer and read the manufacturer’s instructions carefully. Identify the wires or terminals on the dimmer. Typically, you’ll see similar colors: black (or red) for the hot wire, white for the neutral, and green for ground.
- Disconnect Old Switch: If you’re replacing an old switch, disconnect it by unscrewing the wire nuts and separating the wires.
- Connect the Dimmer with the lighting fixture(Dimmable led driver): ① Connect Dimmer #4 port’s wire of LED driver’s INPUT -L port. ② Connect the output terminals of LED driver (LED+/LED-) to the input terminals of the light fixtures ③ Connect the dimmer’s L2 to electricity L line, and LED driver’s N to electricity N Line. (line with AC marked in the diagram)
- Connect the Neutral Wire: If the dimmer requires a neutral connection, connect the white wire from the electrical box to the white wire or terminal on the dimmer. Use a wire nut to secure the connection.
- Connect the Hot Wire: Connect the black (hot) wire from the electrical box to the black (or red) wire or terminal on the dimmer. Use a wire nut to secure the connection.
- Tuck and Secure: Carefully tuck the wires back into the electrical box, making sure that all wire nuts are secure.
- Attach the Dimmer: Screw the dimmer into the electrical box, following the manufacturer’s instructions.
- Install Cover Plate: Attach the cover plate over the dimmer.
- Test: Turn the power back on at the circuit breaker and test the dimmer to make sure it’s working as expected.


Remember, this is a general guide. Always follow the manufacturer’s instructions and local electrical codes. If you’re unsure about any step, consult a qualified electrician.

Leading Edge and Trailing Edge TRIAC Dimmers
Leading-edge and trailing-edge dimmers are types of phase-cut dimmers used to control the brightness of lights. Leading-edge dimmers cut off the beginning phase of each AC cycle, while trailing-edge dimmers cut off the end phase. These dimmers are commonly used with incandescent, halogen, and some types of LED and CFL lights.
Note: Working with electrical circuits can be dangerous. If you’re not experienced, it’s strongly recommended to consult or hire a qualified electrician. Incorrect wiring can result in electrical shock, fire, or damage to the dimmer and other electrical components.
Tools and Materials Needed
- Screwdrivers
- Wire strippers
- Electrical tape
- Wire nuts
- Multimeter
- Leading-edge or trailing-edge dimmer switch
- Electrical box and cover plate
- Safety gear (gloves, eye protection)

Safety Precautions
- Turn off the power to the circuit you’ll be working on at the circuit breaker.
- Use a multimeter to confirm that the power is off.
- Wear appropriate safety gear, including gloves and eye protection.
General Wiring Steps
- Identify Wires: Open the electrical box and identify the wires. Typically, you’ll see a black (hot) wire, a white (neutral) wire, and possibly a green or bare copper (ground) wire.
- Prepare the Dimmer: Unpack the dimmer and read the manufacturer’s instructions carefully. Identify the wires or terminals on the dimmer. You’ll usually see similar colors: black (or red) for the hot wire, white for the neutral, and green for ground.
- Disconnect Old Switch: If you’re replacing an old switch, disconnect it by unscrewing the wire nuts and separating the wires.
- Connect the Dimmer with the lighting fixture(Dimmable led driver): ① Connect Dimmer OUTPUT (AC100-240V) wires of LED driver’s AC input (N, L). ② Connect the output terminals of LED driver (LED+/LED-) to the input terminals of the light fixtures. ③ Connect the dimmer INPUT (AC100-240V) to electricity (line with AC marked in the diagram)
- Connect the Neutral Wire: If the dimmer requires a neutral connection, connect the white wire from the electrical box to the white wire or terminal on the dimmer. Use a wire nut to secure the connection.
- Connect the Hot Wire: Connect the black (hot) wire from the electrical box to the black (or red) wire or terminal on the dimmer. Use a wire nut to secure the connection.
- Tuck and Secure: Carefully tuck the wires back into the electrical box, making sure that all wire nuts are secure.
- Attach the Dimmer: Screw the dimmer into the electrical box, following the manufacturer’s instructions.
- Install Cover Plate: Attach the cover plate over the dimmer.
- Test: Turn the power back on at the circuit breaker and test the dimmer to make sure it’s working as expected.

Additional Considerations
- Compatibility: Make sure the dimmer is compatible with the type of lights you are using (e.g., LED, incandescent, halogen).
- Load Requirements: Check the load requirements of the dimmer and ensure it matches with the total wattage of the lights you are controlling.
- Multi-way Switching: If you’re installing a dimmer in a multi-way switching arrangement (e.g., 3-way switch), make sure to get a dimmer that supports this and follow the specific wiring instructions for multi-way setups.
Always follow the manufacturer’s instructions and local electrical codes. If you’re unsure about any step, consult a qualified electrician.
0-10V dimmer
The 0-10V dimming control method is a standard in lighting control applications, particularly for commercial and industrial settings. This system uses a low-voltage signal to control the dimming level of the light fixture. The voltage signal can range from 0V (light off) to 10V (full brightness), with varying levels of brightness in between.
Basic Components:
- Light Fixture with 0-10V dimming capability
- 0-10V Dimmer or Controller
- Low-voltage control wires (typically 18-22 AWG)
- Power supply (as required by the light fixture)
- Optional: Automation system or Building Management System (BMS)
Wiring Steps:
- LED Drivers: Ensure that the light fixture and the 0-10V dimmer are properly connected to their respective power supplies, following all safety guidelines and local electrical codes.
- Control Wires: Two additional wires are used for the 0-10V control signal. One wire is for the positive control signal (+) and the other is for the control signal ground (-).
- Connection to Light Fixture: Connect the control wires to the appropriate terminals on the light fixture, often labeled as “DIM+” and “DIM-” or similar.
- Connection to Dimmer: Connect the other ends of the control wires to the corresponding terminals on the 0-10V dimmer or controller.
- Polarity: Make sure to maintain the correct polarity when connecting the control wires. The positive wire should connect to the “DIM+” terminals on both the fixture and the dimmer, and the negative wire should connect to the “DIM-” terminals.
- Optional Automation: If you are integrating the 0-10V dimming system into a larger automation or BMS, ensure that the control wires are properly connected to the system’s interface.
- Testing: Once all connections are made, power up the system and test the dimming functionality to ensure that it is working as expected.

Safety Precautions:
- Always turn off the power before working on any electrical wiring.
- Use wire nuts or appropriate connectors to secure all connections.
- Follow all local electrical codes and regulations.
- If you are unsure about any step, consult a qualified electrician.
The 0-10V dimming system is known for its reliability and is widely used in applications requiring precise control of light levels, such as commercial buildings, industrial settings, and increasingly in smart homes with advanced lighting control systems.
DALI dimmer
Digital Addressable Lighting Interface (DALI) is a protocol for the control of lighting in buildings and is known for its simplicity and robustness. DALI dimmers are used to control DALI-compatible lighting fixtures. Unlike traditional dimmers, DALI dimmers communicate with lighting fixtures digitally, allowing for more precise control and additional features like grouping and scene setting.
Safety Precautions
- Always turn off the power to the circuit you’ll be working on at the circuit breaker.
- Use a multimeter to confirm that the power is off.
- Wear appropriate safety gear, including gloves and eye protection.
- If you’re not experienced with electrical work, consult or hire a qualified electrician.
Tools and Materials Needed
- Screwdrivers
- Wire strippers
- Electrical tape or heat-shrink tubing
- Wire nuts or appropriate connectors
- Multimeter
- DALI dimmer
- DALI-compatible lighting fixtures
- DALI control cables (usually 2-wire, polarity-free)
General Steps for Wiring DALI Dimmers
- Read the Manuals: Before starting, read the installation manuals for both the DALI dimmer and the DALI-compatible lighting fixtures to understand the specific requirements and features.
- Plan the Network: DALI networks are usually wired in a daisy-chain topology, although star and tree topologies are also possible. Plan your network layout accordingly.
- Turn Off Power: Make sure to turn off all power to the circuits you’ll be working on.
- Wire Power to the Dimmer: Connect the power supply wires to the DALI dimmer according to the manufacturer’s instructions. This usually involves connecting a live (hot), neutral, and possibly a ground wire.
- Connect DALI Lines: DALI uses a separate 2-wire control line for communication. Connect the DALI control wires from the dimmer to the DALI-compatible lighting fixtures. DALI is generally polarity-free, meaning you don’t have to worry about connecting the wires backward.
- Daisy-Chain or Star Configuration: Depending on your layout plan, connect the DALI control wires to each fixture in a daisy-chain or star configuration. If you’re using a daisy-chain, the DALI lines will go from the dimmer to the first fixture, then from the first fixture to the second, and so on.
- Addressing: Some DALI systems require you to set addresses for each lighting fixture. This can usually be done using a separate DALI controller or software provided by the manufacturer.
- Test the Connections: Before restoring power, double-check all your connections to make sure they are secure.
- Restore Power and Test: Turn the power back on and test the system to make sure that the dimmer can control the lighting fixtures as expected.
- Configure Scenes or Groups: If your DALI system supports advanced features like scene setting or grouping fixtures, you can configure these settings according to the manufacturer’s instructions.

Remember, DALI systems can vary significantly in their features and requirements, so always refer to the manufacturer’s documentation for the most accurate and detailed information.
Conclusion
Wiring an LED dimmer is a straightforward process if you follow the steps carefully and take necessary safety precautions. Whether you’re looking to enhance your home’s ambiance or improve energy efficiency in a commercial setting, an LED dimmer is a valuable addition to your lighting system.
Consult Your boqi LED Drivers Experts
We help you avoid the pitfalls to deliver the quality and value your LED drivers need on-time and on-budget.
WhatsApp us
Ask For A Quick Quote
We will contact you within 1 working day, please pay attention to the email with the suffix “@boqiled.com”.

