














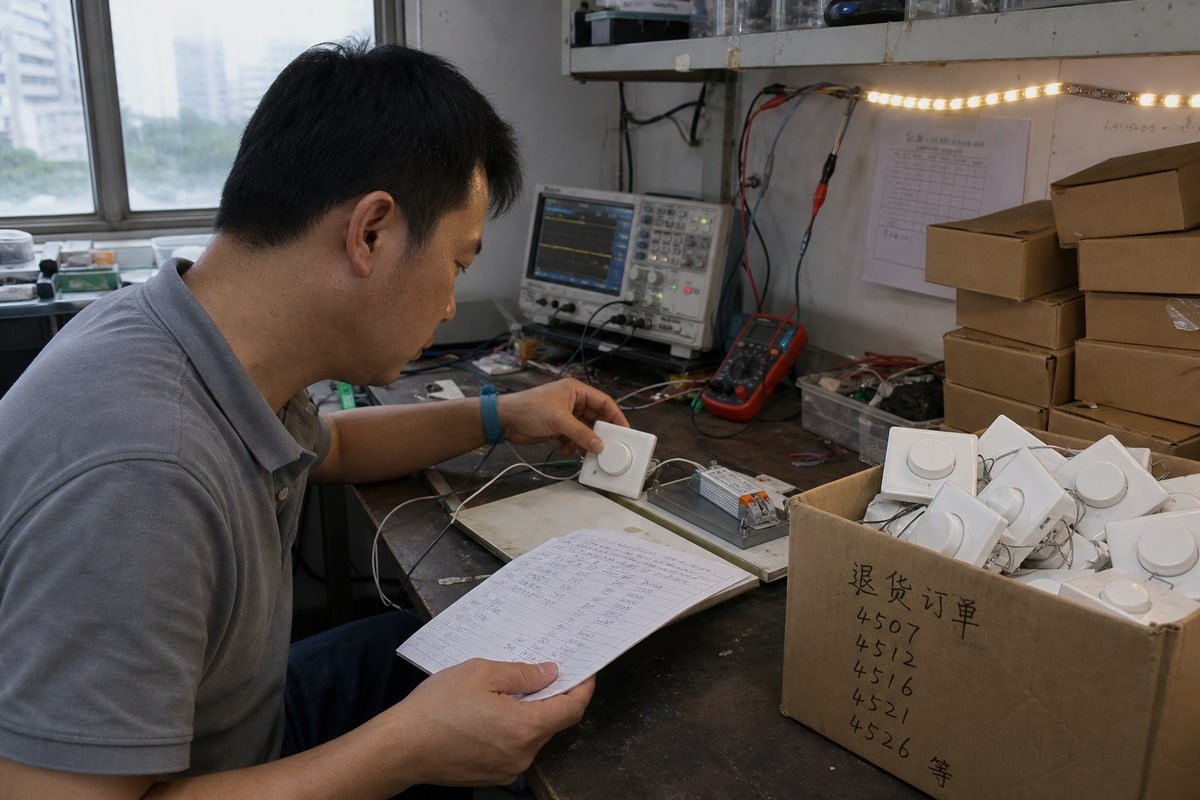
Um [dimmer 0–10V](https://boqiled.com/?p=17845) errado para luzes de LED pode causar cintilação, recusar-se a dimerizar até o nível baixo ou nunca desligar—nosso laboratório em Shenzhen recebe amostras devolvidas que comprovam isso quase todos os meses.
Para escolher o dimmer 0–10V certo para luzes de LED, combine o dimmer ao tipo de controle do driver de LED—sink de corrente ou source de corrente—e depois verifique a faixa de dimerização, a capacidade de corrente de controle, a carga conectada, o método de fiação e o comutação liga/desliga. Nunca selecione um dimmer apenas pela potência do LED; o driver decide a compatibilidade.
Essa resposta parece simples. Mas cada uma dessas verificações esconde detalhes reais de engenharia. Deixe-me guiá-lo pelas especificações, o processo de sourcing, os padrões de qualidade e as compensações de custo, um por um.
Quais especificações técnicas devo verificar antes de escolher um dimmer 0–10V para meus produtos de iluminação LED?
Quando calibramos nossos dimmers rotativos 1 antes do envio, sempre os testamos contra múltiplas marcas de drivers de LED dimerizáveis. Uma incompatibilidade na folha de especificações pode arruinar uma instalação comercial inteira.
Antes de comprar um dimmer 0–10V, verifique a arquitetura de controle do driver de LED (sinking ou sourcing), a corrente de controle máxima em miliamperes, o nível mínimo de dimerização, o comportamento de dim-to-off, a classificação de carga, a curva de dimerização e os requisitos de fiação. A folha de especificações do driver—não a potência da luminária—determina a compatibilidade real.
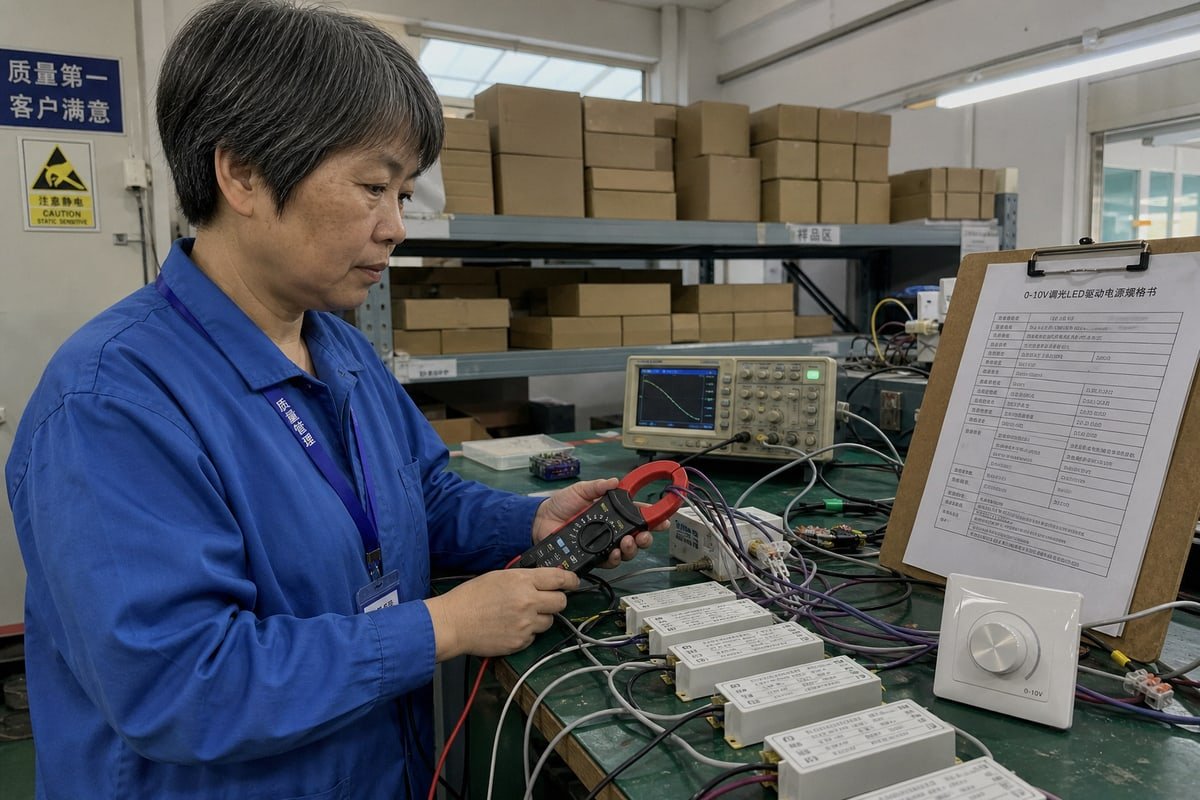
O erro mais comum é tratar 0–10V como um padrão universal de dimerização. Na prática, a interface elétrica do driver e os requisitos de corrente de controle são tão importantes quanto o rótulo 0–10V do dimmer. Dois produtos podem ambos dizer "0–10V" e ainda assim falharem juntos.
Combine Sinking e Sourcing Primeiro
Sinking e sourcing descrevem qual dispositivo empurra a corrente através do loop de sinal de dimerização analógico. A maioria dos controladores LED reguláveis 2 drivers fornece corrente; o dimmer a absorve. Se o seu dimmer fornece corrente em um driver sourcing, você obtém dimerização ruim, nenhuma dimerização ou até danos ao hardware. Sempre confirme isso antes de qualquer outra coisa.
A Corrente de Controle se Acumula
Cada driver consome corrente de controle, tipicamente uma fração de miliampere a alguns miliamperes. Conecte trinta drivers a um dimmer, e o consumo total em mA pode exceder a capacidade do dimmer—mesmo quando a potência total parece segura. Linhas de controle sobrecarregadas causam degradação do sinal e brilho desigual em uma zona.
Verifique Cada Especificação na Folha de Dados
| Especificação | O que Verificar | Por Que Importa |
|---|---|---|
| Tipo de controle | Sink de corrente ou source de corrente | Incompatibilidade significa nenhuma dimerização ou danos |
| Corrente de controle | Total de mA de todos os drivers conectados | Limita a contagem de luminárias por dimmer |
| Nível mínimo de dimerização | Extremo baixo de 1%, 5% ou 10% | "0–10V" não garante saída de 0% |
| Dim-to-off | Relé integrado ou interruptor separado | 0V pode significar apenas mínimo, não OFF |
| Protocolo | 0–10V vs 1–10V | 1–10V geralmente precisa de um relé para desligamento total |
| Curva de dimerização | Logarítmica ou linear | Afeta como a dimerização parece suave aos olhos |
| Fiação | Fiação de 4 fios, condutores roxo (+) e cinza (−) | Fios de controle correm separadamente da alimentação CA |
Mais dois pontos importam no local. Mantenha os trechos de controle abaixo de aproximadamente 300 pés e use par trançado 3 para limitar queda de tensão e ruído elétrico. E roteie o par de baixa tensão longe de condutores de energia ruidosos, seguindo as regras de fiação Classe 2 onde se aplicam.
Como encontro um fabricante confiável de dimmer 0–10V que suporte personalização de marca própria?
Um gerente de compras de Singapura uma vez me enviou uma mensagem no WhatsApp com uma pergunta: "Você pode colocar meu logotipo na placa frontal sem atrasar meu lançamento?" Essa pergunta revela o que realmente importa.
Para encontrar um fabricante confiável de dimmer 0–10V para trabalho de marca própria, verifique a propriedade da fábrica, solicite documentação de engenharia e amostras, confirme o escopo de OEM/ODM (logotipo, placa frontal, firmware, embalagem), verifique a experiência de exportação no seu mercado e faça um pedido piloto pequeno antes de se comprometer com volume.

Muitos "fabricantes" em plataformas de sourcing são empresas comerciais. Isso não é sempre ruim, mas muda o que é realista em termos de personalização e a rapidez com que problemas são corrigidos. Aqui está o processo que recomendo a cada comprador que nos contata através do nosso site ou em feiras comerciais.
- Peça prova de capacidade de engenharia. Solicite a lista de compatibilidade de drivers que o fornecedor usa para testes internos. Uma fábrica real testa seus dimmers contra muitos modelos de drivers de LED dimerizáveis, não apenas os seus próprios.
- Defina o escopo da personalização por escrito. Impressão de logotipo é fácil. Uma cor personalizada da placa frontal, uma sensação diferente do botão ou uma curva de dimerização ajustada requer trabalho de ferramentaria ou firmware. Obtenha prazos de entrega para cada nível.
- Pergunte sobre opções voltadas para o futuro. Os compradores procuram cada vez mais controladores de canal duplo para branco ajustável (brilho mais CCT) e dimmers com pontes sem fio, como Zigbee ou Bluetooth Mesh, para integração com sistemas de gestão de edifícios. Um fornecedor que consiga discutir esses temas com fluência está pensando no futuro junto com você.
- Teste amostras com seus próprios drivers e luminárias. Resultados de bancada com um único driver não preveem o comportamento com dezenas conectados. Teste o sistema completo: driver, dimmer, luminária, fiação e condição de carga mínima juntos.
- Comece com um pedido piloto. Um primeiro lote pequeno revela a qualidade da embalagem, a precisão da rotulagem e os hábitos de documentação antes de você arriscar um contêiner.
Nossa própria equipe em Shenzhen é pequena—dez pessoas—mas é exatamente por isso que lidamos com projetos OEM 4 de forma colaborativa. Compradores no Japão, na Alemanha e na Austrália têm expectativas regulatórias e estéticas muito diferentes, e o histórico de exportação de um fornecedor para o seu mercado específico indica se ele já entende as suas.
Que padrões de controle de qualidade devo exigir ao adquirir dimmers 0–10V em grandes quantidades da China?
Há anos, descartamos um lote inteiro de produção porque os potenciômetros sofreram deriva após o burn-in. Doloroso, sim. Mas essa falha moldou a lista de verificação de controle de qualidade que hoje compartilhamos abertamente com os clientes.
Exigir 100% de teste funcional, burn-in em temperatura elevada, verificação de flicker e faixa de dimerização com drivers reais, inspeção de materiais recebidos, amostragem baseada em AQL em lotes de saída e registros completos de rastreabilidade. Solicite relatórios de teste vinculados à sua ordem de compra, não certificados genéricos.
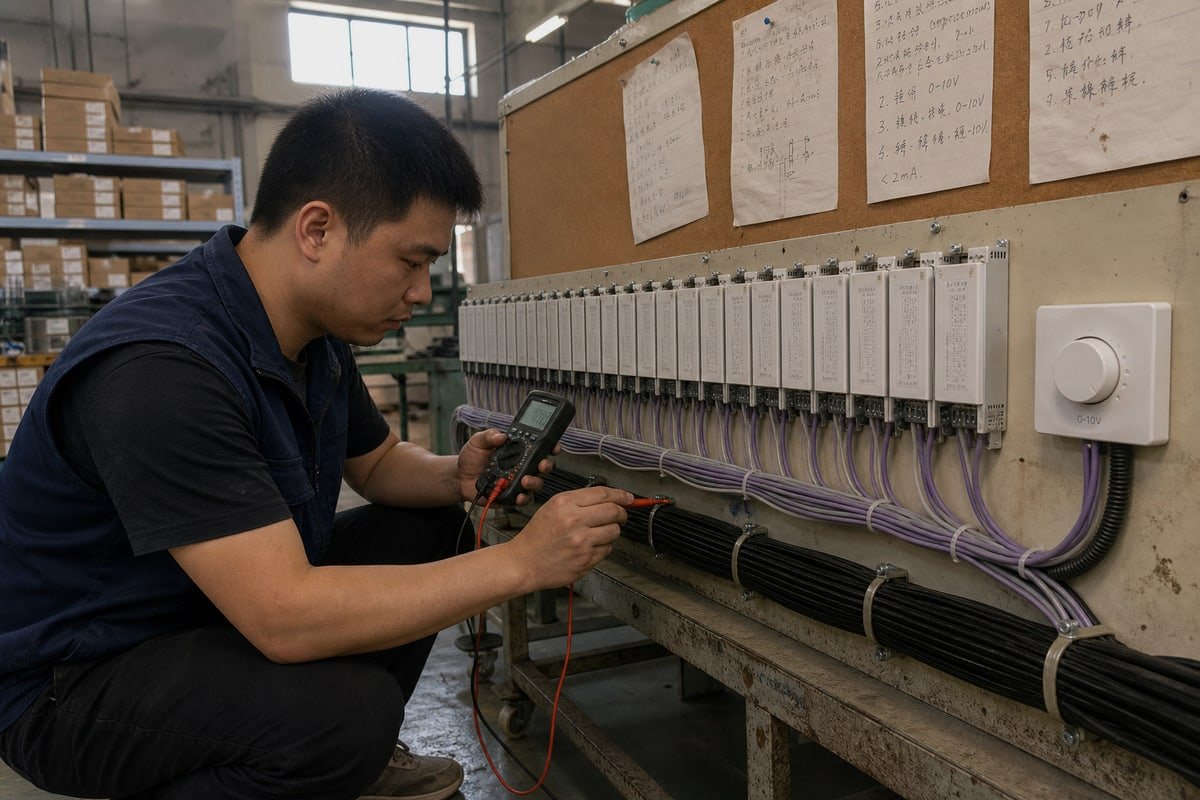
A compra em volume depende do processo, não de promessas. Uma amostra bonita significa pouco se a unidade 4.000 se comportar de forma diferente. Portanto, estruture seus requisitos de controle de qualidade em três etapas: materiais recebidos, produção em linha e inspeção final.
Os Requisitos de QC que Eu Colocaria em Cada Contrato
| Etapa de QC | O que Exigir | Critérios de Aceitação |
|---|---|---|
| Recebimento | Verificação de componentes (potenciômetro, PCB, plásticos do invólucro) | Comparado com a BOM aprovada |
| Em linha | Teste funcional de 100% da faixa de tensão de saída | Varredura completa de 0–10V, sinal estável |
| Em linha | Burn-in em temperatura elevada | Sem deriva, sem falhas após o envelhecimento |
| Final | Verificação de desempenho sem cintilação com drivers de referência | Sem cintilação visível em toda a faixa de dimerização |
| Final | Verificação do nível mínimo de dimerização | Atende à especificação mínima acordada |
| Final | Inspeção por amostragem AQL | Nível AQL acordado por lote |
| Documentação | Registros de rastreabilidade por pedido de compra | Códigos de lote vinculados aos dados de teste |
Por Que o Teste em Nível de Sistema Pertence ao QC
Para projetos B2B, insista que a fábrica teste driver + dimmer + luminária + fiação juntos, sob a condição de carga mínima. Um dimmer que funciona perfeitamente com um driver na bancada pode se comportar de forma diferente quando dezenas de drivers carregam a linha de controle. Reproduzimos cargas com múltiplos drivers em nosso laboratório exatamente por esse motivo.
Outra especificação frequentemente ignorada: a redução térmica. Quando vários dimmers compartilham uma única caixa de gang, o acúmulo de calor reduz a vida útil dos componentes eletrônicos internos. Peça ao fornecedor dados de derating, não apenas um número de carga máxima.
Como posso equilibrar custo, prazo de entrega e flexibilidade de design ao selecionar um fornecedor de dimmer 0–10V?
O trade-off que mais discutimos com os clientes é o ferramental. Uma placa frontal personalizada fica ótima em um catálogo, mas o molde adiciona semanas—e alguém precisa decidir se o prazo pode absorver isso.
Equilibre custo, prazo de entrega e flexibilidade fixando primeiro seus itens inegociáveis—compatibilidade e controle de qualidade—e depois negociando o restante. Designs padrão são enviados mais rápido e com menor custo; placas frontais personalizadas adicionam tempo de ferramentaria; ODM completo custa mais, mas protege sua marca. Combine a opção ao prazo do seu projeto.
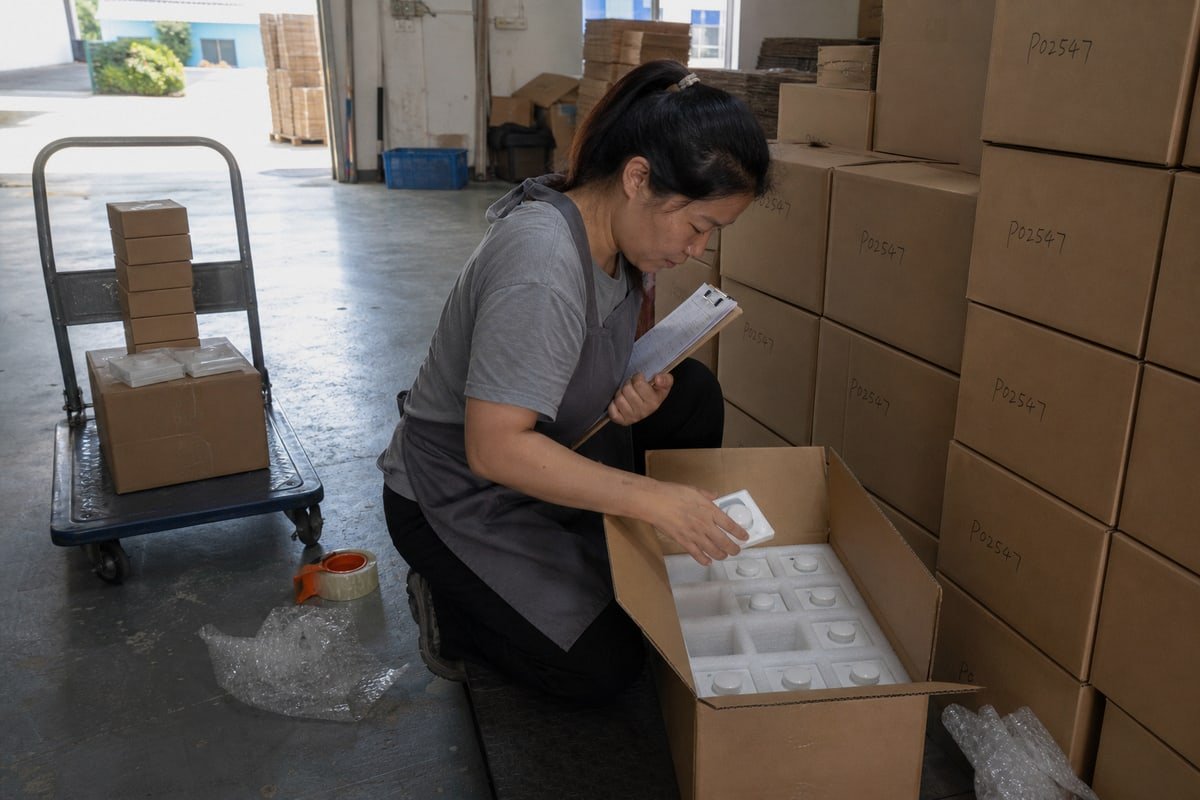
Todo comprador com quem trabalho lida com as mesmas três pressões: custo total do projeto, prazos apertados e acesso à tecnologia de design atual. Raramente você otimiza os três ao mesmo tempo. Portanto, pense em níveis.
| Opção | Custo Relativo | Prazo de Entrega Típico | Flexibilidade de Design |
|---|---|---|---|
| Produto padrão, seu logotipo | Mais baixo | Mais curto | Logotipo e embalagem apenas |
| Design modificado (placa frontal, botão, curva de dimerização) | Médio | Médio; ferramental ou firmware adiciona tempo | Moderado; plataforma existente adaptada |
| Desenvolvimento ODM completo | Maior investimento inicial | Mais longo | Completo; seu design exclusivo |
Algumas regras práticas ajudam a posicionar seu projeto nessa tabela. Primeiro, nunca abra mão de testes de compatibilidade ou controle de qualidade para economizar tempo—esses custos retornam multiplicados como falhas em campo em projetos comerciais de controle de iluminação. Segundo, pergunte se a plataforma padrão do fornecedor já inclui o que você precisa. Recursos como curvas de dimerização selecionáveis, relés de desligamento total ou um design minimalista de botão rotativo branco podem já existir, o que transforma um "projeto ODM" em um pedido modificado rápido. Terceiro, pergunte sobre o agendamento de produção com honestidade. Uma fábrica de médio a alto padrão com uma plataforma testada para compatibilidade geralmente entrega um resultado final melhor do que um orçamento mais barato que falha no teste de instalação e força um novo pedido.
Lembre-se também da direção do mercado. Integração inteligente e branco ajustável estão se tornando expectativas básicas na Europa e no Sudeste Asiático. Escolher um fornecedor que já desenvolve opções de canal duplo e ponte sem fio significa que seu produto de próxima geração não exigirá troca de fornecedores—é aí que estão escondidas as economias reais de longo prazo.
Conclusão
Escolha um dimmer 0–10V pelo driver, não pela potência: combine sinking e sourcing, verifique a corrente de controle e a faixa de dimerização, exija controle de qualidade real e escolha o nível de personalização que seu prazo permite.
Notas de Rodapé
Programa governamental dos EUA que fornece padrões e certificação para iluminação energeticamente eficiente e controles de dimerização. ↩︎
Órgão internacional autoritativo para padrões elétricos, incluindo interfaces de dimerização para drivers de LED. ↩︎
Associação profissional líder em padrões de tecnologia, incluindo cabeamento e integridade de sinal para sistemas de controle. ↩︎
Organização global que trata das regras do comércio entre nações, relevante para fabricação OEM internacional. ↩︎