













Pembeli sering bertanya kepada saya apa arti arus konstan dalam pencahayaan DALI. Kebingungan di sini menyebabkan driver yang dikembalikan, perlengkapan yang berkedip, dan peluncuran yang tertunda. Tim teknik Shenzhen kami menguraikan pertanyaan ini setiap hari.
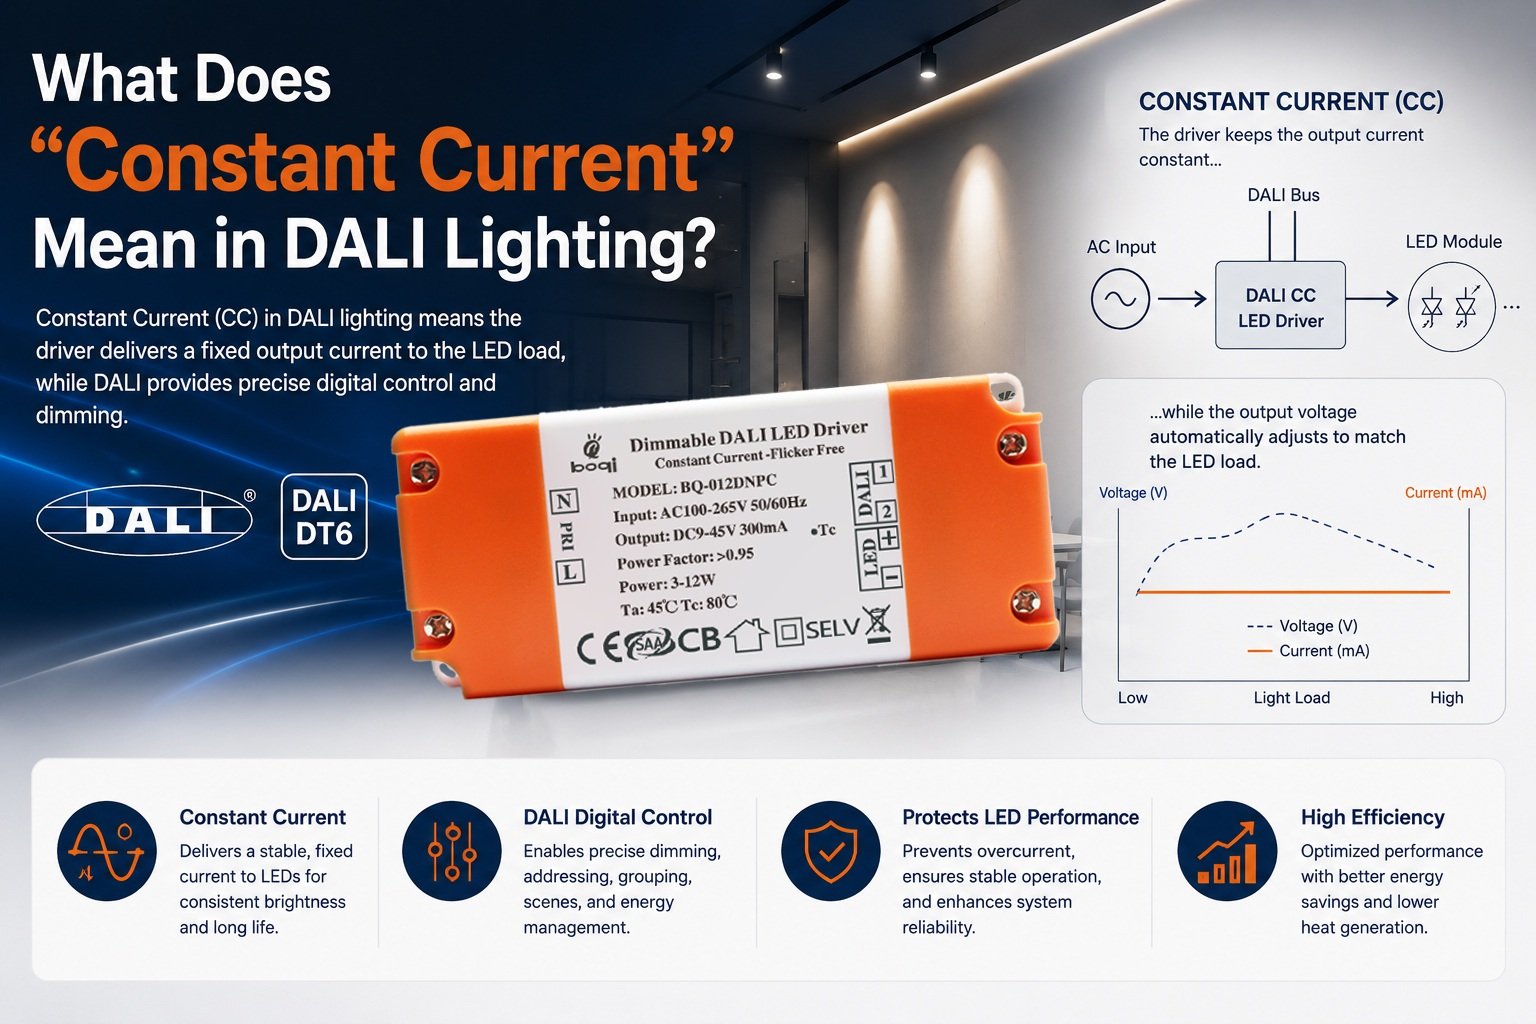
Arus konstan dalam pencahayaan DALI berarti driver LED mengirimkan arus keluaran tetap dalam miliampere ke modul LED sementara tegangannya mengambang dalam rentang tegangan maju. DALI hanyalah protokol peredupan digital; driver itu sendiri yang mengatur dan menstabilkan arus.
Definisi itu terdengar sederhana. Tetapi detailnya menentukan apakah perlengkapan Anda meredup dengan lancar atau gagal lebih awal. Mari saya jelaskan apa yang sebenarnya penting saat Anda membeli atau menentukan spesifikasi driver ini.
Bagaimana Saya Tahu Apakah Perlengkapan LED Saya Membutuhkan Driver DALI Arus Konstan?
Musim semi lalu, seorang distributor di Italia mengirimkan kami sampel downlight yang terus terbakar. Penyebabnya adalah driver tegangan konstan yang dipasangkan dengan modul COB yang digerakkan arus.
Perlengkapan LED Anda membutuhkan driver DALI arus konstan jika modul LED mencantumkan arus penggerak terukur dalam miliampere, seperti 350mA atau 700mA. COB telanjang, mesin downlight, dan modul daya tinggi digerakkan arus; strip LED dengan resistor bawaan biasanya membutuhkan tegangan konstan sebagai gantinya.
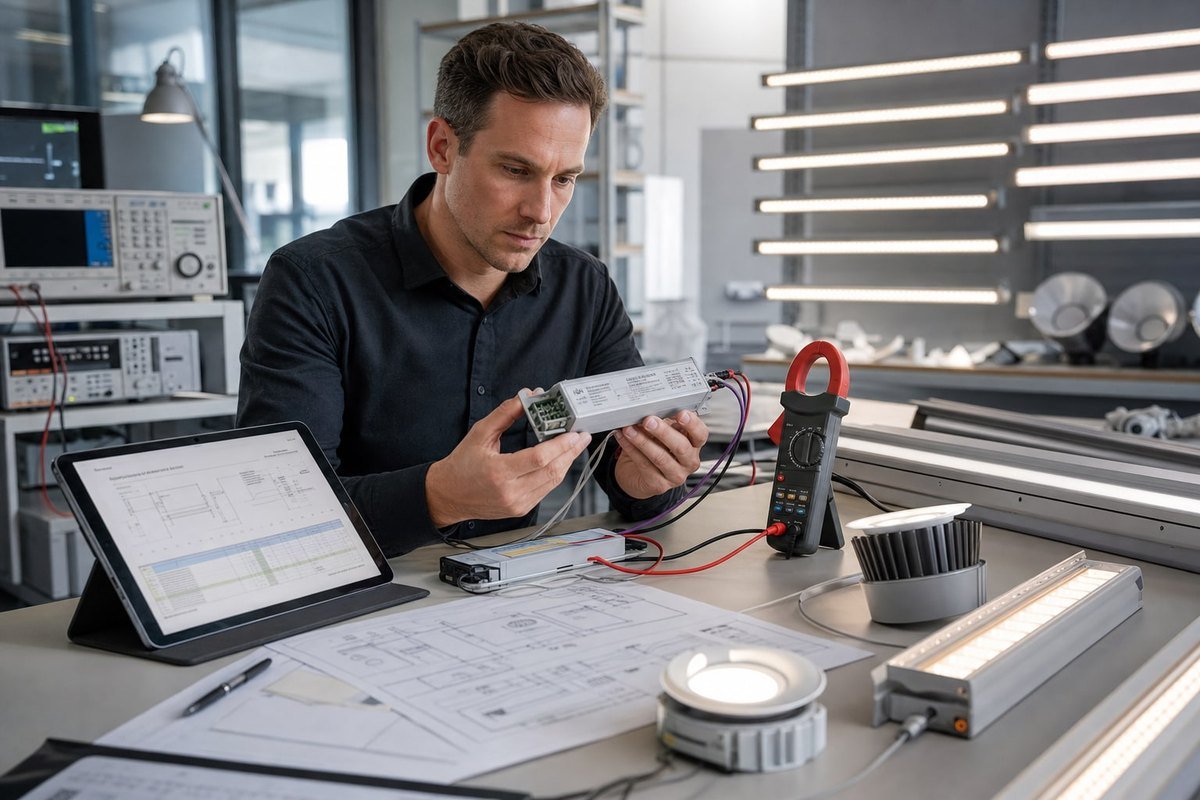
Cara tercepat untuk memutuskan adalah dengan membaca lembar data modul LED. LED adalah semikonduktor yang digerakkan arus. Jika diberi arus terlalu banyak, panas naik, resistansi 1 turun, dan LED menarik lebih banyak arus. Reaksi berantai itu disebut pelarian termal 2, dan itu menghancurkan chip. Driver arus konstan mencegah hal ini dengan menahan arus keluaran dalam miliampere tetap stabil sambil menyesuaikan tegangan secara otomatis.
Periksa Tiga Hal Ini Terlebih Dahulu
Pertama, lihat peringkat modul. Jika tertulis “700mA, 24–42V,” rentang tegangan itu adalah tegangan maju 3 , dan Anda membutuhkan arus konstan. Kedua, lihat kabelnya. Sistem arus konstan menggunakan konfigurasi kabel seri, sehingga arus yang sama mengalir melalui setiap LED dalam rangkaian. Ketiga, lihat rencana kontrol Anda. Jika proyek menuntut sistem pencahayaan yang dapat dialamatkan dengan adegan dan grup, Anda membutuhkan peralatan kontrol DALI, bukan peredupan analog.
Berikut adalah perbandingan tegangan konstan yang dibagikan oleh para insinyur kami kepada klien baru:
| Faktor | Arus Konstan (CC) | Tegangan Konstan (CV) |
|---|---|---|
| Keluaran yang diatur | Arus tetap (mA) | Tegangan tetap (V) |
| Beban khas | COB, downlight, panel, high-bay | Strip LED, modul signage |
| Kabel | Konfigurasi kabel seri | Paralel |
| Risiko kegagalan jika tidak cocok | Arus berlebih, pelarian termal | Kecerahan tidak merata, titik panas |
| Konsistensi kecerahan | Identik di seluruh rangkaian | Turun di sepanjang jalur panjang |
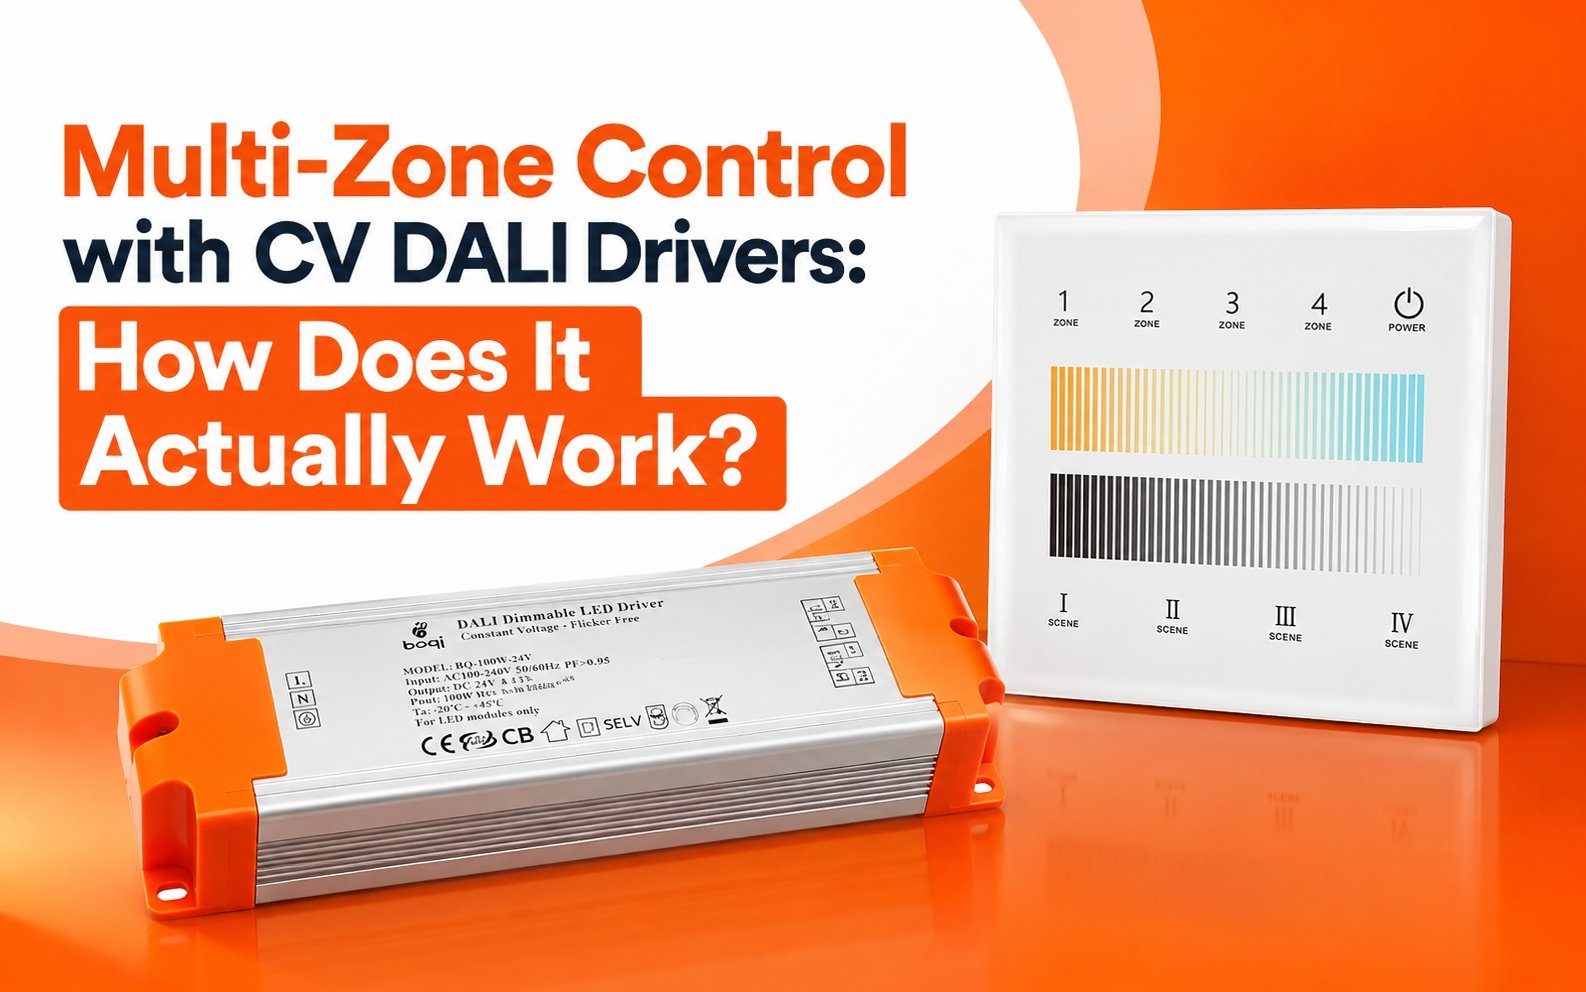
Satu poin lagi yang sering dilewatkan orang. DALI itu sendiri tidak membuat sistem menjadi arus konstan. Bus DALI hanya membawa perintah digital pada sekitar 16V DC dengan anggaran arus kecil. Sisi keluaran driver adalah sirkuit terpisah, dan bisa CC atau CV tergantung pada produknya.
Arus Keluaran Apa yang Harus Saya Tentukan Saat Mencari Driver DALI Arus Konstan untuk Proyek Saya?
Memilih arus keluaran adalah trade-off yang kami pertimbangkan dengan klien secara konstan: miliampere yang lebih tinggi berarti lebih banyak lumen per modul, tetapi juga lebih banyak panas dan umur LED yang lebih pendek.
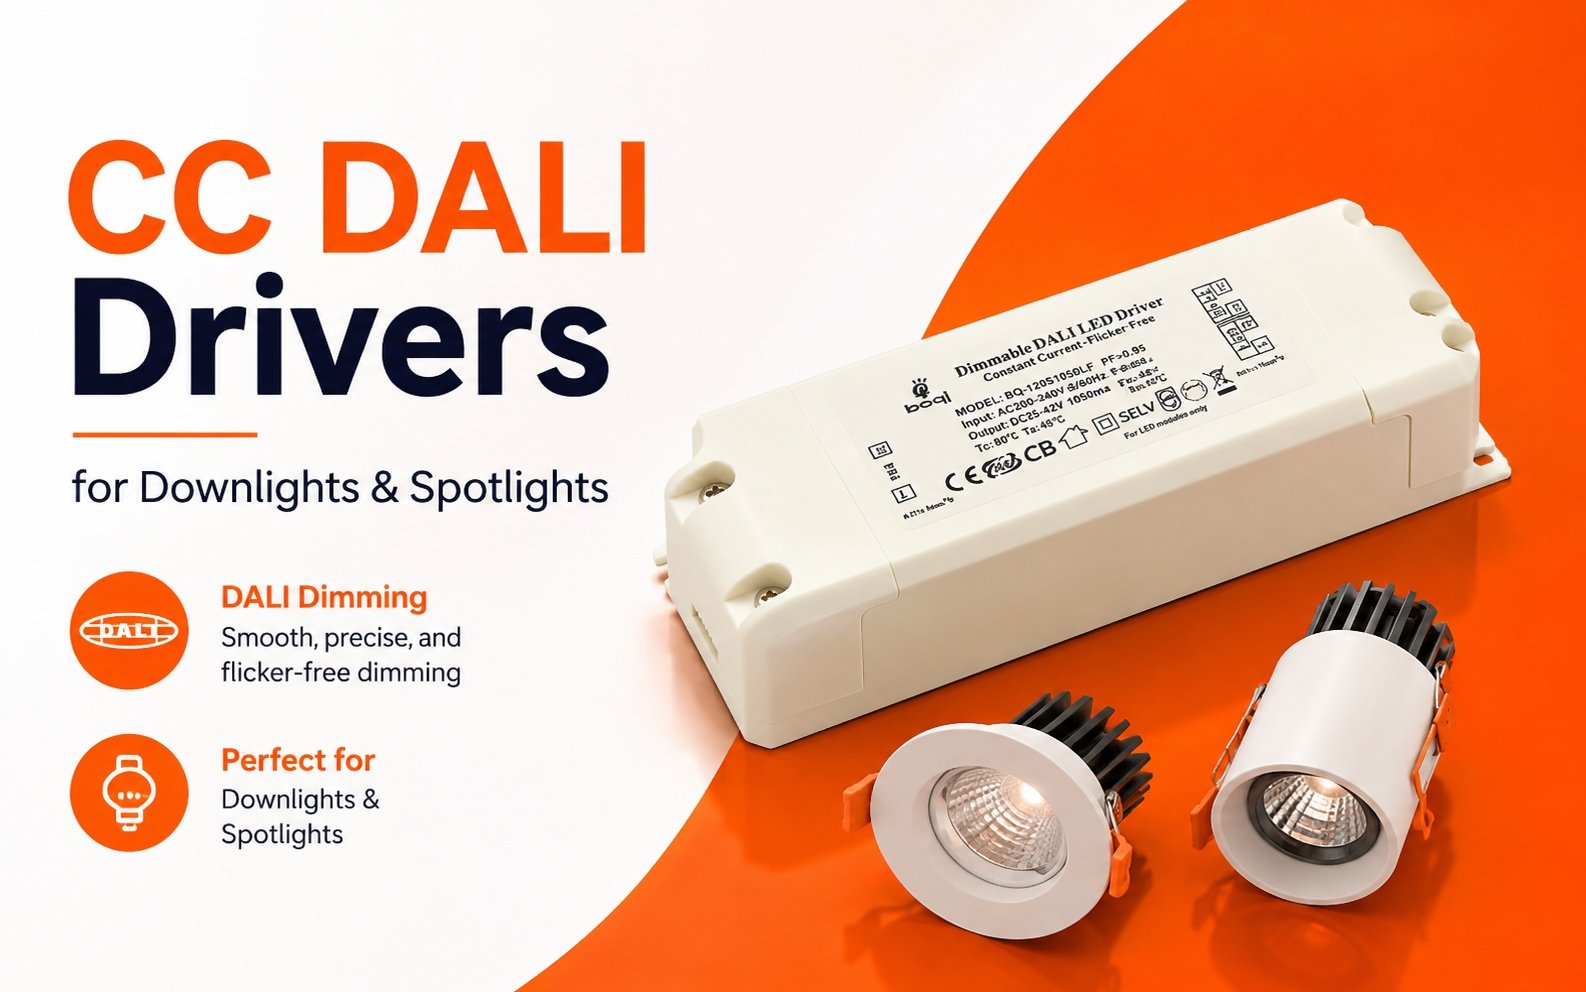
Tentukan arus keluaran yang tertera pada lembar data modul LED Anda, biasanya 350mA, 500mA, 700mA, atau 1050mA, dan pastikan rentang tegangan maju driver mencakup rangkaian LED Anda. Untuk fleksibilitas antar SKU, pilih driver multi-arus yang dapat diatur melalui sakelar DIP atau pemrograman.
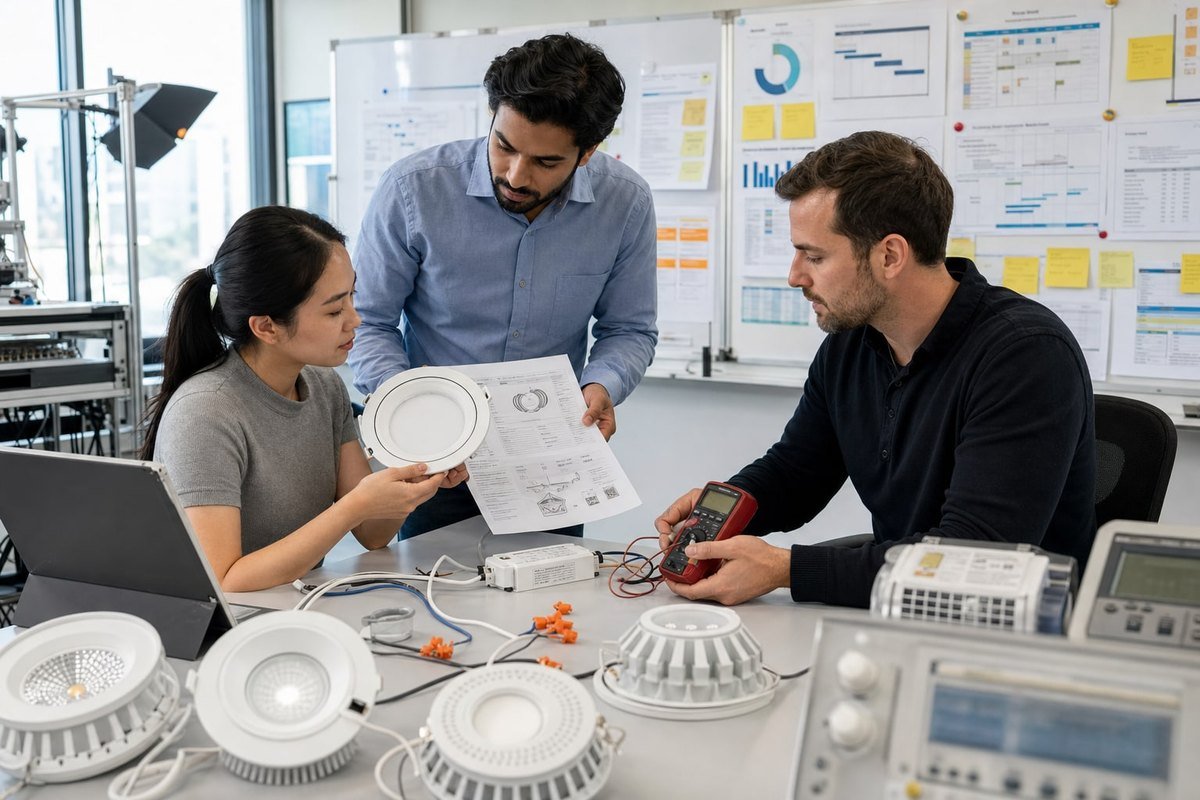
Mendapatkan nilai arus yang tepat hanyalah langkah pertama. Anda juga perlu memeriksa bahwa jendela tegangan driver sesuai dengan rangkaian Anda. Jika rangkaian Anda membutuhkan 30–42V pada 700mA, driver dengan rating 25–40V akan terpotong di bagian atas dan menyebabkan penurunan atau kedipan. Dalam proyek OEM kami untuk merek pencahayaan Eropa, ketidakcocokan tegangan ini adalah kesalahan spesifikasi paling umum yang kami temukan selama tinjauan desain.
Cocokkan Arus dengan Aplikasi
Kelas perlengkapan yang berbeda berkumpul di sekitar arus penggerak yang khas. Gunakan ini sebagai titik awal, lalu verifikasi terhadap modul aktual Anda:
| Aplikasi | Arus Keluaran Khas | Rentang Daya Khas |
|---|---|---|
| Lampu sorot kecil, kepala track | 350–500mA | 5–15W |
| Downlight komersial | 500–700mA | 10–25W |
| Lampu panel, perlengkapan linier | 700–1050mA | 25–45W |
| High-bay industri | 1050mA dan di atasnya | 60W+ |
Putuskan Juga Perilaku Peredupan
Arus bukan satu-satunya baris di lembar spesifikasi. Tanyakan bagaimana driver meredupkan. Desain driver LED DALI-2 yang lebih baik menggunakan peredupan hibrida: pengurangan arus kontinu pada kecerahan tinggi, kemudian modulasi lebar pulsa 4 frekuensi tinggi pada tingkat rendah. Kombinasi itu memberi Anda peredupan halus tanpa kedipan hingga 1% atau bahkan 0,1%. Juga tentukan tipe perangkat. Pengontrol DALI DT6 menangani peredupan saluran tunggal standar, sementara DT8 menyeimbangkan dua saluran arus untuk putih yang dapat disetel melalui satu alamat. Jika klien Anda menginginkan umpan balik energi dan suhu untuk manajemen bangunan, tambahkan dukungan D4i ke daftar persyaratan.
Terakhir, minta soft-start dan pembatasan arus masuk. Ketika puluhan driver menyala bersamaan pada satu pemutus sirkuit, driver murah akan menjatuhkannya. Yang bagus tidak.
Bagaimana Saya Dapat Memverifikasi Akurasi Arus Konstan Selama Kontrol Kualitas untuk Lini Pencahayaan Merek Sendiri Saya?
Seorang manajer pengadaan dari Singapura pernah bertanya kepada saya melalui WhatsApp tentang langkah-langkah QC kami yang tepat sebelum dia berkomitmen pada pesanan label pribadi. Percakapan itu menjadi daftar periksa inspeksi standar kami.
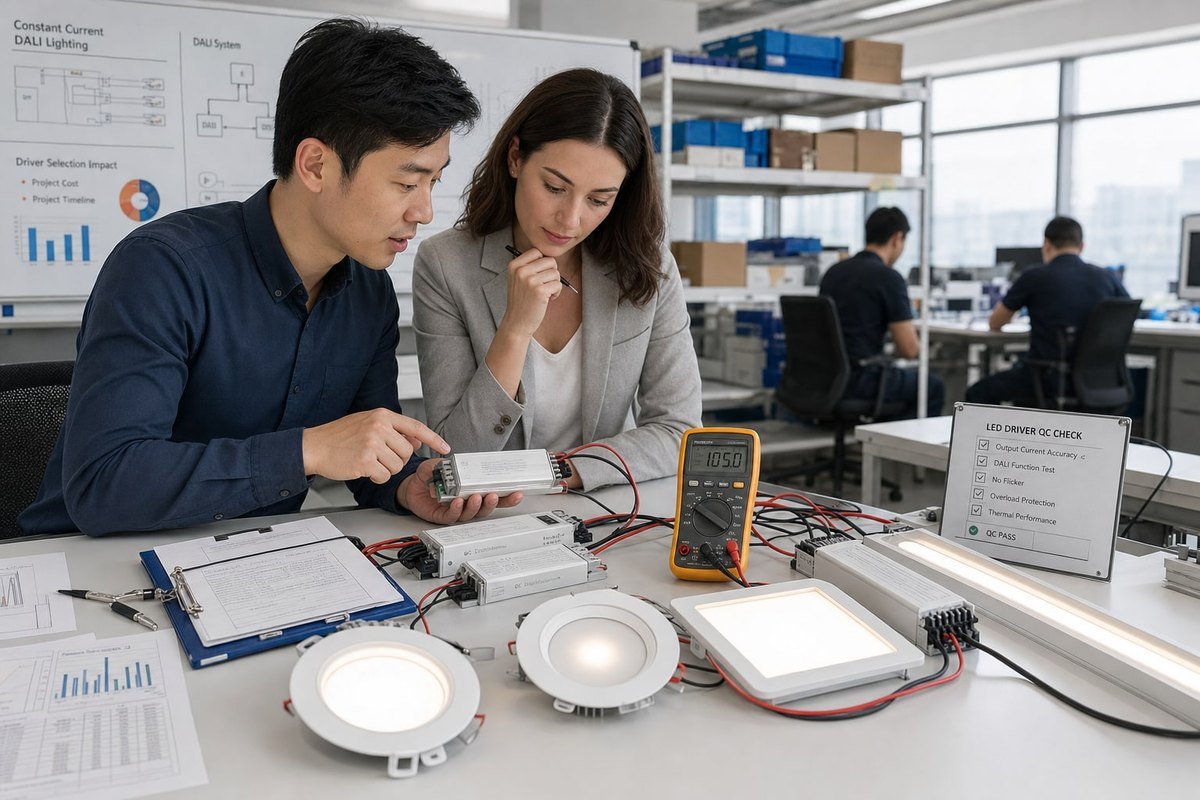
Verifikasi akurasi arus konstan dengan mengukur arus keluaran menggunakan multimeter terkalibrasi atau beban elektronik pada kecerahan penuh dan beberapa tingkat peredupan DALI, melintasi tegangan beban minimum dan maksimum. Terima unit dalam ±5% dari arus rating, dan konfirmasi kinerja kedipan dengan meter kedipan fotometrik.
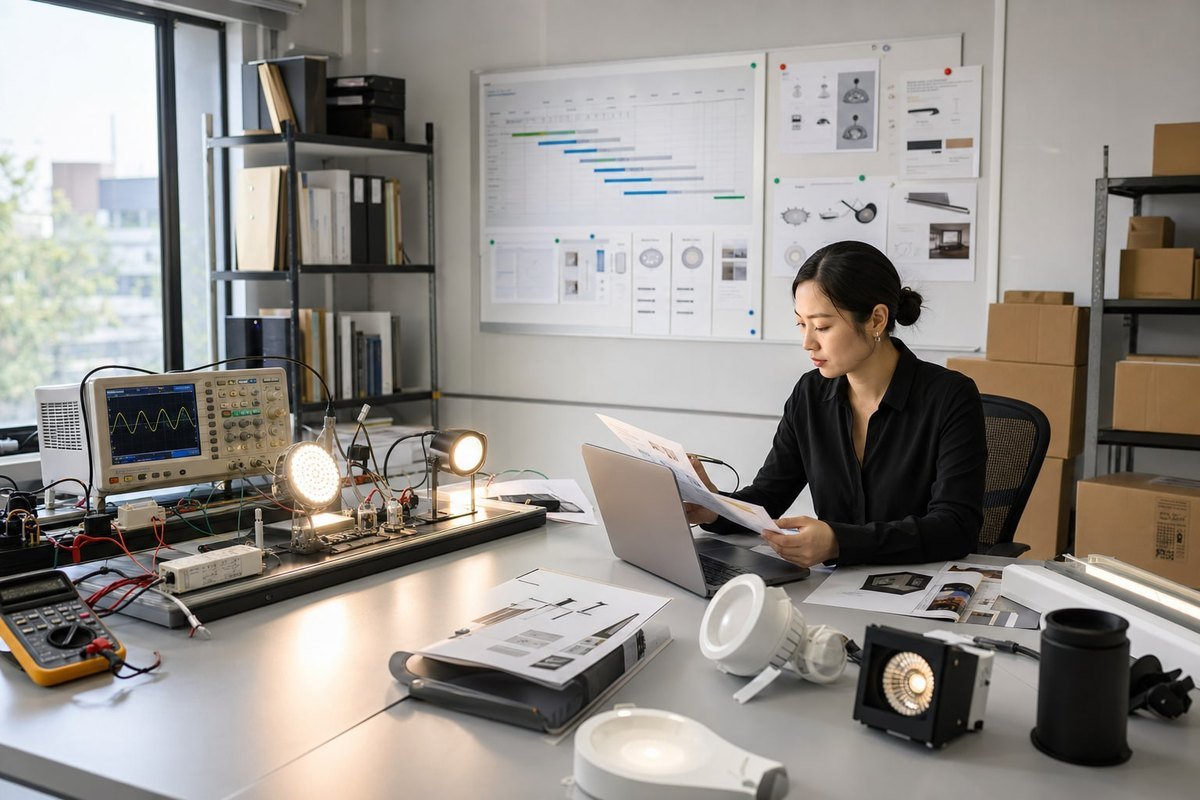
Kontrol kualitas untuk driver label pribadi tidak rumit, tetapi harus sistematis. Di lini produksi kami di Shenzhen, setiap driver melewati pengujian otomatis sebelum logo dipasang di rumah. Saya merekomendasikan pemilik merek untuk mereplikasi versi skala kecil dari proses ini selama inspeksi pra-pengiriman, baik sendiri atau melalui inspektur pihak ketiga.
Prosedur QC Lima Langkah yang Praktis
- Uji arus statis. Hubungkan driver ke beban elektronik yang diatur dalam rentang tegangan maju rating. Ukur arus keluaran pada kecerahan 100%. Itu harus berada dalam ±5% dari nilai papan nama.
- Sapuan beban. Ulangi pengukuran pada tegangan minimum dan maksimum jendela driver. Tahap arus konstan berkualitas mempertahankan pembacaan miliamp yang sama di seluruh rentang.
- Linearitas peredupan DALI. Kirim perintah DALI pada 100%, 50%, 10%, dan 1%. Konfirmasi bahwa keluaran cahaya mengikuti kurva peredupan logaritmik dengan lancar, tanpa langkah atau lompatan. Ini memeriksa bahwa protokol peredupan digital dan tahap regulasi arus bekerja sama dengan benar.
- Pengukuran kedipan. Pada tingkat peredupan rendah, driver yang beralih ke modulasi lebar pulsa harus berjalan pada frekuensi yang cukup tinggi agar tetap tidak terlihat. Uji dengan meter kedipan 6 pada 10% dan 1%.
- Pengambilan sampel termal dan daya tahan. Jalankan sampel batch pada beban penuh di ruang panas untuk burn-in yang diperpanjang. Penyimpangan arus di bawah panas mengekspos komponen lemah sebelum pelanggan Anda melakukannya.
Dokumentasi yang Harus Diminta dari Pemasok Anda
Minta laporan pengujian yang terkait dengan nomor seri, bukan lembar data generik. Dalam pekerjaan ekspor kami ke pasar seperti Jerman, Jepang, dan Australia, kami menemukan bahwa pelacakan tingkat batch mempersingkat penyelesaian sengketa dari minggu menjadi hari. Juga verifikasi tanda keselamatan yang dicetak di rumah, seperti simbol CE dan SELV, cocok dengan dokumen sertifikasi asli. Tanda palsu pada casing driver tetap menjadi risiko nyata saat mencari sumber dari pabrik yang tidak terverifikasi.
Mengapa Memilih Driver DALI Arus Konstan yang Tepat Mempengaruhi Total Biaya Proyek dan Jadwal Saya?
Kami pernah membantu klien Inggris memulihkan proyek hotel yang macet. Pemasok asli mengirim driver dengan rating arus yang salah, dan setiap downlight harus diganti penggeraknya di lokasi.
Driver yang salah memaksa pengerjaan ulang, penggantian, dan penundaan komisioning yang melipatgandakan biaya jauh melampaui harga driver. Driver arus konstan DALI yang tepat mencegah kegagalan lapangan, mempercepat pengalamatan dan komisioning, memotong penggunaan energi melalui peredupan yang akurat, dan melindungi masa pakai LED, menjaga anggaran dan tenggat waktu tetap utuh.
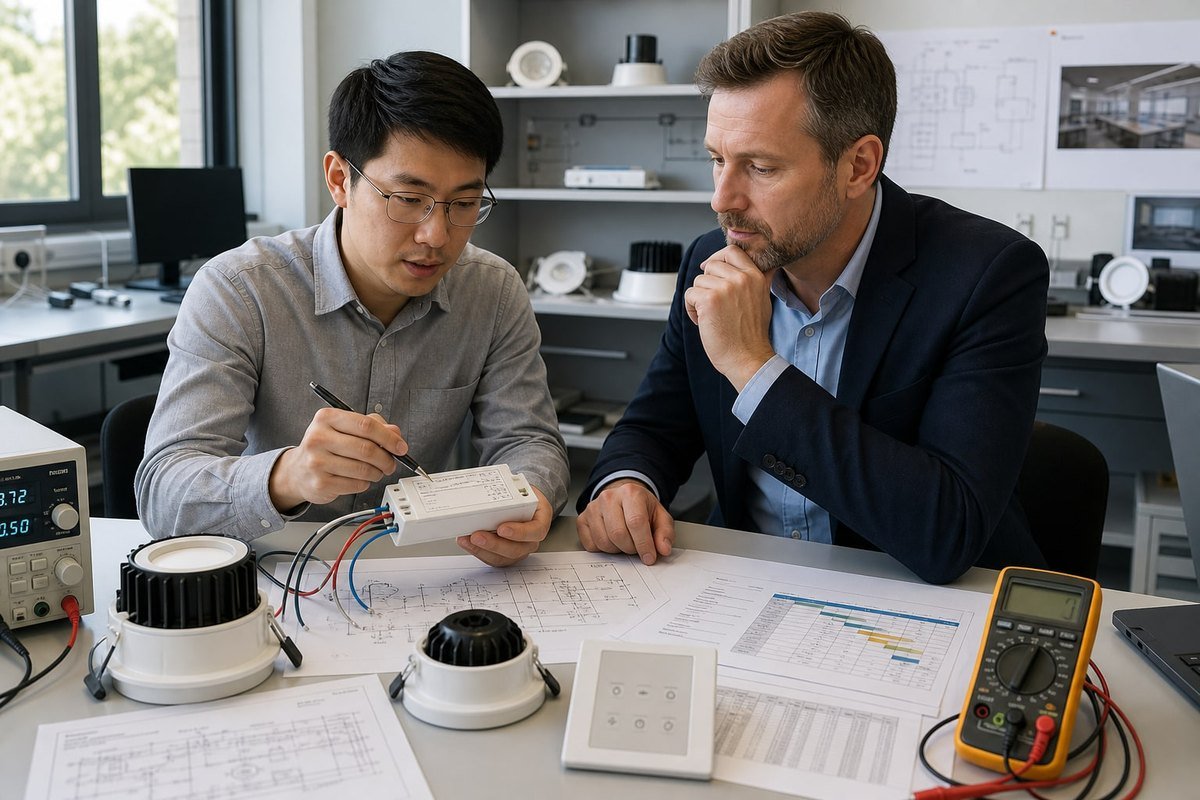
Biaya driver biasanya di bawah 15% dari bill of materials luminer. Namun kesalahan driver menyebabkan bagian yang tidak proporsional dari pembengkakan proyek. Alasannya sederhana: driver berada di antara instalasi listrik, sistem kontrol, dan beban LED. Kesalahan pada satu komponen ini menyebar ke tiga arah sekaligus.
Di Mana Biaya Tersembunyi Muncul
| Pilihan yang Salah | Gejala Langsung | Biaya Hilir |
|---|---|---|
| Rating arus terlalu tinggi | LED mengalami panas berlebih | Penurunan lumen dini, klaim garansi |
| Ketidakcocokan jendela tegangan | Berkedip, putus saat level peredupan | Troubleshooting di lokasi, biaya tenaga pengganti |
| Antarmuka DALI yang tidak bersertifikat | Kegagalan pengalamatan | Keterlambatan commissioning, biaya integrator |
| Tanpa pembatas arus masuk | Pemutus sirkuit trip saat daya menyala | Desain ulang kelistrikan, kontaktor tambahan |
| DALI lama sebagai pengganti DALI-2 | Tanpa jaminan interoperabilitas | Ekosistem terkunci, biaya retrofit di masa depan |
Risiko Jadwal Lebih Besar daripada Risiko Biaya
Pembengkakan biaya memang merugikan, tetapi tenggat yang terlewat membunuh proyek. Commissioning adalah saat driver berkualitas buruk paling banyak menyita waktu. Driver LED DALI-2 merespons pengalamatan dengan benar IEC 62386 7, penugasan grup, dan perintah scene dari pengontrol yang sesuai. Unit yang tidak bersertifikat sering berfungsi dalam demo tetapi gagal pada bus nyata, dan integrator menagih per hari sementara mereka mencari kesalahan. Dalam pekerjaan ODM kami, kami menerapkan pengujian kepatuhan DALI-2 justru karena klien grosir kami tidak dapat menyerap keterlambatan jadwal.
Ada juga sudut pandang berorientasi masa depan. Bangunan pintar semakin menuntut data. Driver yang mendukung umpan balik D4i melaporkan penggunaan energi, jam operasi, dan suhu kembali melalui bus. Menentukan kemampuan itu sekarang membutuhkan biaya sedikit lebih banyak per unit. Memasangnya di kemudian hari berarti mengganti setiap driver di langit-langit. Saat saya meninjau spesifikasi proyek dengan klien, saya selalu menanyakan rencana lima tahun, bukan hanya tanggal peluncuran, karena driver termurah pada hari pertama jarang menjadi driver termurah selama masa pakai instalasi.
Kesimpulan
Arus konstan menggambarkan keluaran yang diatur driver, bukan bus DALI. Cocokkan arus, jendela tegangan, dan kepatuhan DALI-2 dengan perlengkapan Anda, dan verifikasi dengan QC nyata. Lakukan dengan benar sekali, dan biaya proyek, jadwal, serta reputasi merek Anda tetap terlindungi.
Catatan kaki
Sumber resmi UE yang menjelaskan tanda CE yang dirujuk dalam pemeriksaan dokumentasi QC. ↩︎
Mendefinisikan mekanisme kegagalan yang dirujuk saat LED terlalu panas akibat arus berlebih. ↩︎
Menjelaskan sifat semikonduktor yang mendasari konsep rentang tegangan maju LED. ↩︎
Latar belakang tentang teknik peredupan yang digunakan pada tingkat kecerahan rendah. ↩︎
Memberikan latar belakang teknis tentang penurunan keluaran cahaya akibat overdriving LED. ↩︎
Latar belakang tentang pengukuran kedipan cahaya yang relevan dengan pengujian fotometrik yang disebutkan. ↩︎
Menunjuk ke badan standar internasional yang mengatur spesifikasi protokol DALI. ↩︎