












ผู้ซื้อมักถามฉันว่ากระแสคงที่หมายถึงอะไรในระบบไฟ DALI ความสับสนตรงนี้ทำให้ไดรเวอร์ถูกส่งคืน ฟิกซ์เจอร์กระพริบ และการเปิดตัวล่าช้า ทีมวิศวกรรมในเซินเจิ้นของเราคลี่คลายคำถามนี้ทุกวัน.
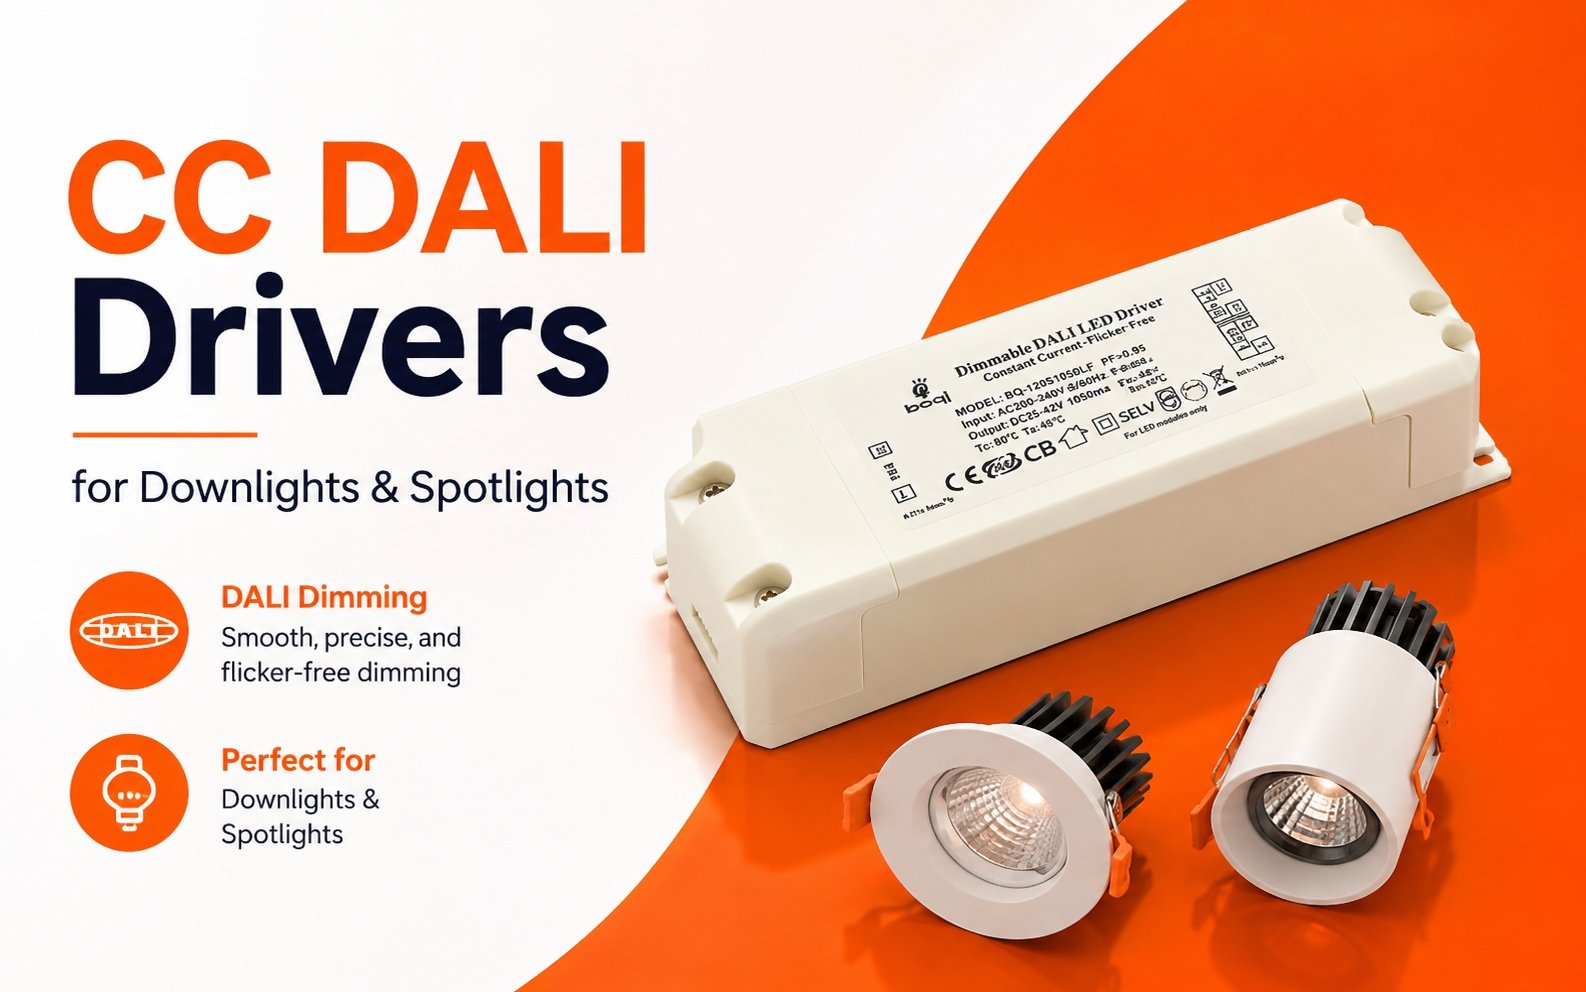
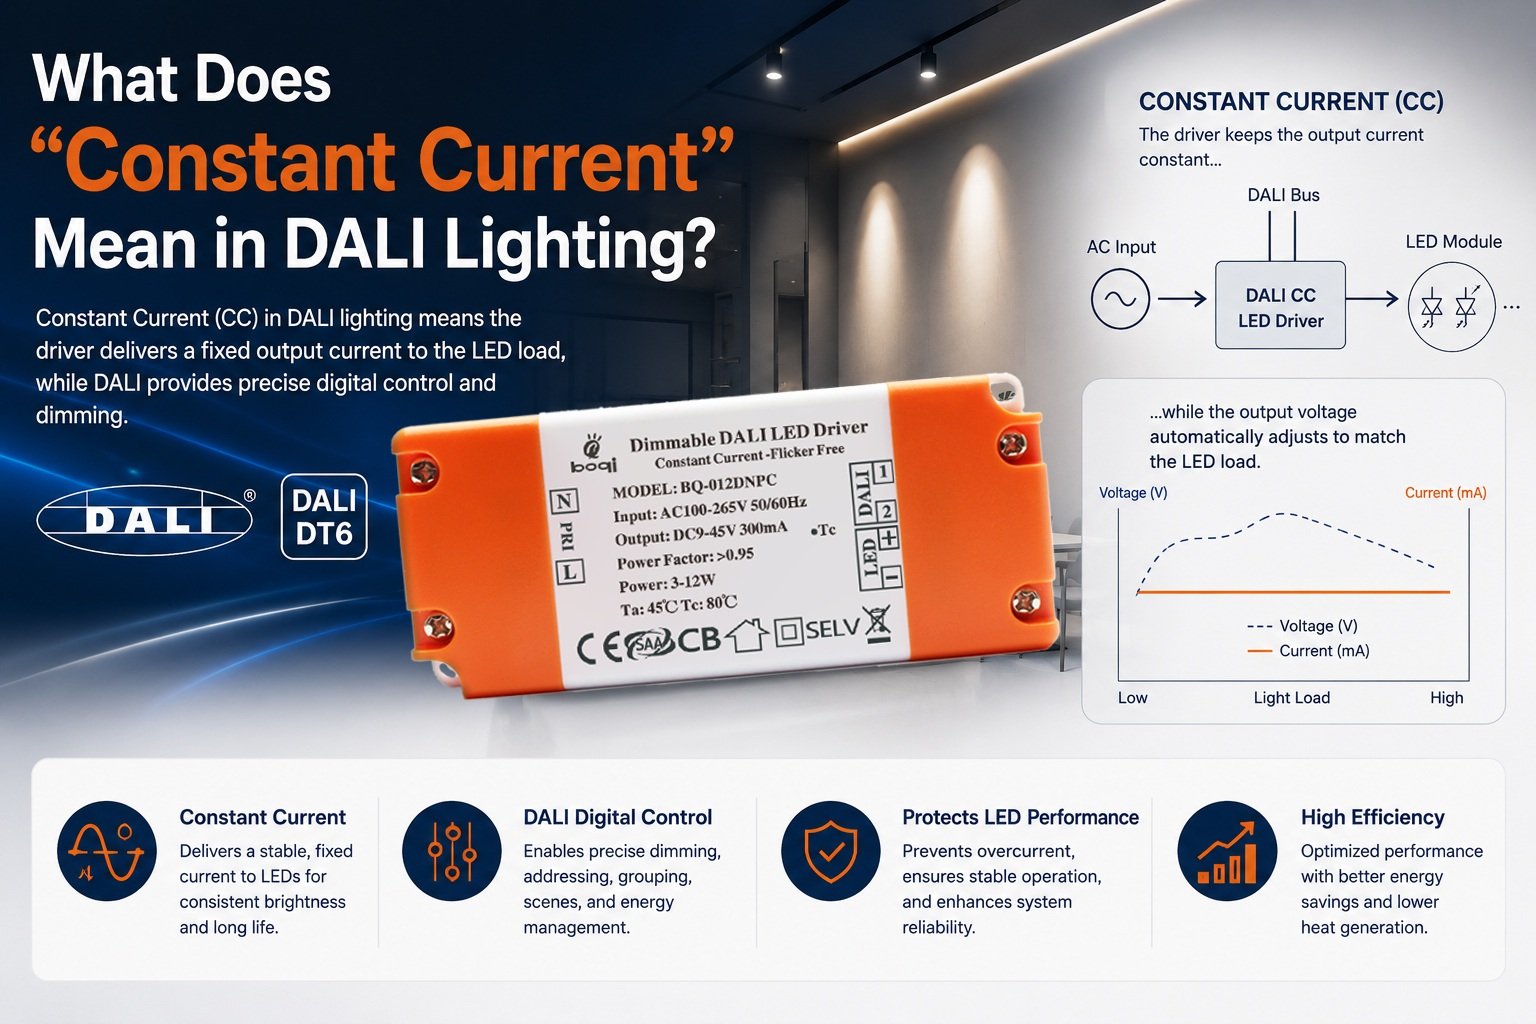
กระแสคงที่ในระบบไฟ DALI หมายถึงไดรเวอร์ LED จ่ายกระแสเอาต์พุตคงที่เป็นมิลลิแอมป์ให้กับโมดูล LED ในขณะที่แรงดันไฟฟ้าลอยอยู่ในช่วงแรงดันไปข้างหน้า DALI เป็นเพียงโปรโตคอลการหรี่แสงแบบดิจิทัลเท่านั้น ไดรเวอร์เองเป็นตัวควบคุมและรักษากระแสให้คงที่.
คำนิยามนั้นฟังดูง่าย แต่รายละเอียดต่างหากที่決定ว่าฟิกซ์เจอร์ของคุณจะหรี่แสงได้ราบรื่นหรือพังก่อนเวลาอันควร ให้ฉันอธิบายสิ่งที่สำคัญจริงๆ เมื่อคุณซื้อหรือระบุไดรเวอร์เหล่านี้.
ฉันจะรู้ได้อย่างไรว่าฟิกซ์เจอร์ LED ของฉันต้องใช้ไดรเวอร์ DALI กระแสคงที่?
ฤดูใบไม้ผลิที่แล้ว ตัวแทนจำหน่ายในอิตาลีส่งตัวอย่างดาวน์ไลท์ที่ไหม้ซ้ำๆ ให้เรา สาเหตุคือไดรเวอร์แรงดันคงที่ที่จับคู่กับโมดูล COB ที่ขับด้วยกระแส.
ฟิกซ์เจอร์ LED ของคุณต้องใช้ไดรเวอร์ DALI กระแสคงที่ หากโมดูล LED ระบุกระแสขับเคลื่อนที่กำหนดเป็นมิลลิแอมป์ เช่น 350mA หรือ 700mA COB เปล่า ดาวน์ไลท์เอ็นจิ้น และโมดูลกำลังสูงเป็นแบบขับด้วยกระแส แถบ LED ที่มีตัวต้านทานในตัวมักต้องใช้แรงดันคงที่แทน.
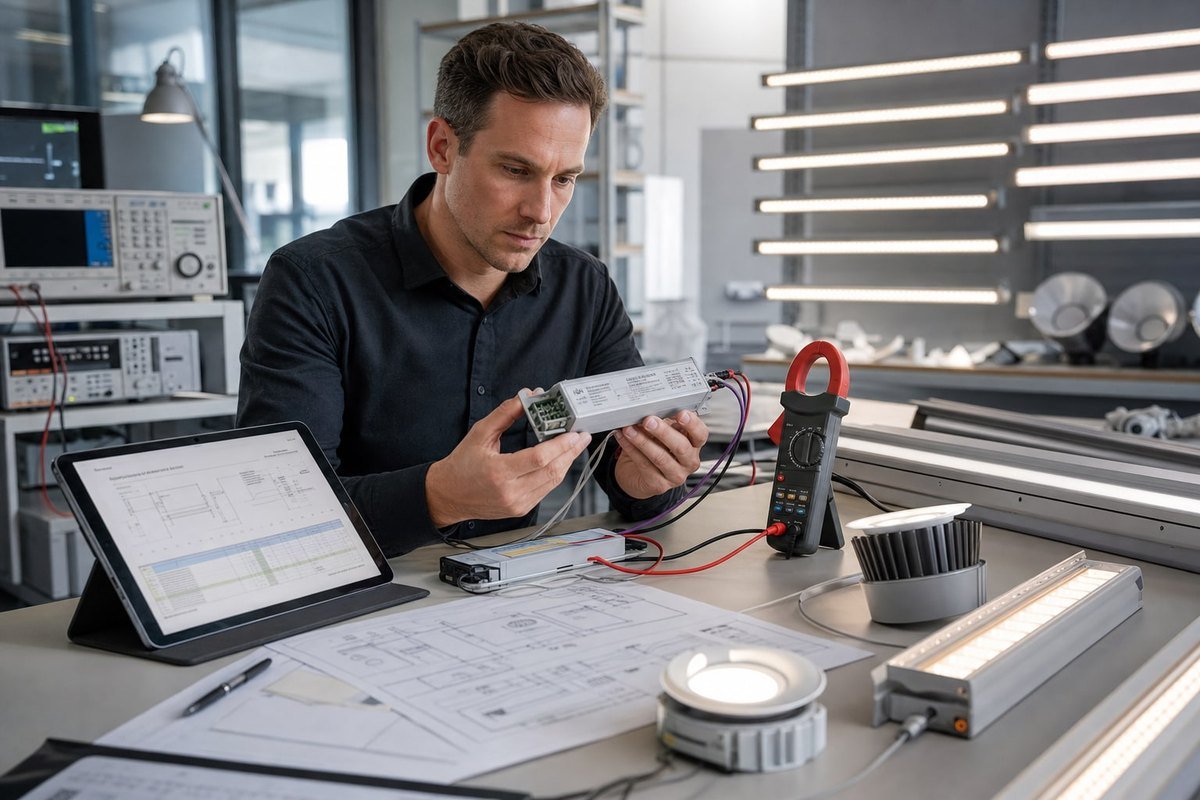
วิธีที่เร็วที่สุดในการตัดสินใจคืออ่านดาต้าชีตของโมดูล LED LED เป็นสารกึ่งตัวนำที่ขับด้วยกระแส หากจ่ายกระแสมากเกินไป ความร้อนจะสูงขึ้น ความต้านทานลดลง และ LED ดึงกระแสมากขึ้นไปอีก ปฏิกิริยาลูกโซ่นั้นเรียกว่า 1 thermal runaway และมันทำลายชิป ไดรเวอร์กระแสคงที่ป้องกันสิ่งนี้โดยรักษากระแสเอาต์พุตเป็นมิลลิแอมป์ให้คงที่ในขณะที่ปรับแรงดันไฟฟ้าอัตโนมัติ 2, ขั้นแรก ดูพิกัดของโมดูล หากระบุว่า “700mA, 24–42V” ช่วงแรงดันนั้นคือ.
ตรวจสอบสามสิ่งนี้ก่อน
range และคุณต้องใช้กระแสคงที่ ขั้นที่สอง ดูการเดินสาย ระบบกระแสคงที่ใช้การเดินสายแบบอนุกรม ดังนั้นกระแสเดียวกันจึงไหลผ่านทุก LED ในสตริง ขั้นที่สาม ดูแผนการควบคุมของคุณ หากโครงการต้องการระบบไฟแบบระบุตำแหน่งได้พร้อมฉากและกลุ่ม คุณต้องใช้อุปกรณ์ควบคุม DALI ไม่ใช่การหรี่แสงแบบแอนะล็อก ของไดรเวอร์จะรองรับผลรวมนั้น ในทางตรงกันข้าม แหล่งจ่าย CV จะจ่ายให้กับสาขาแบบขนาน เช่น แถบ LED ซึ่งแต่ละส่วนมีตัวต้านทานของตัวเองเพื่อจำกัดกระแส หากผลิตภัณฑ์ที่คุณจ่ายไฟมีตัวต้านทานบนบอร์ด แสดงว่าเกือบแน่นอนว่าต้องการแรงดันคงที่ หากเป็นโมดูล LED เปล่าหรือชุดอนุกรม แสดงว่าต้องการกระแสคงที่ 3 นี่คือการเปรียบเทียบแรงดันคงที่ที่วิศวกรของเราแบ่งปันกับลูกค้าใหม่:.
เอาต์พุตที่ควบคุม
| ปัจจัย | กระแสคงที่ (CC) | แรงดันคงที่ (CV) |
|---|---|---|
| กระแสคงที่ (mA) | แรงดันคงที่ (V) | COB ดาวน์ไลท์ แผง ไฮเบย์ |
| โหลดทั่วไป | แถบ LED โมดูลป้าย | การเดินสาย |
| การเดินสายแบบอนุกรม | ขนาน | ความเสี่ยงความเสียหายหากจับคู่ผิด |
| กระแสเกิน, thermal runaway | ความสว่างไม่สม่ำเสมอ, จุดร้อน | ความสม่ำเสมอของความสว่าง |
| เหมือนกันทั่วทั้งสตริง | ลดลงตามระยะทางยาว | อีกจุดหนึ่งที่คนมักพลาด DALI เองไม่ได้ทำให้ระบบเป็นกระแสคงที่ บัส DALI ส่งเฉพาะคำสั่งดิจิทัลที่ประมาณ 16V DC ด้วยงบประมาณกระแสเล็กน้อย ด้านเอาต์พุตของไดรเวอร์เป็นวงจรแยกต่างหาก และสามารถเป็น CC หรือ CV ขึ้นอยู่กับผลิตภัณฑ์ |
โมดูล LED ที่ระบุกระแสขับเคลื่อนที่กำหนดเป็นมิลลิแอมป์ต้องใช้ไดรเวอร์กระแสคงที่.
ฉันควรระบุกระแสเอาต์พุตเท่าใดเมื่อจัดหาไดรเวอร์ DALI กระแสคงที่สำหรับโครงการของฉัน?
ระบุกระแสเอาต์พุตที่ระบุในดาต้าชีตโมดูล LED ของคุณ โดยทั่วไปคือ 350mA, 500mA, 700mA หรือ 1050mA และยืนยันว่าช่วงแรงดันไปข้างหน้าของไดรเวอร์ครอบคลุมสตริง LED ของคุณ เพื่อความยืดหยุ่นข้าม SKU เลือกไดรเวอร์หลายกระแสที่ปรับได้ผ่านสวิตช์ DIP หรือการตั้งโปรแกรม.
การได้ค่ากระแสที่ถูกต้องเป็นเพียงขั้นตอนแรก คุณยังต้องตรวจสอบว่าหน้าต่างแรงดันของไดรเวอร์ตรงกับสตริงของคุณ หากสตริงของคุณต้องการ 30–42V ที่ 700mA ไดรเวอร์ที่พิกัด 25–40V จะตัดที่ด้านบนและทำให้ไฟดับหรือกระพริบ ในโครงการ OEM ของเราสำหรับแบรนด์ไฟยุโรป ความไม่ตรงกันของแรงดันนี้เป็นข้อผิดพลาดในการระบุที่พบบ่อยที่สุดที่เราจับได้ระหว่างการตรวจสอบการออกแบบ.
คลาสฟิกซ์เจอร์ต่างๆ กระจุกตัวอยู่รอบกระแสขับเคลื่อนทั่วไป ใช้เป็นจุดเริ่มต้น แล้วตรวจสอบกับโมดูลจริงของคุณ:.
จับคู่กระแสให้ตรงกับการใช้งาน
กระแสเอาต์พุตทั่วไป
| แอปพลิเคชัน | ช่วงกำลังทั่วไป | ช่วงกำลังไฟฟ้าทั่วไป |
|---|---|---|
| สปอตไลท์ขนาดเล็ก หัวรางไฟ | 350–500mA | 5–15W |
| ดาวน์ไลท์เชิงพาณิชย์ | 500–700mA | 10–25W |
| โคมไฟแพเนล โคมไฟเชิงเส้น | 700–1050mA | 25–45W |
| ไฮเบย์สำหรับโรงงานอุตสาหกรรม | 1050mA ขึ้นไป | 60W+ |
ตัดสินใจเรื่องพฤติกรรมการหรี่แสงด้วย
กระแสไฟฟ้าไม่ใช่เพียงบรรทัดเดียวในสเปกชีต ควรสอบถามว่าไดรเวอร์หรี่แสงอย่างไร การออกแบบไดรเวอร์ LED แบบ DALI-2 ที่ดีย่อมใช้การหรี่แสงแบบไฮบริด: การลดกระแสอย่างต่อเนื่องที่ความสว่างสูง จากนั้นใช้ การมอดูเลตความกว้างพัลส์ความถี่สูง 4 ที่ระดับต่ำ การผสมผสานนี้ให้การหรี่แสงที่นุ่มนวลไร้การกะพริบลงไปจนถึง 1% หรือแม้แต่ 0.1% นอกจากนี้ ควรระบุประเภทอุปกรณ์ให้ชัดเจน คอนโทรลเลอร์แบบ DALI DT6 จัดการการหรี่แสงช่องสัญญาณเดียวมาตรฐาน ในขณะที่ DT8 ปรับสมดุลกระแสสองช่องสัญญาณสำหรับไวท์ปรับได้ผ่านแอดเดรสเดียว หากลูกค้าต้องการข้อมูลพลังงานและอุณหภูมิสำหรับระบบบริหารจัดการอาคาร ให้เพิ่มการรองรับ D4i ในรายการข้อกำหนด.
สุดท้ายนี้ ควรขอฟังก์ชันซอฟต์สตาร์ทและการจำกัดกระแสไฟกระชาก เมื่อไดรเวอร์หลายสิบตัวเริ่มทำงานพร้อมกันบนเบรกเกอร์ตัวเดียว ไดรเวอร์ราคาถูกจะทำให้เบรกเกอร์ตัด ตัวที่ดีจะไม่เกิดปัญหา.
ฉันจะตรวจสอบความแม่นยำของกระแสคงที่ระหว่างการควบคุมคุณภาพสำหรับสายผลิตภัณฑ์ไฟแบรนด์ส่วนตัวของฉันได้อย่างไร?
ผู้จัดการฝ่ายจัดซื้อจากสิงคโปร์เคยสอบถามขั้นตอน QC ที่แน่นอนของเราผ่าน WhatsApp ก่อนที่เธอจะตกลงสั่งผลิตแบบ Private Label บทสนทนานั้นกลายเป็นรายการตรวจสอบมาตรฐานของเรา.
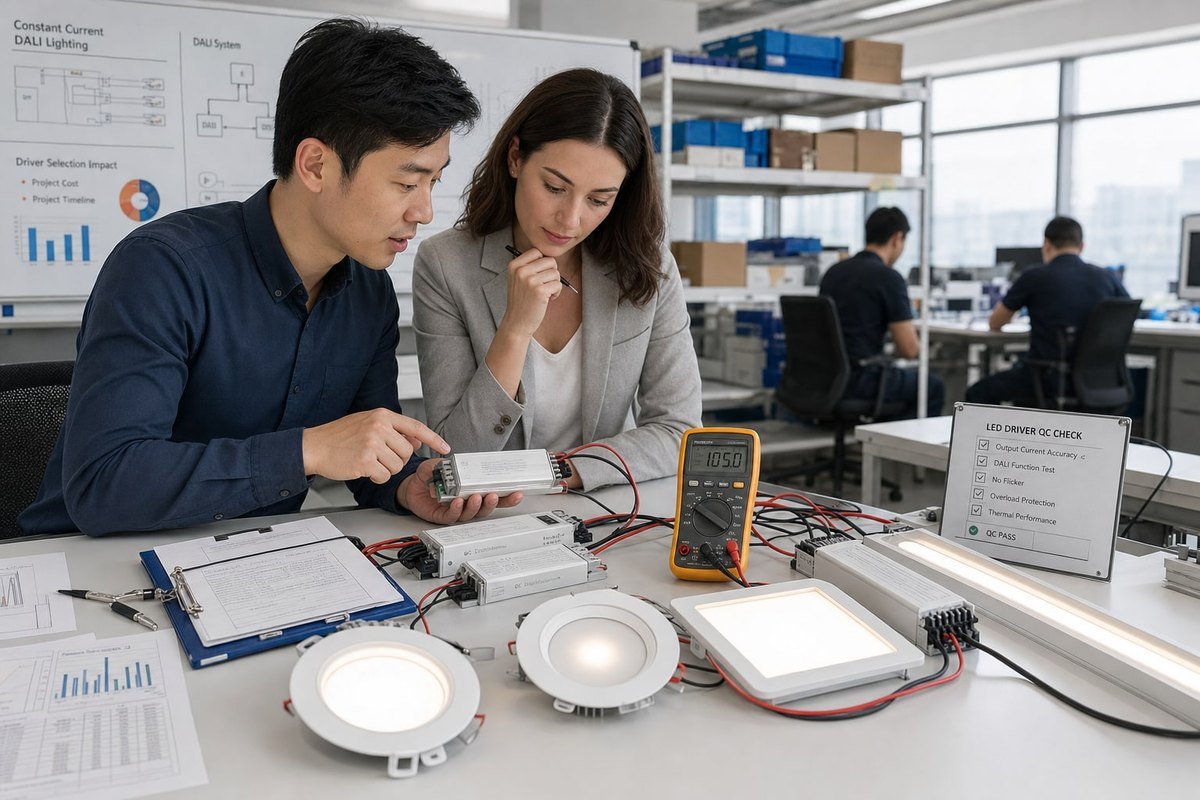
ตรวจสอบความแม่นยำของกระแสคงที่โดยวัดกระแสเอาต์พุตด้วยมัลติมิเตอร์ที่สอบเทียบแล้วหรือโหลดอิเล็กทรอนิกส์ที่ความสว่างเต็มที่และระดับการหรี่แสงแบบ DALI หลายระดับ ครอบคลุมแรงดันโหลดต่ำสุดและสูงสุด ยอมรับหน่วยที่อยู่ในช่วง ±5% ของกระแสที่กำหนด และยืนยันประสิทธิภาพการกะพริบด้วยเครื่องวัดการกะพริบเชิงแสง.
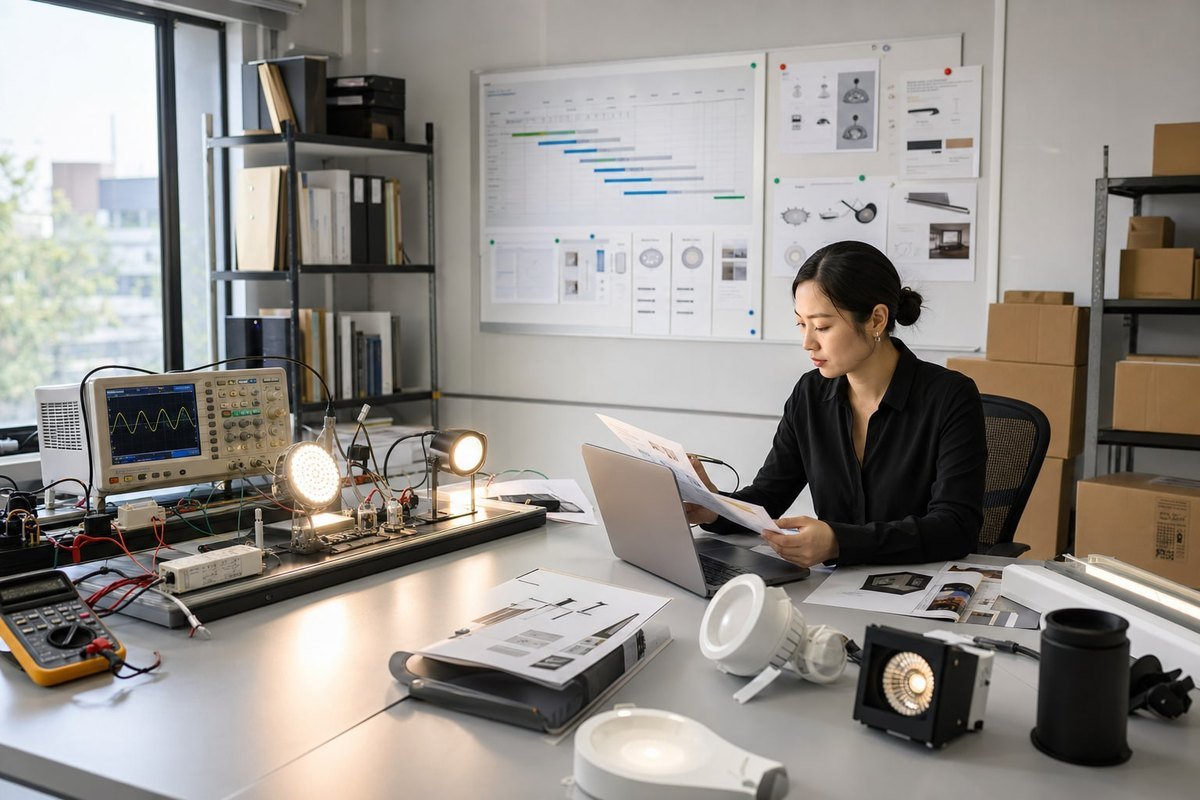
การควบคุมคุณภาพสำหรับไดรเวอร์แบบ Private Label ไม่ซับซ้อน แต่ต้องเป็นระบบ บนสายการผลิตของเราในเซินเจิ้น ไดรเวอร์ทุกตัวผ่านการทดสอบอัตโนมัติก่อนติดโลโก้บนตัวเรือน ฉันแนะนำให้เจ้าของแบรนด์จำลองกระบวนการนี้ในขนาดย่อมระหว่างการตรวจสอบก่อนจัดส่ง ไม่ว่าจะทำเองหรือผ่านผู้ตรวจสอบบุคคลที่สาม.
ขั้นตอนการควบคุมคุณภาพห้าขั้นตอนที่ใช้งานได้จริง
- การทดสอบกระแสคงที่. เชื่อมต่อไดรเวอร์เข้ากับโหลดอิเล็กทรอนิกส์ที่ตั้งค่าภายในช่วงแรงดันไปข้างหน้าที่กำหนด วัดกระแสเอาต์พุตที่ความสว่าง 100% ควรอยู่ในช่วง ±5% ของค่าบนแผ่นป้าย.
- การกวาดโหลด. ทำการวัดซ้ำที่แรงดันต่ำสุดและสูงสุดของช่วงไดรเวอร์ สเตจกระแสคงที่คุณภาพดีจะรักษาค่ามิลลิแอมป์เท่าเดิมตลอดช่วงทั้งหมด.
- ความเป็นเส้นตรงของการหรี่แสงแบบ DALI. ส่งคำสั่ง DALI ที่ 100%, 50%, 10% และ 1% ยืนยันว่าแสงเอาต์พุตเป็นไปตามเส้นโค้งการหรี่แสงแบบลอการิทึมอย่างนุ่มนวล ไม่มีขั้นบันไดหรือการกระโดด ซึ่งเป็นการตรวจสอบว่าโปรโตคอลการหรี่แสงดิจิทัลและสเตจควบคุมกระแสทำงานร่วมกันอย่างถูกต้อง.
- การวัดการกะพริบ. ที่ระดับแสงต่ำ ไดรเวอร์ที่สลับไปใช้การมอดูเลตความกว้างพัลส์ต้องทำงานที่ความถี่สูงพอที่จะมองไม่เห็น ทดสอบด้วย เครื่องวัดการกะพริบ 6 ที่ 10% และ 1%.
- การสุ่มตัวอย่างทดสอบความร้อนและความทนทาน. รันตัวอย่างเป็นชุดที่โหลดเต็มในห้องควบคุมอุณหภูมิเพื่อการเบิร์นอินเป็นเวลานาน การเลื่อนของกระแสภายใต้ความร้อนจะเผยให้เห็นชิ้นส่วนที่อ่อนแอก่อนที่ลูกค้าจะพบ.
เอกสารที่ต้องเรียกร้องจากซัพพลายเออร์ของคุณ
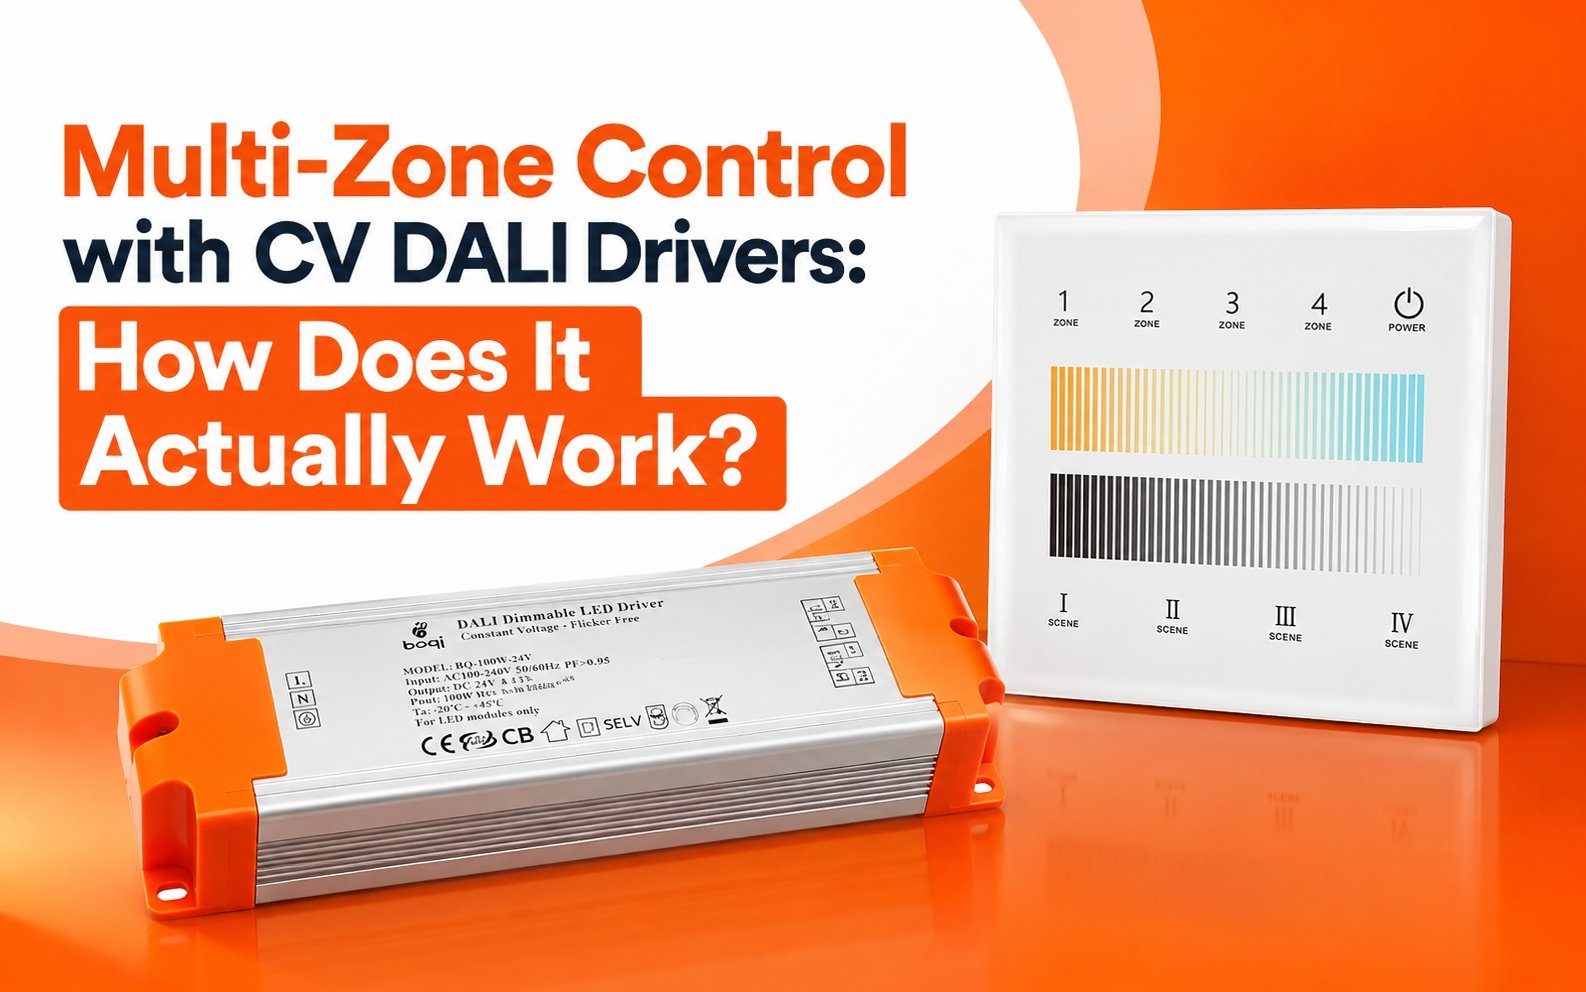
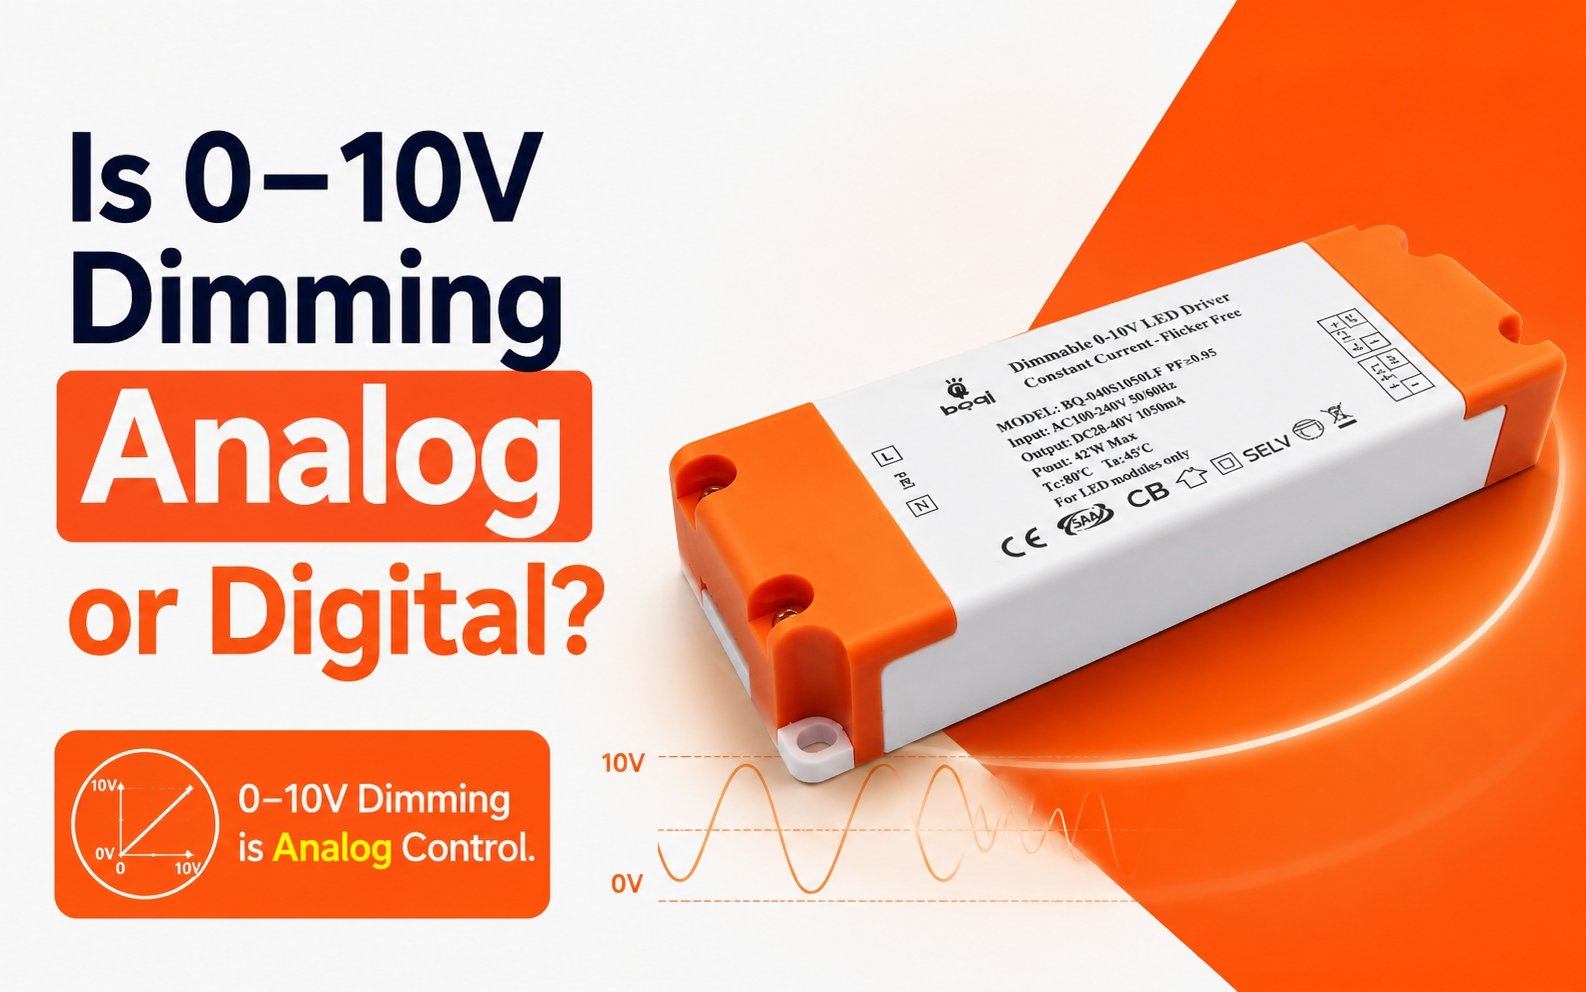
ขอรายงานการทดสอบที่เชื่อมโยงกับหมายเลขซีเรียล ไม่ใช่เอกสารข้อมูลทั่วไป ในการส่งออกไปยังตลาดอย่างเยอรมนี ญี่ปุ่น และออสเตรเลีย เราพบว่าการตรวจสอบย้อนกลับระดับล็อตช่วยลดระยะเวลาการแก้ไขข้อพิพาทจากสัปดาห์เหลือเพียงวัน นอกจากนี้ ควรตรวจสอบเครื่องหมายความปลอดภัยที่พิมพ์บนตัวเรือน เช่น สัญลักษณ์ CE และ SELV ว่าตรงกับเอกสารรับรองจริง เครื่องหมายปลอมบนตัวไดรเวอร์ยังคงเป็นความเสี่ยงจริงเมื่อจัดซื้อจากโรงงานที่ไม่ผ่านการตรวจสอบ.
ทำไมการเลือกไดรเวอร์ DALI กระแสคงที่ที่ถูกต้องจึงส่งผลต่อต้นทุนรวมและระยะเวลาโครงการของฉัน?
เราเคยช่วยลูกค้าในสหราชอาณาจักรกู้โครงการโรงแรมที่หยุดชะงัก ซัพพลายเออร์เดิมส่งไดรเวอร์ที่มีพิกัดกระแสผิด และดาวน์ไลท์ทุกดวงต้องเปลี่ยนไดรเวอร์ใหม่หน้างาน.
ไดรเวอร์ที่ผิดบังคับให้ต้องแก้ไข เปลี่ยนใหม่ และล่าช้าในการทดสอบระบบ ซึ่งเพิ่มต้นทุนทวีคูณ远超ราคาไดรเวอร์ ไดรเวอร์ DALI กระแสคงที่ที่ถูกต้องป้องกันความล้มเหลวหน้างาน เร่งการตั้งแอดเดรสและการทดสอบระบบ ลดการใช้พลังงานผ่านการหรี่แสงที่แม่นยำ และปกป้องอายุการใช้งาน LED ทำให้งบประมาณและกำหนดการคงอยู่.
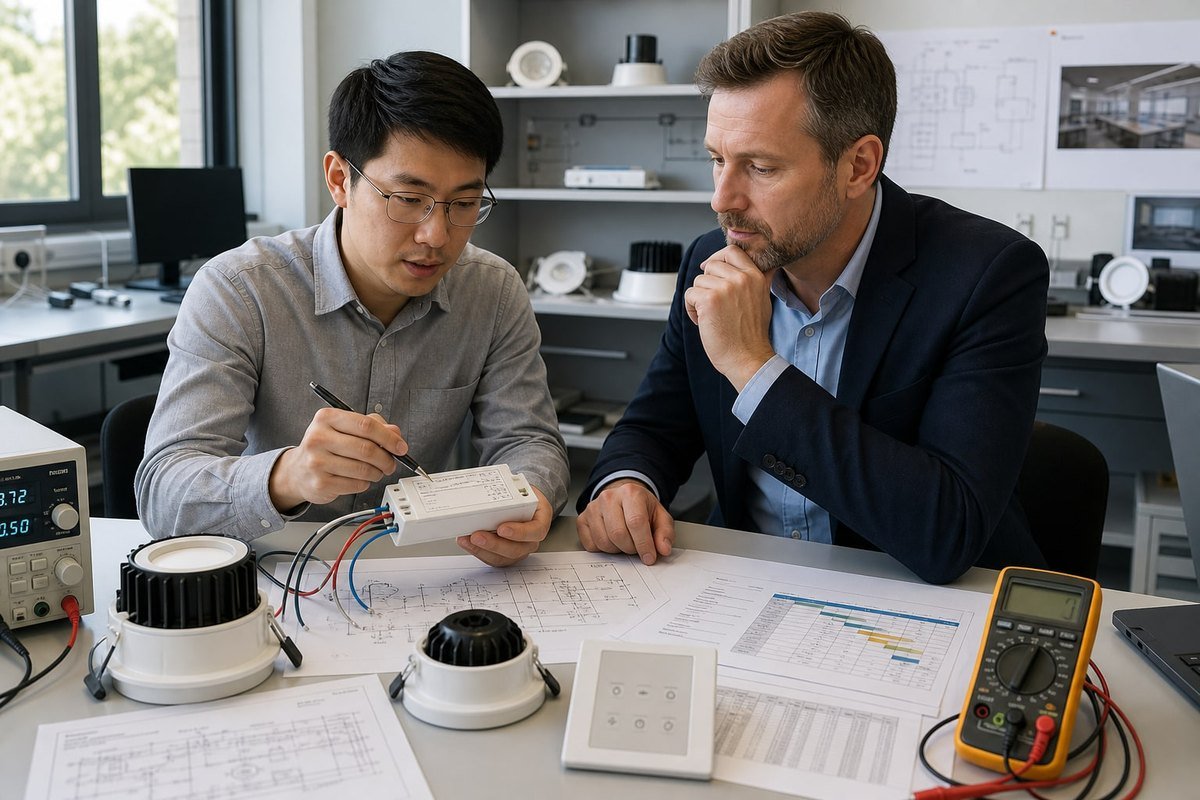
ต้นทุนไดรเวอร์มักต่ำกว่า 15% ของวัสดุทั้งหมดในโคมไฟ แต่ความผิดพลาดของไดรเวอร์กลับเป็นสาเหตุสัดส่วนสูงของงบประมาณที่เกิน การใช้เหตุผลง่ายๆ คือ ไดรเวอร์อยู่ระหว่างการติดตั้งไฟฟ้า ระบบควบคุม และโหลด LED ข้อผิดพลาดในชิ้นส่วนเดียวนี้ส่งผลกระทบสามทิศทางพร้อมกัน.
จุดที่ต้นทุนแฝงปรากฏขึ้น
| การเลือกที่ผิด | อาการทันที | ต้นทุนปลายน้ำ |
|---|---|---|
| พิกัดกระแสสูงเกินไป | LED ร้อนเกินไป | ลูเมนเสื่อมเร็ว การเรียกร้องประกัน |
| ช่วงแรงดันไม่ตรง | การกะพริบ ไฟดับที่ระดับแสงหรี่ | การแก้ไขปัญหาหน้างาน ค่าแรงในการเปลี่ยนอุปกรณ์ |
| อินเทอร์เฟซ DALI ที่ไม่ได้รับการรับรอง | การจัดการกับความล้มเหลว | ความล่าช้าในการทดสอบระบบ ค่าธรรมเนียมผู้ติดตั้งระบบ |
| ไม่มีการจำกัดกระแสไฟกระชาก (Inrush) | เบรกเกอร์ตัดเมื่อเปิดเครื่อง | การออกแบบระบบไฟฟ้าใหม่ การเพิ่มคอนแทคเตอร์ |
| ใช้ DALI รุ่นเก่าแทน DALI-2 | ไม่มีการรับประกันความเข้ากันได้ | ระบบที่ล็อกไว้กับผู้ผลิตเดียว ค่าใช้จ่ายในการปรับปรุงในอนาคต |
ความเสี่ยงด้านระยะเวลาน่ากลัวกว่าความเสี่ยงด้านต้นทุน
ต้นทุนที่เกินอาจสร้างความเสียหาย แต่การพลาดกำหนดเวลาทำให้โครงการล้มเหลว การทดสอบระบบคือจุดที่ไดรเวอร์คุณภาพต่ำกินเวลามากที่สุด ไดรเวอร์ LED แบบ DALI-2 ตอบสนองต่อการกำหนดแอดเดรส IEC 62386 7, การกำหนดกลุ่ม และคำสั่งฉากจากคอนโทรลเลอร์ที่รองรับได้อย่างถูกต้อง อุปกรณ์ที่ไม่ได้รับการรับรองมักทำงานได้ในการสาธิตแต่ล้มเหลวบนบัสจริง และผู้ติดตั้งระบบคิดค่าแรงรายวันขณะค้นหาจุดบกพร่อง ในงาน ODM ของเรา เราสร้างการทดสอบความสอดคล้อง DALI-2 เพราะลูกค้าขายส่งของเราไม่สามารถรับความล่าช้าของกำหนดการได้.
ยังมีมุมมองเชิงอนาคตอีกด้วย อาคารอัจฉริยะต้องการข้อมูลมากขึ้นเรื่อยๆ ไดรเวอร์ที่รองรับการตอบกลับแบบ D4i รายงานการใช้พลังงาน ชั่วโมงการทำงาน และอุณหภูมิกลับผ่านบัส การระบุคุณสมบัตินี้ตอนนี้มีต้นทุนเพิ่มเล็กน้อยต่อหน่วย การปรับปรุงในภายหลังหมายถึงการเปลี่ยนไดรเวอร์ทุกตัวบนเพดาน เมื่อฉันทบทวนสเปกโครงการกับลูกค้า ฉันมักถามถึงแผนห้าปี ไม่ใช่แค่วันเปิดตัว เพราะไดรเวอร์ที่ถูกที่สุดในวันแรกไม่ใช่ไดรเวอร์ที่ถูกที่สุดตลอดอายุการใช้งานของการติดตั้ง.
บทสรุป
กระแสคงที่อธิบายเอาต์พุตที่ควบคุมของไดรเวอร์ ไม่ใช่บัส DALI จับคู่กระแส ช่วงแรงดันไฟฟ้า และความสอดคล้อง DALI-2 กับโคมไฟของคุณ และตรวจสอบด้วย QC จริง ทำถูกต้องครั้งเดียว ต้นทุนโครงการ ระยะเวลา และชื่อเสียงแบรนด์ของคุณจะได้รับการปกป้องทั้งหมด.
เชิงอรรถ
แหล่งข้อมูลอย่างเป็นทางการของ EU อธิบายเครื่องหมาย CE ที่อ้างอิงในการตรวจสอบเอกสาร QC. ↩︎
นิยามกลไกความล้มเหลวที่อ้างอิงเมื่อ LED ร้อนเกินไปจากกระแสเกิน. ↩︎
อธิบายคุณสมบัติสารกึ่งตัวนำที่อยู่ภายใต้แนวคิดช่วงแรงดันไปข้างหน้าของ LED. ↩︎
ข้อมูลพื้นฐานเกี่ยวกับเทคนิคการหรี่แสงที่ใช้ในระดับความสว่างต่ำ. ↩︎
ให้ข้อมูลทางเทคนิคเกี่ยวกับการลดลงของแสงสว่างจากการขับ LED เกินพิกัด. ↩︎
ข้อมูลพื้นฐานเกี่ยวกับการวัดการกะพริบของแสงที่เกี่ยวข้องกับการทดสอบโฟโตเมตริกที่กล่าวถึง. ↩︎
ชี้ไปที่องค์กรมาตรฐานระหว่างประเทศที่กำกับข้อกำหนดโปรโตคอล DALI. ↩︎