













Покупатели часто спрашивают меня, что означает постоянный ток в DALI-освещении. Путаница здесь приводит к возврату драйверов, мерцанию светильников и задержкам запуска. Наша инженерная команда в Шэньчжэне ежедневно распутывает этот вопрос.
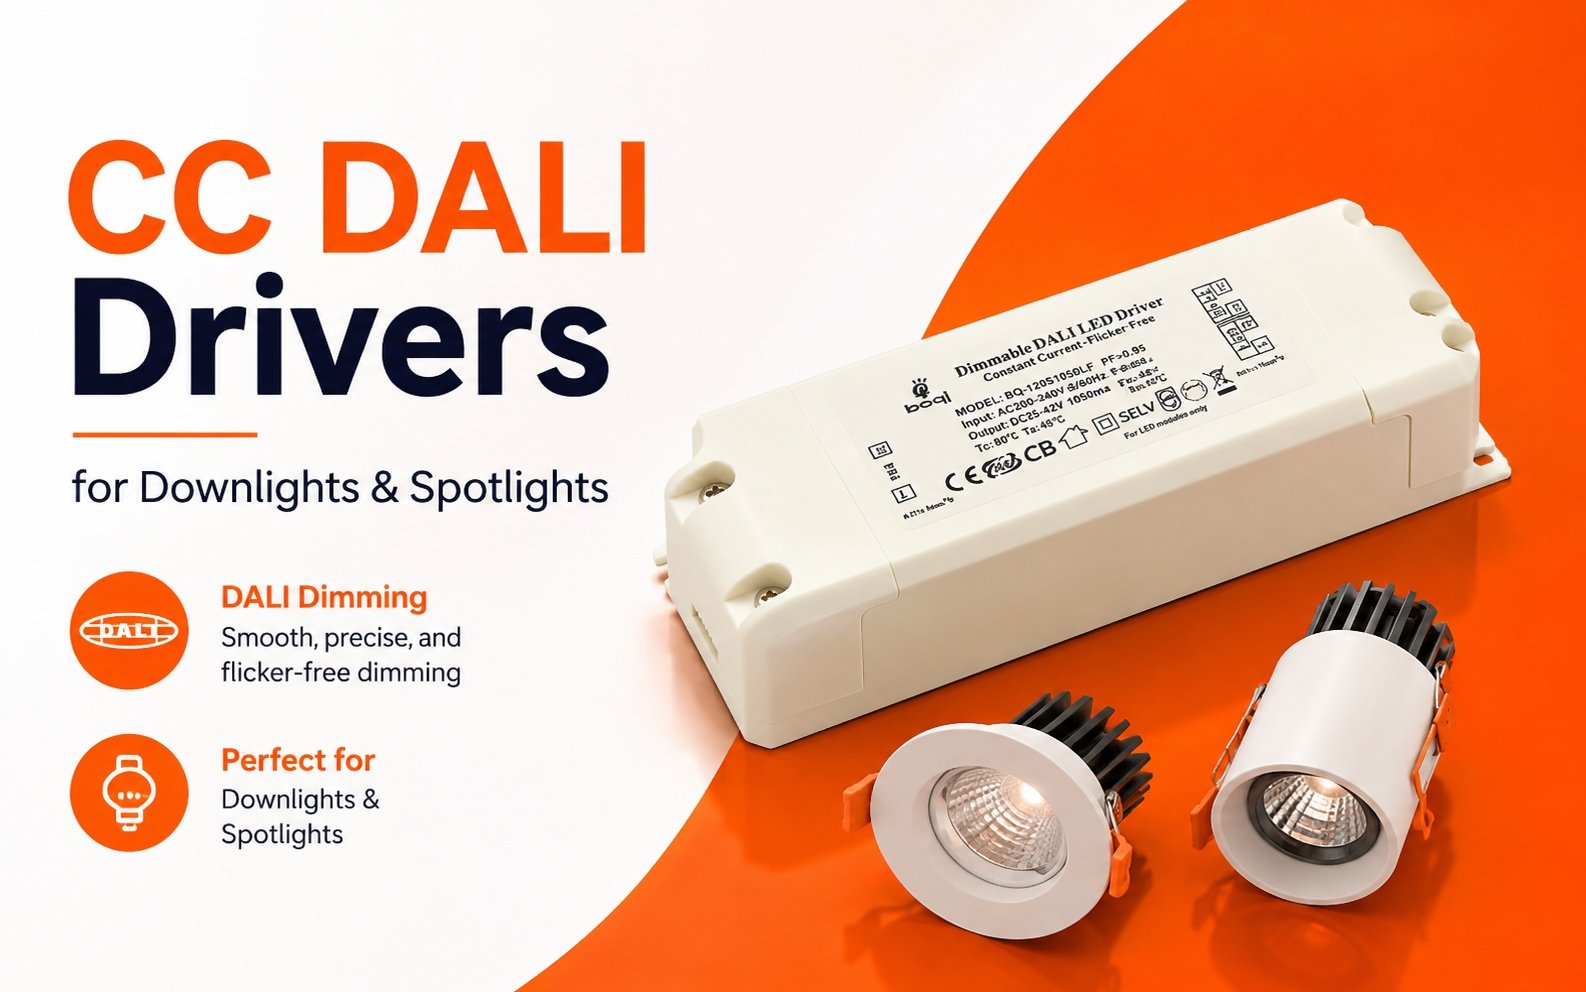
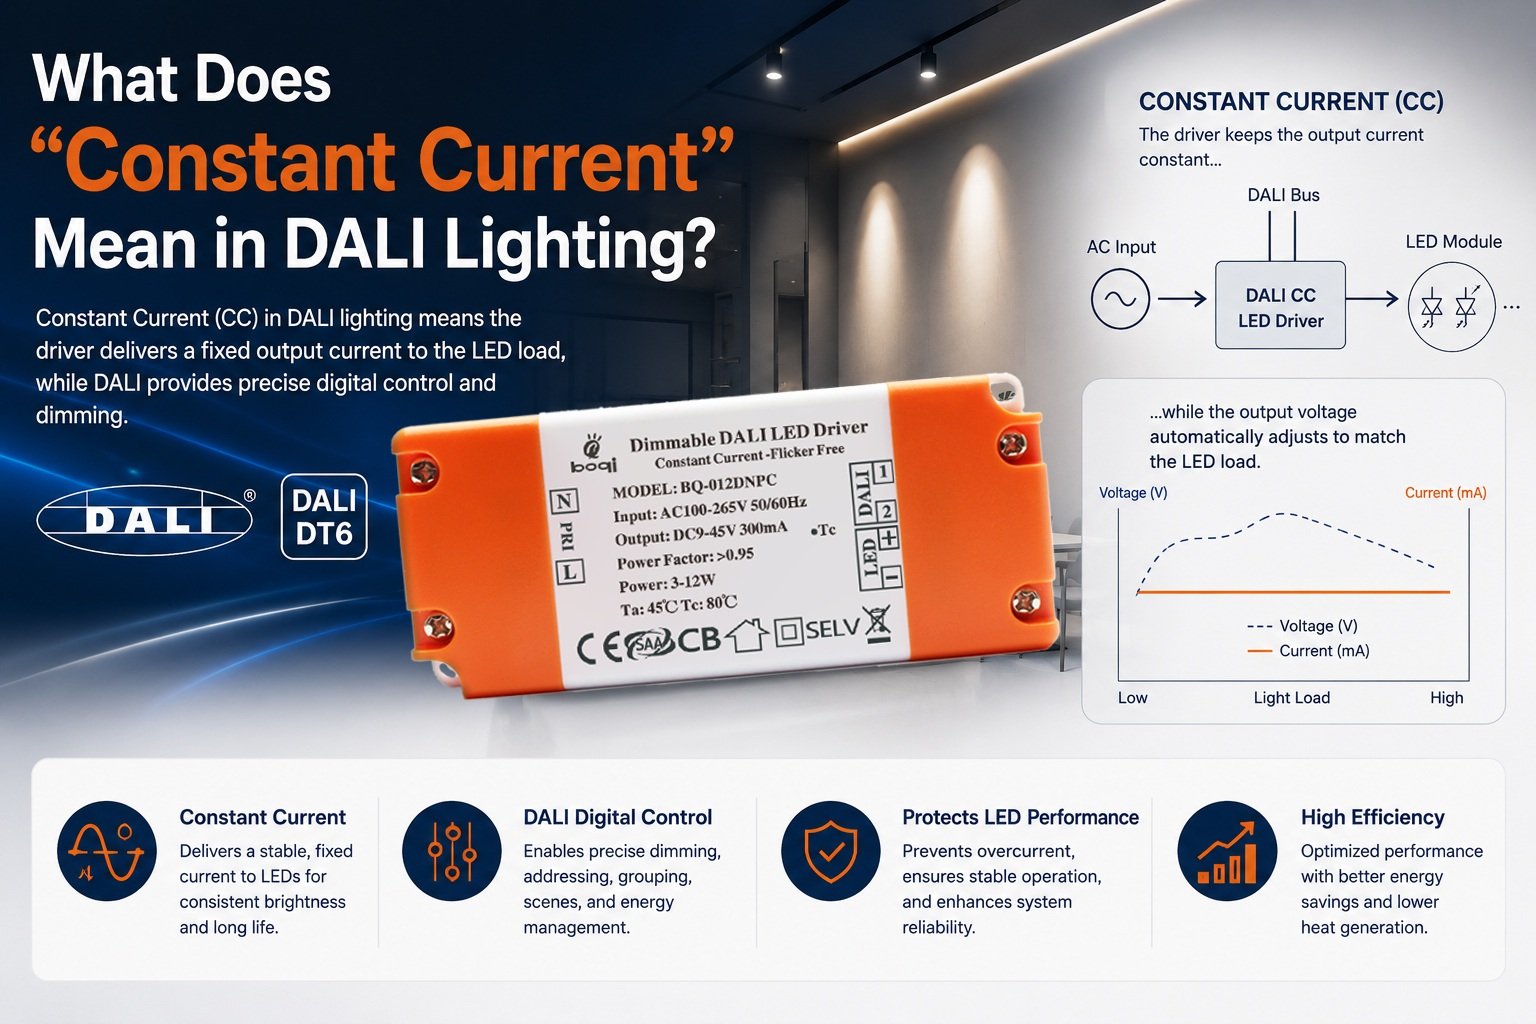
Постоянный ток в DALI-освещении означает, что LED-драйвер подает фиксированный выходной ток в миллиамперах на LED-модуль, пока его напряжение колеблется в пределах диапазона прямого напряжения. DALI — это только цифровой протокол диммирования; сам драйвер регулирует и стабилизирует ток.
Это определение звучит просто. Но детали определяют, будут ли ваши светильники плавно диммироваться или выйдут из строя раньше времени. Позвольте мне рассказать, что действительно важно при покупке или спецификации этих драйверов.
Как узнать, нужны ли моим LED-светильникам драйверы DALI с постоянным током?
Прошлой весной дистрибьютор в Италии прислал нам образец даунлайта, который постоянно перегорал. Причиной был драйвер с постоянным напряжением, подключенный к COB-модулю с токовым управлением.
Вашим LED-светильникам нужен DALI-драйвер с постоянным током, если в спецификации LED-модуля указан номинальный рабочий ток в миллиамперах, например 350 мА или 700 мА. Голые COB-матрицы, даунлайт-двигатели и мощные модули управляются током; LED-ленты со встроенными резисторами обычно требуют постоянного напряжения.
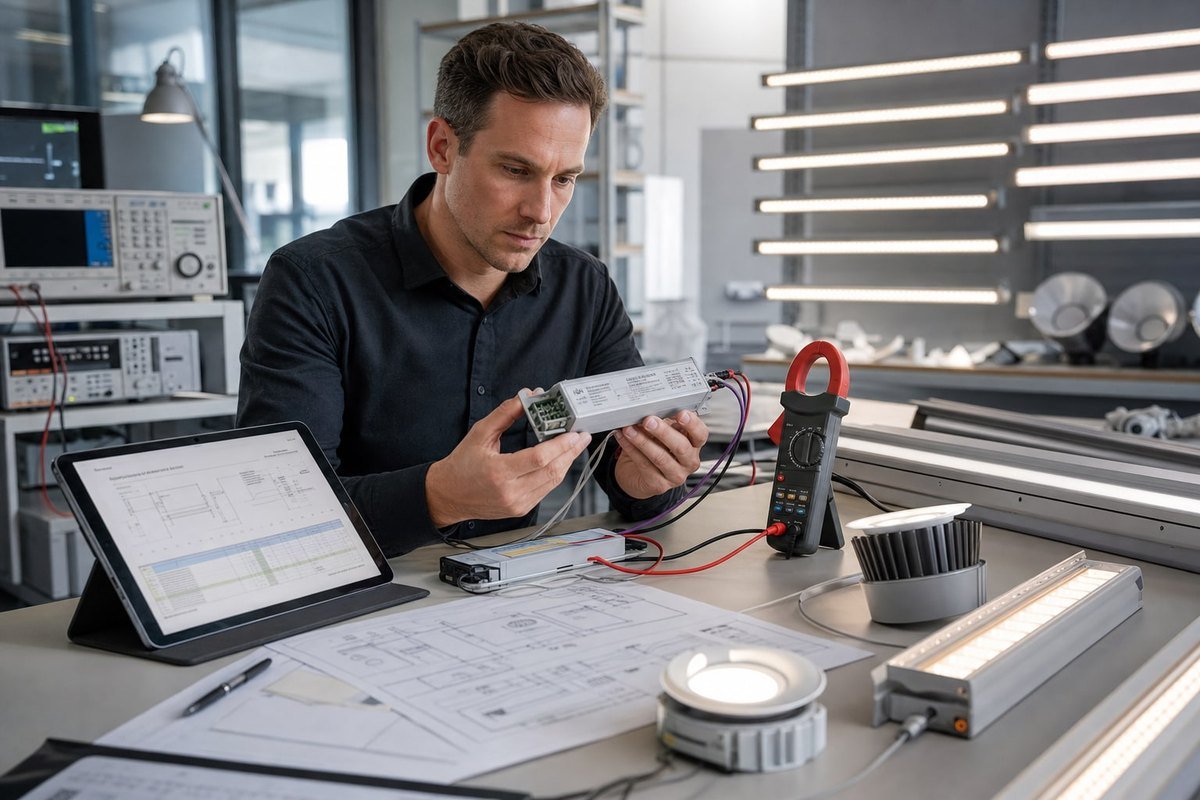
Самый быстрый способ решить — прочитать технический паспорт LED-модуля. Светодиоды — это полупроводники с токовым управлением. Если подать слишком большой ток, тепло растет, сопротивле. Их прямое напряжение меняется с температурой. Если подавать фиксированное напряжение, ток растет по мере нагрева диода. Больший ток создает больше тепла. Больше тепла притягивает больше тока. Этот цикл — 1 падает, и светодиод потребляет еще больше тока. Эта цепная реакция называется тепловой разгон 2, и она разрушает чип. Драйвер с постоянным током предотвращает это, удерживая выходной ток в миллиамперах стабильным и автоматически регулируя напряжение.
Сначала проверьте эти три вещи
Во-первых, посмотрите на номинал модуля. Если указано “700 мА, 24–42 В”, этот диапазон напряжения — это прямое напряжение 3 диапазон, и вам нужен постоянный ток. Во-вторых, посмотрите на схему подключения. Системы с постоянным током используют последовательное соединение, поэтому один и тот же ток протекает через каждый светодиод в цепочке. В-третьих, посмотрите на ваш план управления. Если проект требует адресной системы освещения со сценами и группами, вам нужно управляющее оборудование DALI, а не аналоговое диммирование.
Вот сравнение с постоянным напряжением, которое наши инженеры делятся с новыми клиентами:
| Фактор | Постоянный ток (CC) | Постоянное напряжение (CV) |
|---|---|---|
| Регулируемый выход | Фиксированный ток (мА) | Фиксированное напряжение (В) |
| Типичные нагрузки | COB-матрицы, даунлайты, панели, хай-бэи | LED-ленты, модули для вывесок |
| Проводка | Последовательное соединение | Параллельное |
| Риск отказа при несоответствии | Перегрузка по току, тепловой разгон | Неравномерная яркость, горячие точки |
| Дрейфует с нагревом | Одинаковая по всей цепочке | Падает на длинных участках |
Еще один момент, который упускают. Сам DALI не делает систему постоянного тока. Шина DALI передает только цифровые команды при примерно 16 В постоянного тока с небольшим бюджетом тока. Выходная сторона драйвера — это отдельная схема, и она может быть с постоянным током или постоянным напряжением в зависимости от продукта.
Какой выходной ток следует указать при закупке DALI-драйверов с постоянным током для моего проекта?
Выбор выходного тока — это компромисс, который мы постоянно взвешиваем с клиентами: более высокие миллиамперы означают больше люмен на модуль, но также больше тепла и короче срок службы светодиодов.
Укажите выходной ток, указанный в техническом паспорте вашего LED-модуля, обычно 350 мА, 500 мА, 700 мА или 1050 мА, и убедитесь, что диапазон прямого напряжения драйвера покрывает вашу светодиодную цепочку. Для гибкости по SKU выберите многотоковый драйвер, регулируемый с помощью DIP-переключателя или программирования.
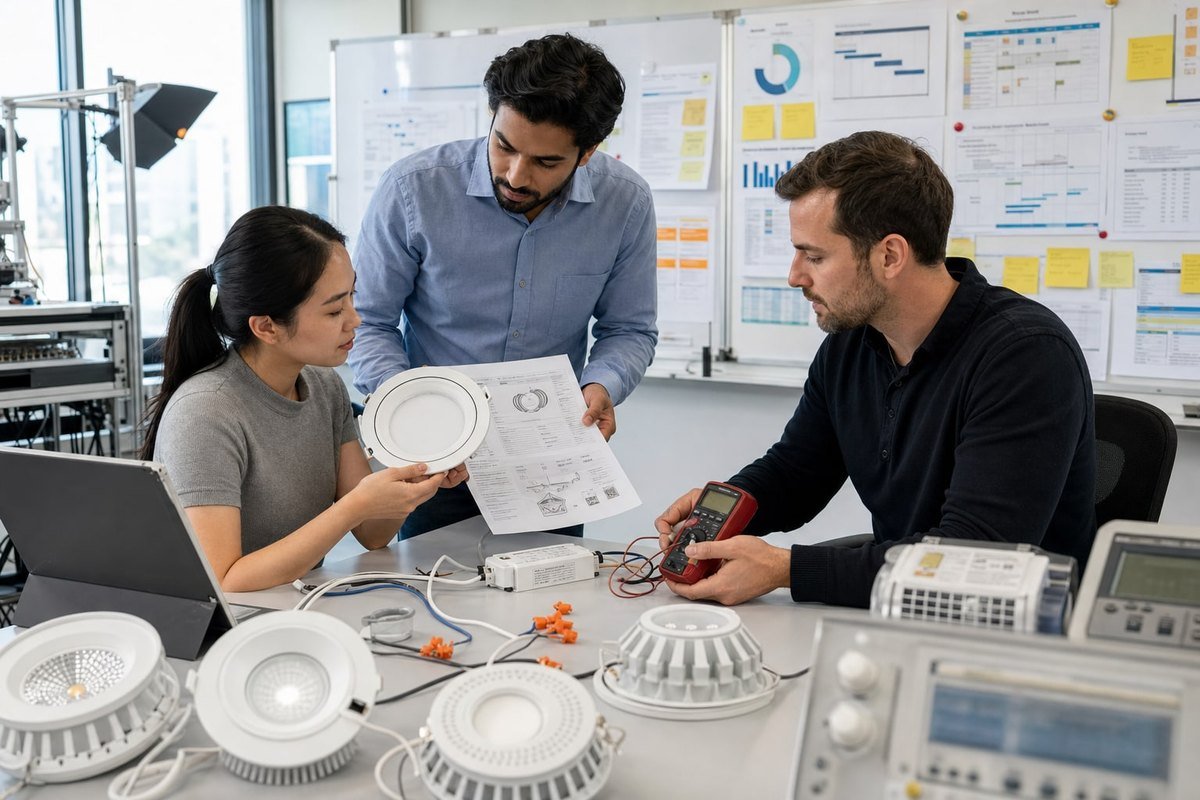
Правильное значение тока — только первый шаг. Вам также нужно проверить, что окно напряжения драйвера соответствует вашей цепочке. Если ваша цепочка требует 30–42 В при 700 мА, драйвер с номиналом 25–40 В будет ограничивать сверху и вызывать пропадание сигнала или мерцание. В наших OEM-проектах для европейских брендов освещения это несоответствие напряжения — самая распространенная ошибка спецификации, которую мы выявляем при проверке проекта.
Согласуйте ток с применением
Разные классы светильников группируются вокруг типичных рабочих токов. Используйте это как отправную точку, затем проверьте по вашему фактическому модулю:
| Заявление | Типичный выходной ток | Типичный диапазон мощности |
|---|---|---|
| Малые споты, трековые головки | 350–500 мА | 5–15 Вт |
| Коммерческие даунлайты | 500–700 мА | 10–25 Вт |
| Панельные светильники, линейные светильники | 700–1050 мА | 25–45 Вт |
| Промышленные хай-бэи | 1050 мА и выше | 60 Вт+ |
Также определитесь с поведением диммирования
Ток — не единственная строка в спецификации. Уточните, как драйвер регулирует яркость. Качественные конструкции LED-драйверов DALI-2 используют гибридное затемнение: непрерывное снижение тока на высокой яркости, затем высокочастотную широтно-импульсную модуляцию 4 на низких уровнях. Такое сочетание обеспечивает плавное затемнение без мерцания до 1% или даже 0,1%. Также укажите тип устройства. Контроллер DALI DT6 управляет стандартным одно-канальным затемнением, тогда как DT8 балансирует два токовых канала для настраиваемого белого света через один адрес. Если клиенту нужна обратная связь по энергии и температуре для управления зданием, добавьте поддержку D4i в список требований.
Наконец, запросите плавный пуск и ограничение пускового тока. Когда десятки драйверов включаются одновременно на одном автомате, дешевые драйверы вызывают его срабатывание. Качественные — нет.
Как проверить точность постоянного тока при контроле качества для моей линии частных марок освещения?
Менеджер по закупкам из Сингапура однажды спросил меня в WhatsApp о наших точных шагах контроля качества перед тем, как заказать продукцию под частной маркой. Этот разговор стал нашим стандартным чек-листом инспекции.
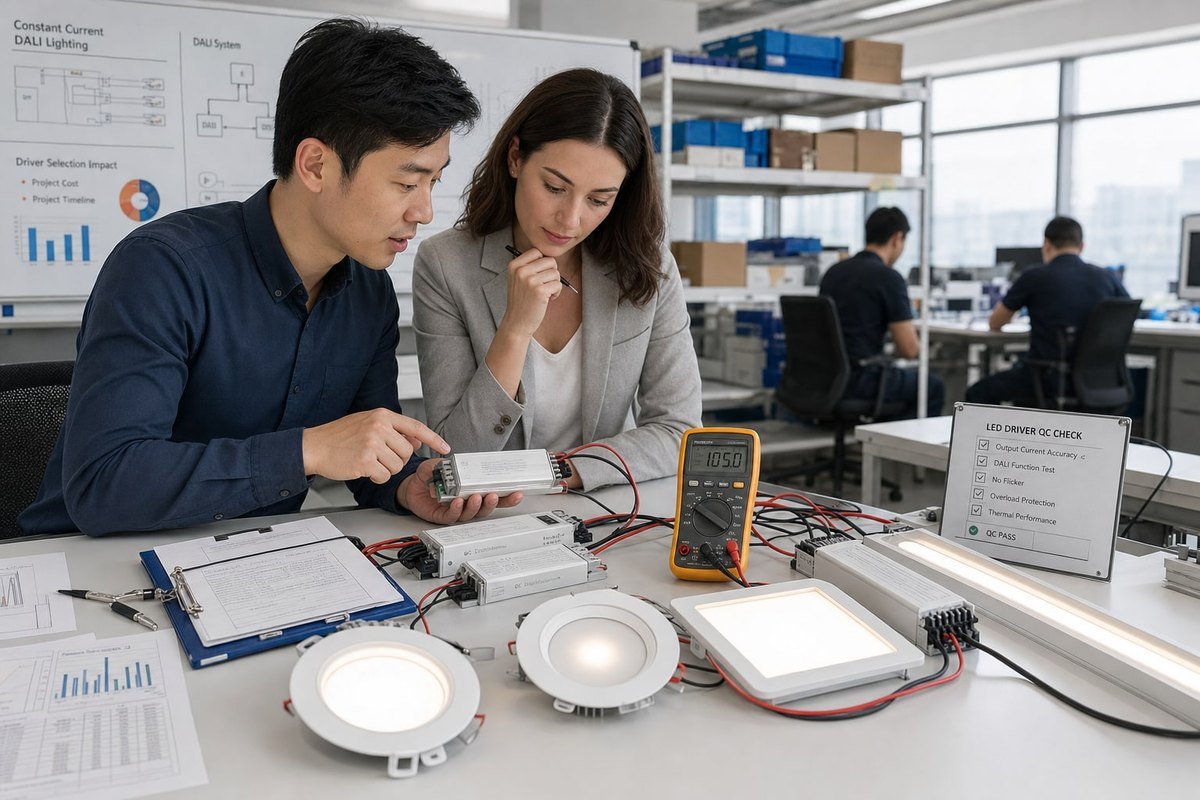
Проверьте точность постоянного тока, измерив выходной ток калиброванным мультиметром или электронной нагрузкой при полной яркости и на нескольких уровнях затемнения DALI, при минимальном и максимальном напряжении нагрузки. Принимайте устройства в пределах ±5% от номинального тока и подтверждайте характеристики мерцания фотометрическим измерителем мерцания.

Контроль качества для драйверов под частной маркой не сложен, но должен быть системным. На нашей производственной линии в Шэньчжэне каждый драйвер проходит автоматическое тестирование до нанесения логотипа на корпус. Я рекомендую владельцам брендов воспроизводить упрощенную версию этого процесса при предотгрузочной инспекции — самостоятельно или через стороннего инспектора.
Практическая пятиэтапная процедура контроля качества
- Тест статического тока. Подключите драйвер к электронной нагрузке, установленной в пределах номинального диапазона прямого напряжения. Измерьте выходной ток при 100% яркости. Он должен находиться в пределах ±5% от значения на шильдике.
- Развертка нагрузки. Повторите измерение при минимальном и максимальном напряжении окна драйвера. Качественный каскад стабилизации тока удерживает одинаковое значение в миллиамперах во всем диапазоне.
- Линейность затемнения DALI. Отправьте команды DALI на 100%, 50%, 10% и 1%. Убедитесь, что световой поток плавно следует логарифмической кривой затемнения, без ступеней и скачков. Это проверяет корректную совместную работу цифрового протокола затемнения и каскада регулировки тока.
- Измерение мерцания. На низких уровнях затемнения драйверы, переключающиеся на широтно-импульсную модуляцию, должны работать на достаточно высокой частоте, чтобы оставаться незаметными. Тестируйте с помощью измерителя мерцания 6 на 10% и 1%.
- Тепловые и ресурсные испытания выборки. Прогоните выборку партии при полной нагрузке в нагретой камере в течение длительного периода приработки. Дрейф тока под воздействием тепла выявляет слабые компоненты до того, как это сделают ваши клиенты.
Документация, которую следует требовать от поставщика
Запрашивайте протоколы испытаний, привязанные к серийным номерам, а не общие технические описания. В нашей экспортной работе на рынки Германии, Японии и Австралии мы обнаружили, что прослеживаемость на уровне партий сокращает сроки разрешения споров с недель до дней. Также проверьте, что знаки безопасности, нанесенные на корпус, такие как CE и SELV, соответствуют реальным сертификационным документам. Поддельные знаки на корпусах драйверов остаются реальным риском при закупках у непроверенных фабрик.
Почему выбор правильного DALI-драйвера с постоянным током влияет на общие затраты по проекту и сроки?
Мы однажды помогли клиенту из Великобритании восстановить застрявший гостиничный проект. Первоначальный поставщик отгрузил драйверы с неправильным номиналом тока, и каждый даунлайт пришлось переподключать на месте.
Неправильный драйвер приводит к переделкам, заменам и задержкам пусконаладки, которые умножают затраты далеко за пределы цены драйвера. Правильный драйвер постоянного тока DALI предотвращает отказы на объекте, ускоряет адресацию и пусконаладку, снижает потребление энергии за счет точного затемнения и защищает срок службы светодиодов, сохраняя бюджеты и сроки.
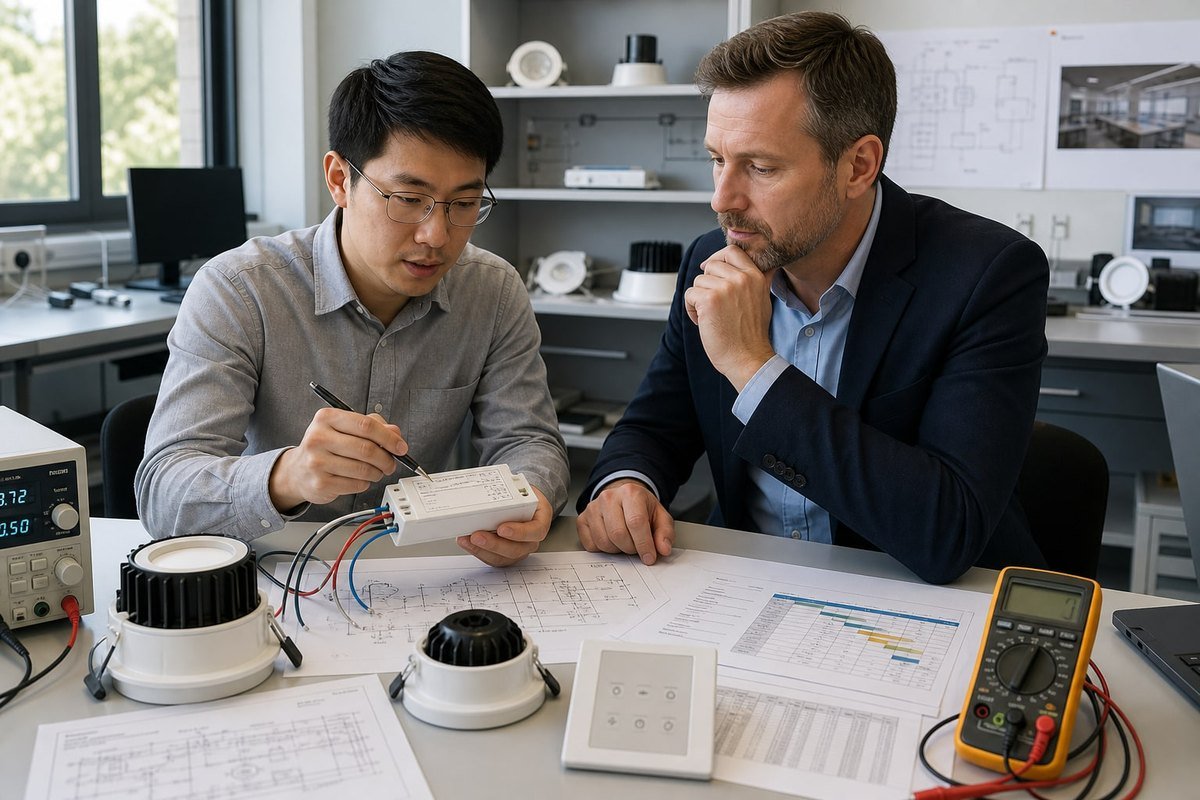
Стоимость драйвера обычно составляет менее 15% от спецификации материалов светильника. Тем не менее ошибки с драйверами вызывают непропорциональную долю перерасходов по проектам. Причина проста: драйвер находится между электрической установкой, системой управления и светодиодной нагрузкой. Ошибка в этом одном компоненте распространяется сразу в трех направлениях.
Где появляются скрытые затраты
| Неправильный выбор | Немедленный симптом | Последующие затраты |
|---|---|---|
| Завышенный номинальный ток | Перегрев светодиодов | Ранняя деградация светового потока, гарантийные претензии |
| Несоответствие диапазона напряжения | Мерцание, сбои на уровнях затемнения | Диагностика на объекте, затраты на замену |
| Несертифицированный интерфейс DALI | Ошибки адресации | Задержки ввода в эксплуатацию, расходы на интегратора |
| Отсутствие ограничения пускового тока | Срабатывание автоматических выключателей при включении | Переработка электрической схемы, дополнительные контакторы |
| Устаревший DALI вместо DALI-2 | Отсутствие гарантии совместимости | Закрытая экосистема, будущие затраты на модернизацию |
Риски по срокам больше, чем риски по затратам
Перерасход средств болезненен, но сорванные сроки убивают проекты. Ввод в эксплуатацию — этап, где некачественные драйверы отнимают больше всего времени. Драйвер DALI-2 корректно реагирует на адресацию МЭК 62386 7, назначение групп и команды сцен от любого совместимого контроллера. Несертифицированные устройства часто работают в демо-режиме и выходят из строя на реальной шине, а интеграторы выставляют счета за дни, пока ищут неисправность. В нашей ODM-работе мы встраиваем тестирование на соответствие DALI-2 именно потому, что наши оптовые клиенты не могут позволить себе срыв графика.
Есть и перспективный аспект. Умные здания всё чаще требуют данных. Драйверы с поддержкой обратной связи D4i передают по шине данные об энергопотреблении, наработке и температуре. Закладка этой возможности сейчас стоит немного дороже за единицу. Модернизация позже означает замену каждого драйвера в потолке. Когда я рассматриваю спецификацию проекта с клиентом, я всегда спрашиваю о пятилетнем плане, а не только о дате запуска, потому что самый дешёвый драйвер в первый день редко оказывается самым дешёвым за весь срок службы установки.
Заключение
Постоянный ток описывает регулируемый выход драйвера, а не шину DALI. Согласуйте ток, диапазон напряжения и соответствие DALI-2 с вашими светильниками и проверяйте реальным контролем качества. Сделайте это правильно один раз — и затраты на проект, сроки и репутация бренда останутся под защитой.
Сноски
Официальный источник ЕС, поясняющий маркировку CE, указанную в проверках документации по контролю качества. ↩︎
Определяет механизм отказа, упоминаемый при перегреве светодиодов из-за избыточного тока. ↩︎
Объясняет свойство полупроводников, лежащее в основе концепций диапазона прямого напряжения светодиодов. ↩︎
Справочная информация о методе диммирования, используемом при низких уровнях яркости. ↩︎
Предоставляет техническую информацию о снижении светового потока из-за перегрузки светодиодов. ↩︎
Справочная информация об измерении мерцания света, актуальная для упомянутых фотометрических испытаний. ↩︎
Указывает на международный орган по стандартизации, регулирующий спецификации протокола DALI. ↩︎